This site uses affiliate links, meaning that if you make a purchase through our links, we may earn an affiliate commission.
Here are 12 practical Horseshoe Bend tips that will ensure that you have an enjoyable experience and make the most out of your trip.
Horseshoe Bend, Arizona / 12 Practical Horseshoe Bend Tips
- 1. What is Horseshoe Bend
- 2. Where Is Horseshoe Bend Located
- 3. How to Get to Horseshoe Bend
- 4. 12 Practical Horseshoe Bend Tips
-
- 4.1. Get to Horseshoe Bend Way Before Sunset
- 4.2. Be Prepared to Pay for Parking
- 4.3. Take a Shuttle to Horseshoe Bend
- 4.4. Be Prepared to Hike
- 4.5. Visit Horseshoe Bend in the Middle of the Day
- 4.6. Cover Your Face and Bring Water
- 4.7. Plan to Spend About Two Hours at Horseshoe Bend
- 4.8. Use the Bathroom Before Starting Your Hike to Horseshoe Bend
- 4.9. Use Caution and Be Safe at Horseshoe Bend Overlook
- 4.10. Head to Horseshoe Bend When the Sky Is Overcast (Awesome Photos!)
- 4.11. Bring a Wide-Angle Lens to Horseshoe Bend
- 4.12. Include Foreground in Your Photos of Horseshoe Bend
- 5. Intrepid Scout's Horseshoe Bend Tips
What is Horseshoe Bend
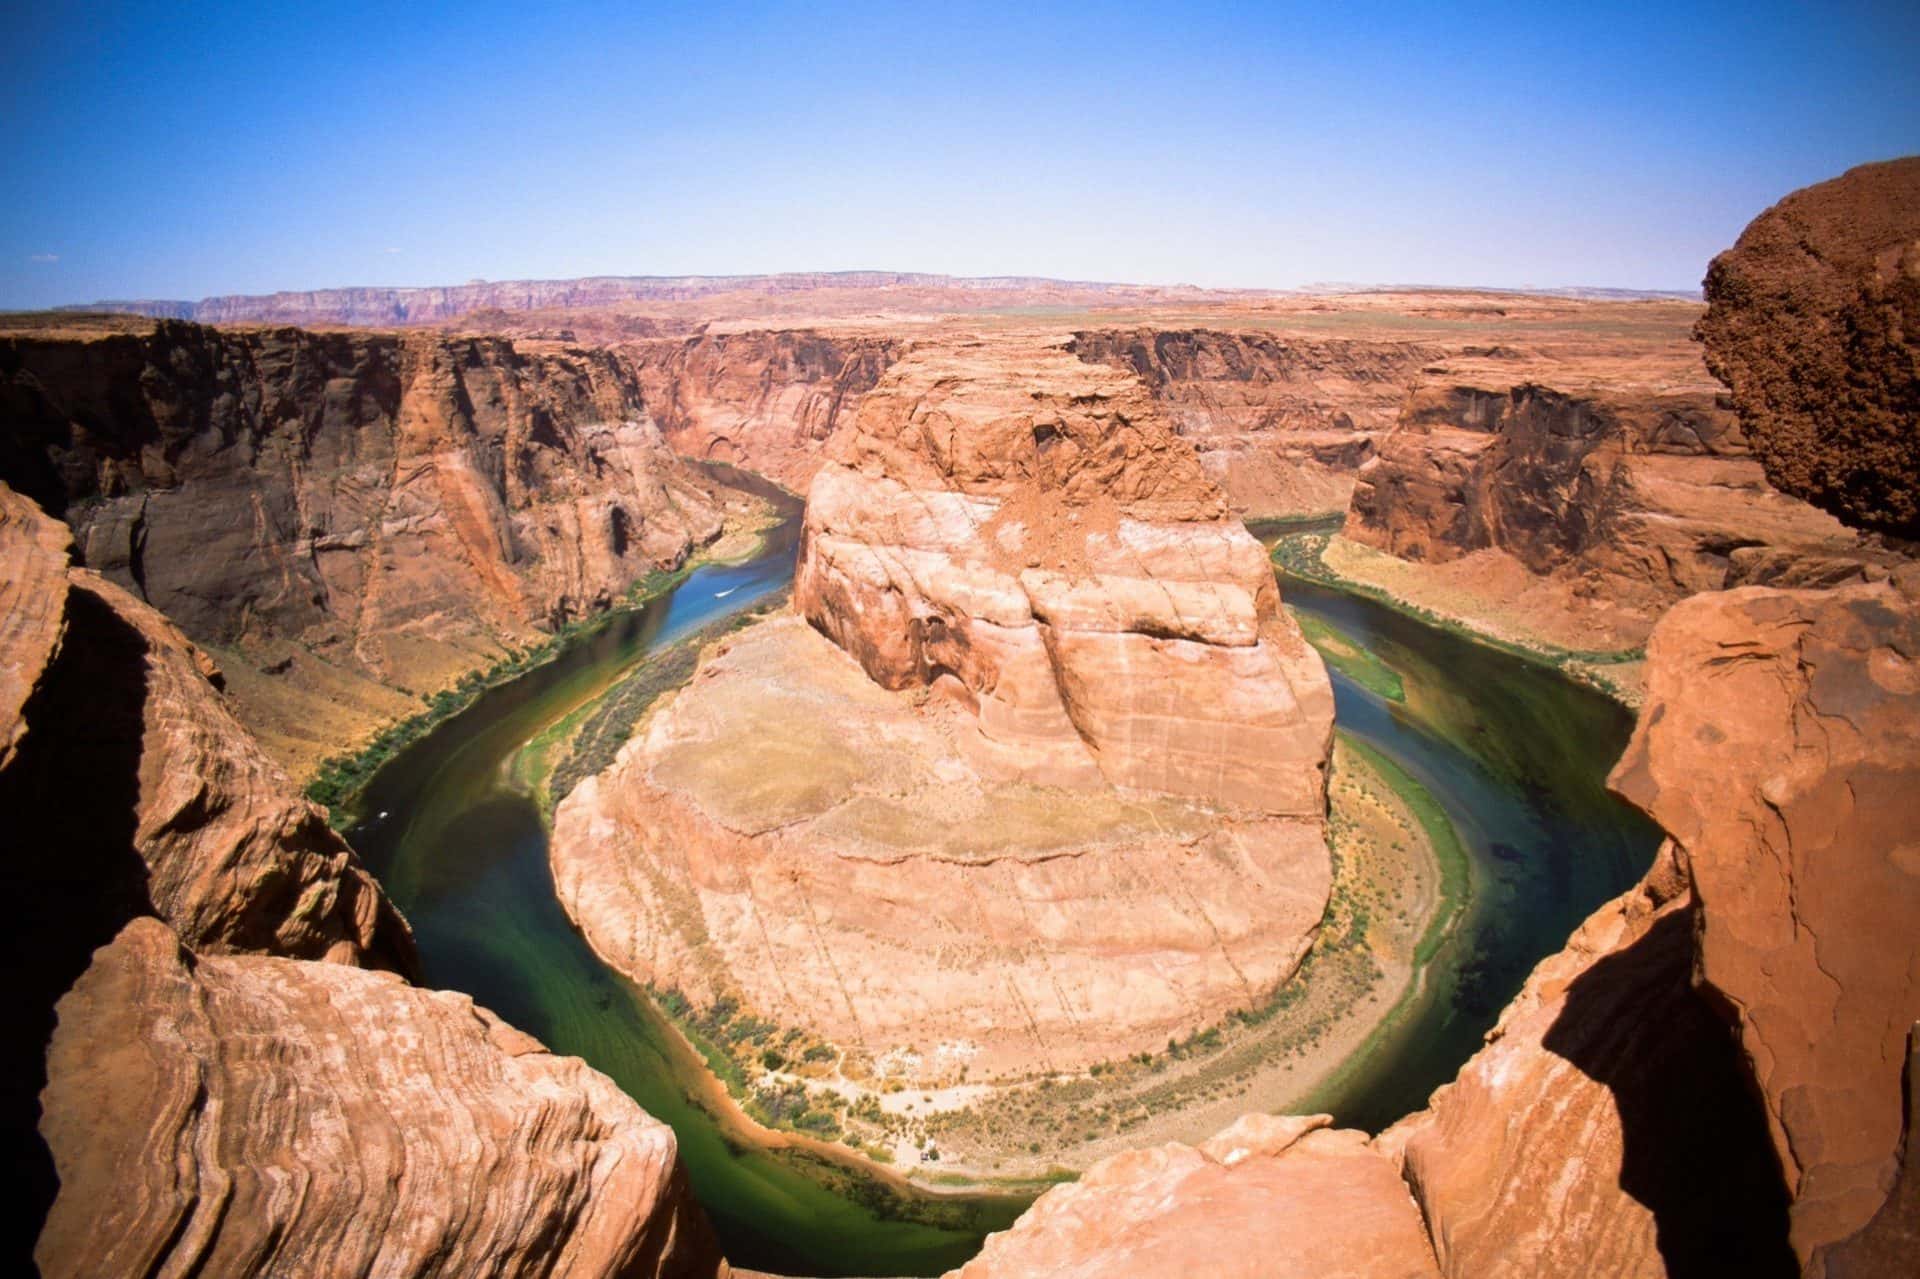
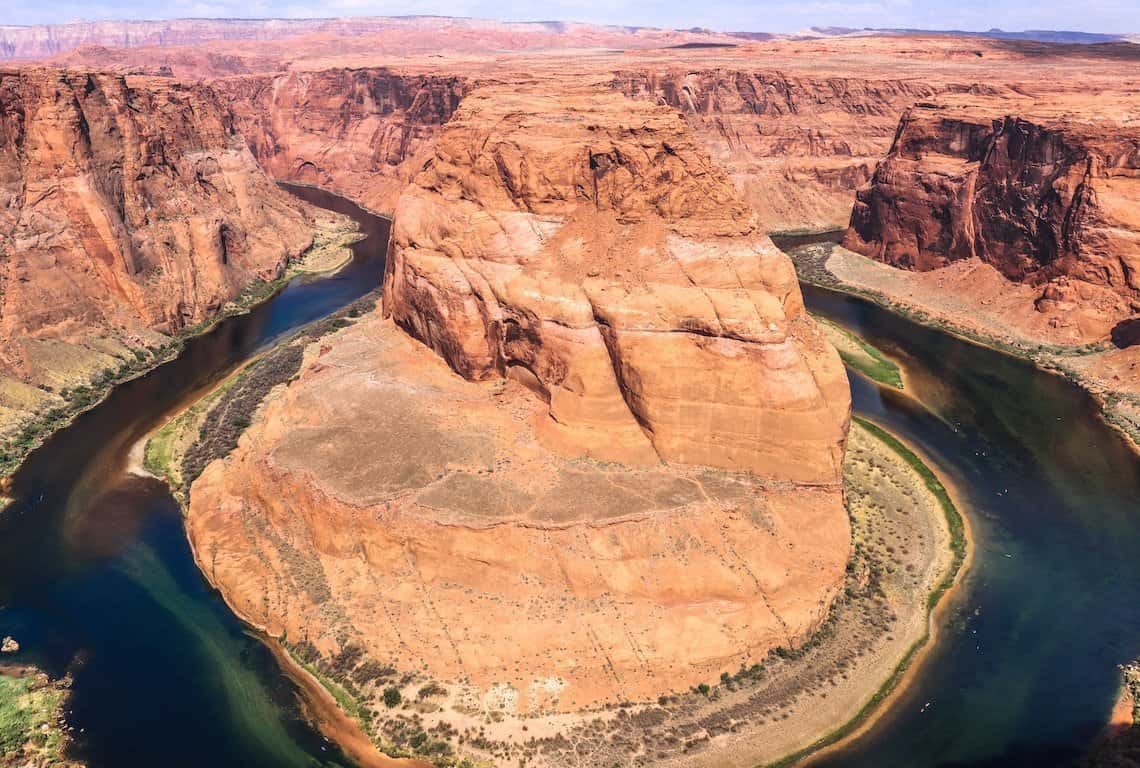
Horseshoe Bend is exactly that a horseshoe shaped bend in the Colorado River.
It is often thought to be part of the Grand Canyon. However, it is actually part of the Glen Canyon National Recreation Area.
Horseshoe Bend is a horseshoe-shaped bend in the Colorado River / Horseshoe Bend Tips
Where Is Horseshoe Bend Located
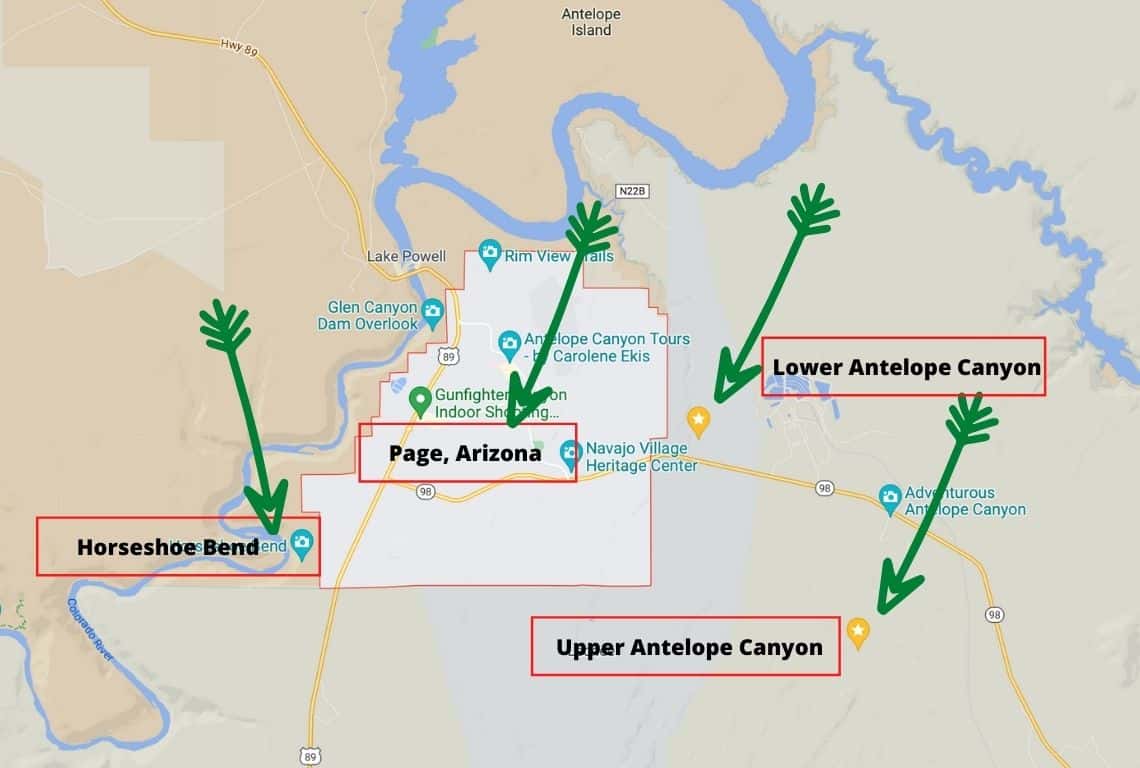
Map of Horseshoe Bend and surrounding area near Page, Arizona / Horseshoe Bend Tips
Horseshoe Bend is located about 4.6 miles (8 minutes) from Paige, Arizona on Hwy 89.
Make sure to combine Horseshoe Bend with a stop at Glen Canyon Dam and a visit to Antelope Canyon. They are all practically next to each other.
How to Get to Horseshoe Bend
If you are planning on visiting Horseshoe Band, you can fly into one of the nearby larger airports, then rent a car and drive (there is no public transportation or a bus).
- Phoenix Sky Harbor International Airport (PHX) – 279 miles (4 hr and 19 min) drive from Phoenix, AZ
- Flagstaff Pulliam Airport (FLG) – 137 miles (2 hr and 15 min) from Flagstaff, AZ
- Las Vegas McCarran Airport (LAS) – 286 miles (4 hr 39 min) from Las Vegas, NV
- Salt Lake City, Utah (SLC) – 398 miles (6 hr 13 min) from Salt Lake City, UT
What you need to know is that there is an airport in Page, AZ. It is a small Municipal Airport, however, direct flights are going to Page from Las Vegas, San Francisco, Santa Barbara, and Phoenix. My recommendation is to look into flying to Page, it will cut down on your travel time.
12 Practical Horseshoe Bend Tips
Get to Horseshoe Bend Way Before Sunset
Hands down, sunset is the most popular time at Horseshoe Bend. However, you will have plenty of company! Be prepared for huge crowds!
Finding a parking spot at that time is a nightmare! The parking lot is big, just not big enough. Needless to say, finding a parking spot during peak times can be very challenging.
In 2018, the local police department allocated several officers to monitor the parking area during the peak visitation hours to ensure that visitors do not park on the shoulder of Hwy 89 illegally, or attempt to squeeze into the lot when it is already full.
Furthermore, if the parking lot is full at the time of your visit, you will be asked to come back later. If a space does not free up when it is your turn to get into the parking lot, then you will be asked to leave and try again.
People park illegally on both shoulders of Hwy 89 which are not designed for parking and get stuck in sand or mud. On top of that, they get a ticket for illegal parking.
So, one of my most important tips for visiting Horseshoe Bend is to make sure you get to Horseshoe Bend Page Arizona way before sunset so that you have time to secure a parking spot.
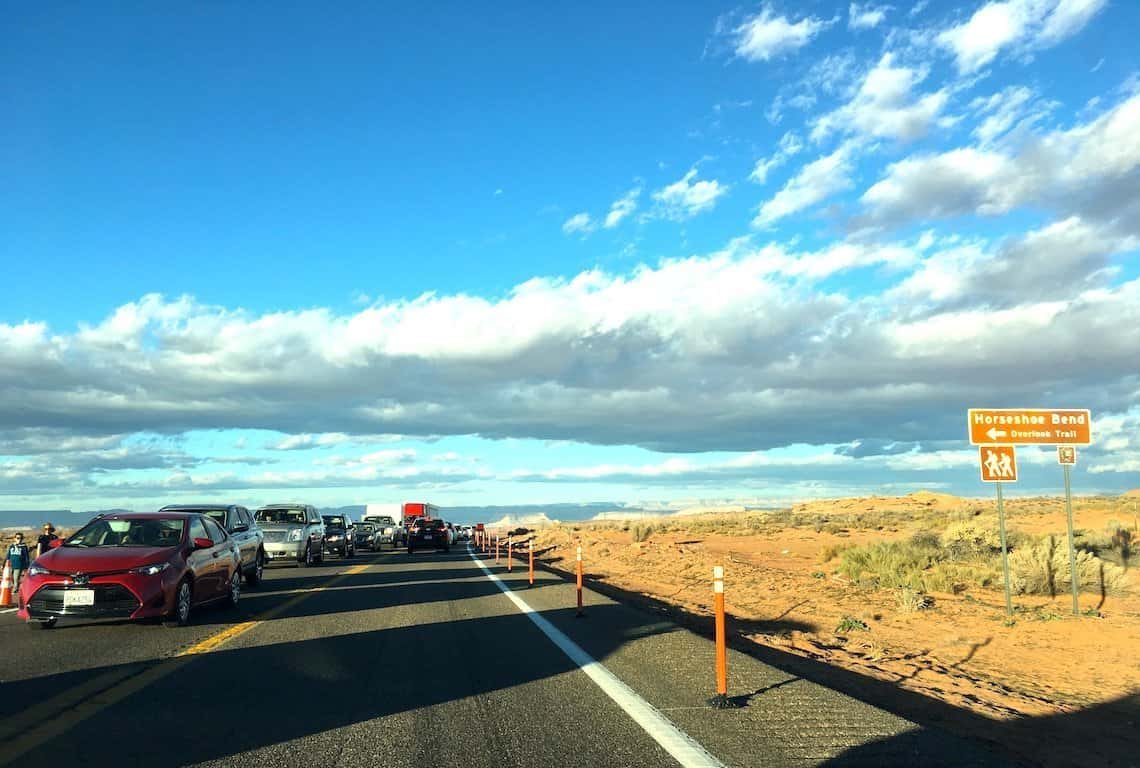
Lines of cars waiting for a parking spot / Horseshoe Bend Tips
Be Prepared to Pay for Parking
Parking used to be free at Horseshoe Bend. Not anymore!
In 2019 a new parking lot was built. It can accommodate about 300 cars, which is still not enough during peak times. All in all, you have to pay now when you manage to get a parking spot.
- Cars or RVs – $10
- Motorcycles – $5
- Commercial Vans/Buses (depending on the capacity) – from $35 to $140
Take a Shuttle to Horseshoe Bend
Because parking is so tough at Horseshoe Band, I am recommending that you take a shuttle.
Horseshoe and Slot Canyon Tours now offers basic shuttle service to the Horseshoe Bend Overlook from their office in Page, AZ. Shuttles depart once an hour between 8:00 AM and 4:00 PM and travel to the overlook via Navajo Indian Tribal Lands.
The cost is $59, plus an $8 Navajo Permit. If you decide to take the shuttle, make sure to make your reservations way in advance.
Be Prepared to Hike
Once you manage to secure your parking spot or decide to take the shuttle to get there, you will be faced with about a 20-minute hike.
The distance from Hwy 89 to Horseshoe Bend Overlook is about .75 miles one-way (1.5 miles round trip). To start with, the trail climbs over a hill and then gradually descends to the canyon’s edge.
It used to be a pretty dusty, sandy trail, however, a new path was constructed in 2019/2020. It is wheelchair accessible now and to top it off, there are two shaded resting points along the way.
Even though it is a pretty even path, it is a good idea to wear close-toed shoes.
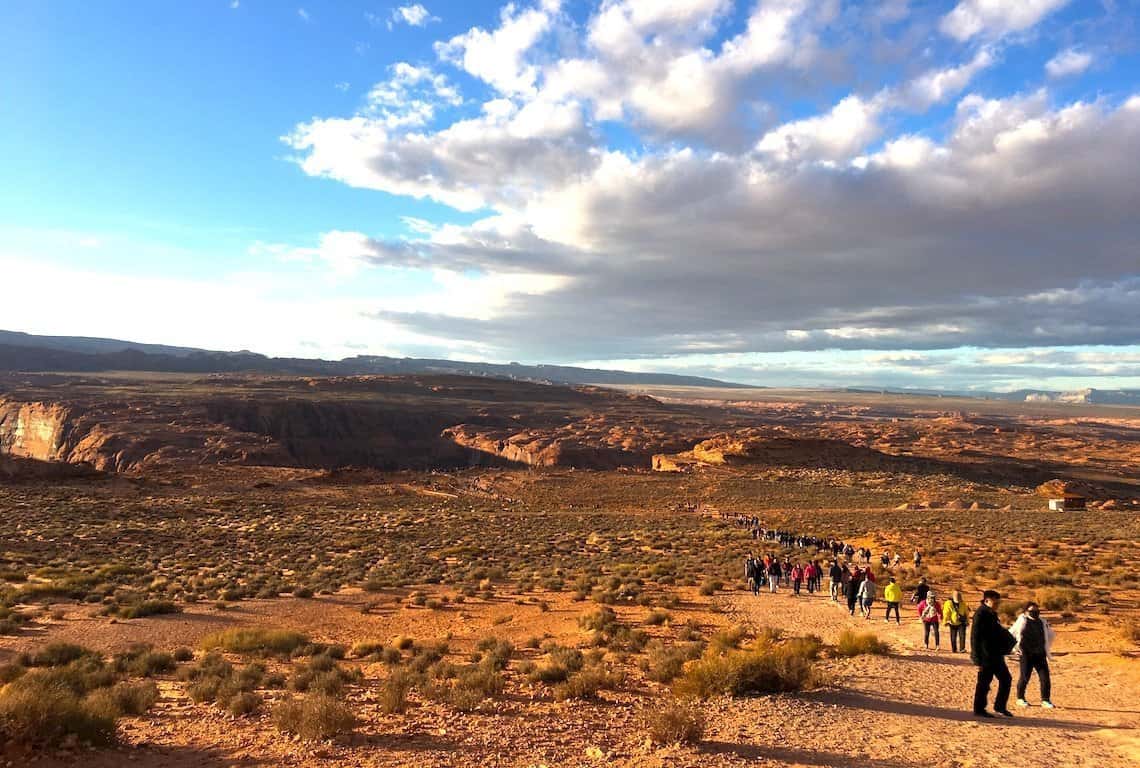
The distance from Hwy 89 to Horseshoe Bend Overlook is about .75 mi one-way / Horseshoe Bend Tips
Visit Horseshoe Bend in the Middle of the Day
First of all, the good news is that Horseshoe bend is accessible all year round.
Honestly, I do not think there is ever a “bad” time to visit Horseshoe Bend. It is an iconic, incredibly dramatic section of the Colorado River, and no matter when you go, you will enjoy the stunning views.
However, keep in mind that Horseshoe Bend faces west. Therefore, during the pre-sunrise and post-sunset hours, the view of the Colorado River tends to be in shadow.
The best view is right in the middle of the day when there are no shadows and the Horseshoe Bend is fully visible. However, you be the judge!
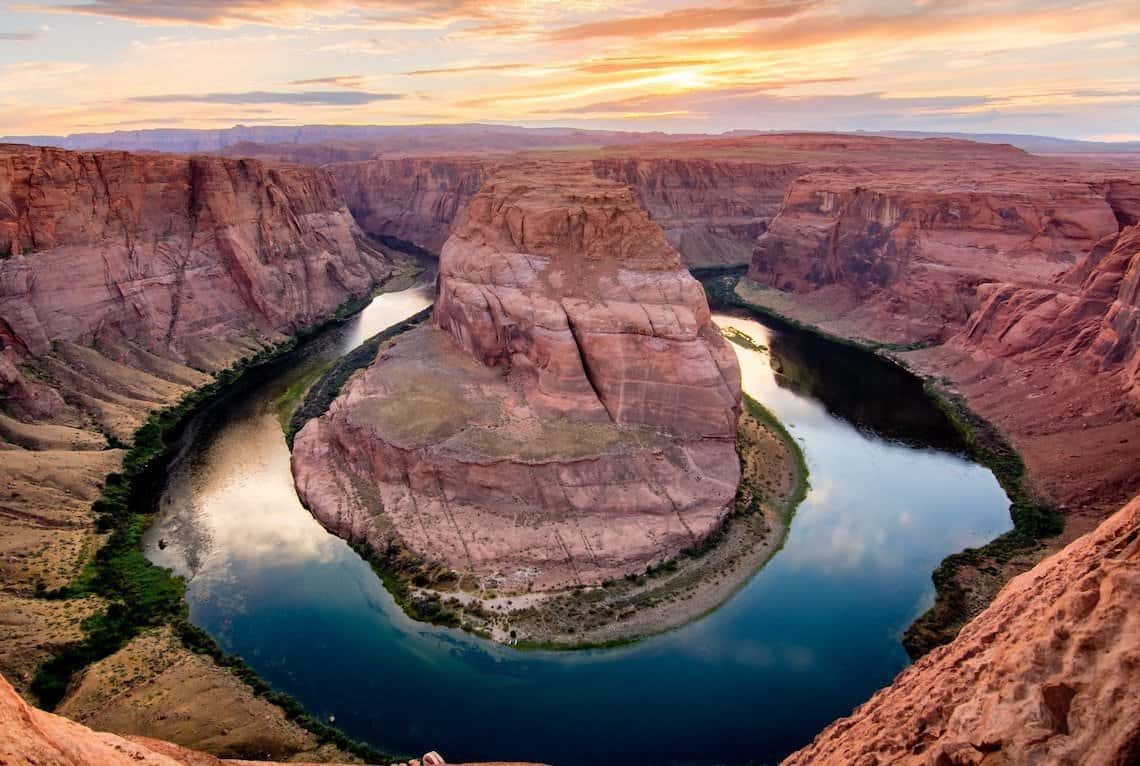
Horseshoe Bend at sunset / Horseshoe Bend Tips
Cover Your Face and Bring Water
It is very dusty along the trail leading to Horseshoe Bend Overlook. On top of that, it gets very windy at the overlook. So, make sure to cover your face, and nose, and maybe even bring sunglasses.
If you are hiking to Horseshoe Bend Overlook in the summertime, then be aware that the temperatures can reach way above 100 degrees F. Make sure to wear a hat and put on some sunscreen and above all bring water with you.
Plan to Spend About Two Hours at Horseshoe Bend
All in all, I think you should plan to spend about 2 hours at Horseshoe Bend.
It takes about 15-20 minutes to hike each way, which leaves you with about 1 hour and 20 minutes at Horseshoe Bend Overlook, which is perfect to take lots of pictures.
Use the Bathroom Before Starting Your Hike to Horseshoe Bend
Plan ahead and use the bathroom before starting your hike to Horseshoe Bend overlook.
There is a row of bathrooms at the very end of the parking lot. These are just basic pit toilets. The lines are long! Keep in mind that there are no bathrooms at the overlook.
Use Caution and Be Safe at Horseshoe Bend Overlook
This is another one of my top tips for visiting Horseshoe Bend!
Be cautious and safe at the overlook.
In 2018, a fenced overlook was built as a safety measure. But, other than that. are no railings or safety barriers along the rim.
I am sure you will see plenty of visitors standing just inches from the edge, or dangling their feet over the rim. It is dangerous because it gets very windy at the overlook and you can easily lose your footing.
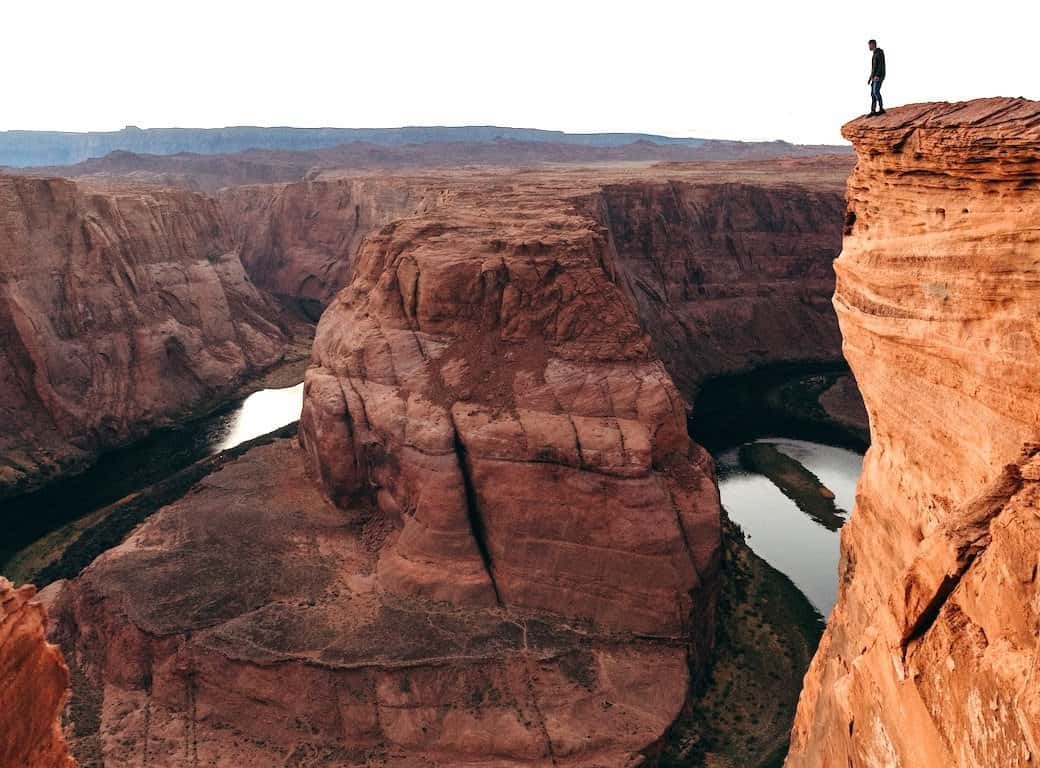
Be safe and use caution when you are visiting Horseshoe Bend overlook / Horseshoe Bend Tips
Head to Horseshoe Bend When the Sky Is Overcast (Awesome Photos!)
If you are visiting Horseshoe Bend during inclement weather conditions, you might be able to capture some of the most incredible images. The entire area looks very dramatic when the sky is overcast.
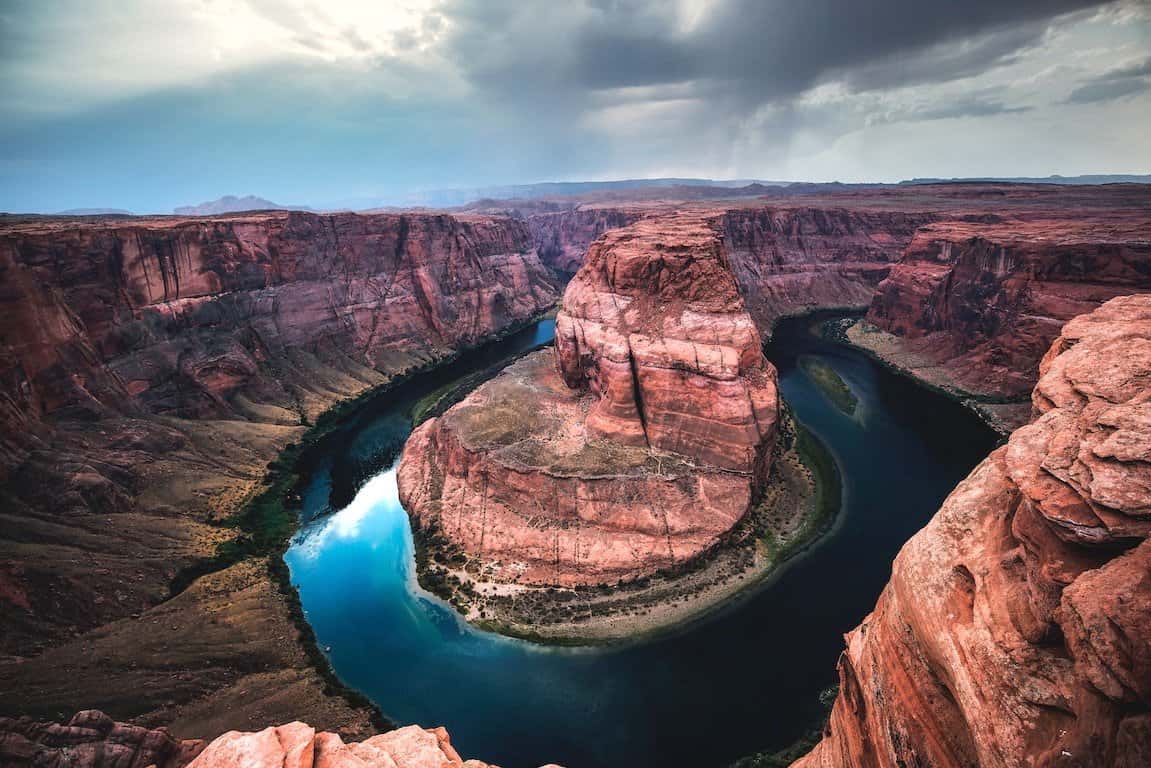
Head to Horseshoe Bend when the sky is overcast. You will capture the most stunning images / Horseshoe bend Tips
Bring a Wide-Angle Lens to Horseshoe Bend
Horseshoe Bend was made for wide-angle shots!
I really like wide-angle lenses and use them a lot for landscapes.
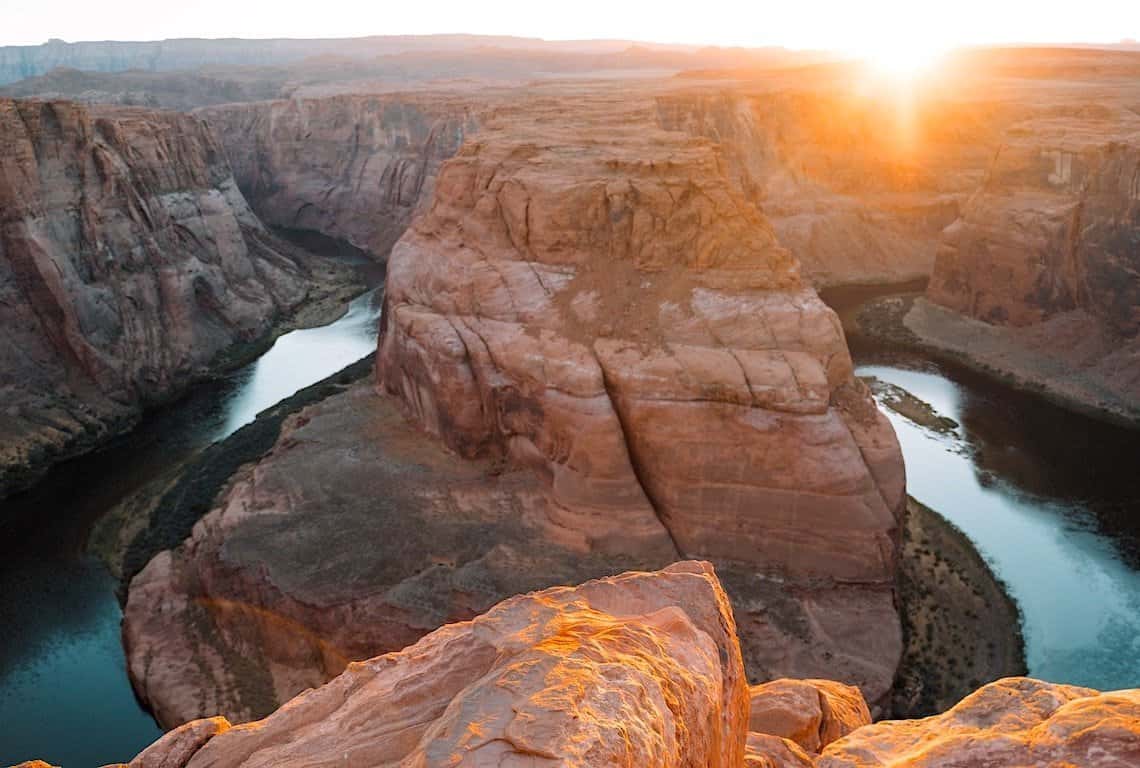
Use a wide-angle lens when taking pictures of Horseshoe Bend / Horseshoe Bend Tips
Include Foreground in Your Photos of Horseshoe Bend
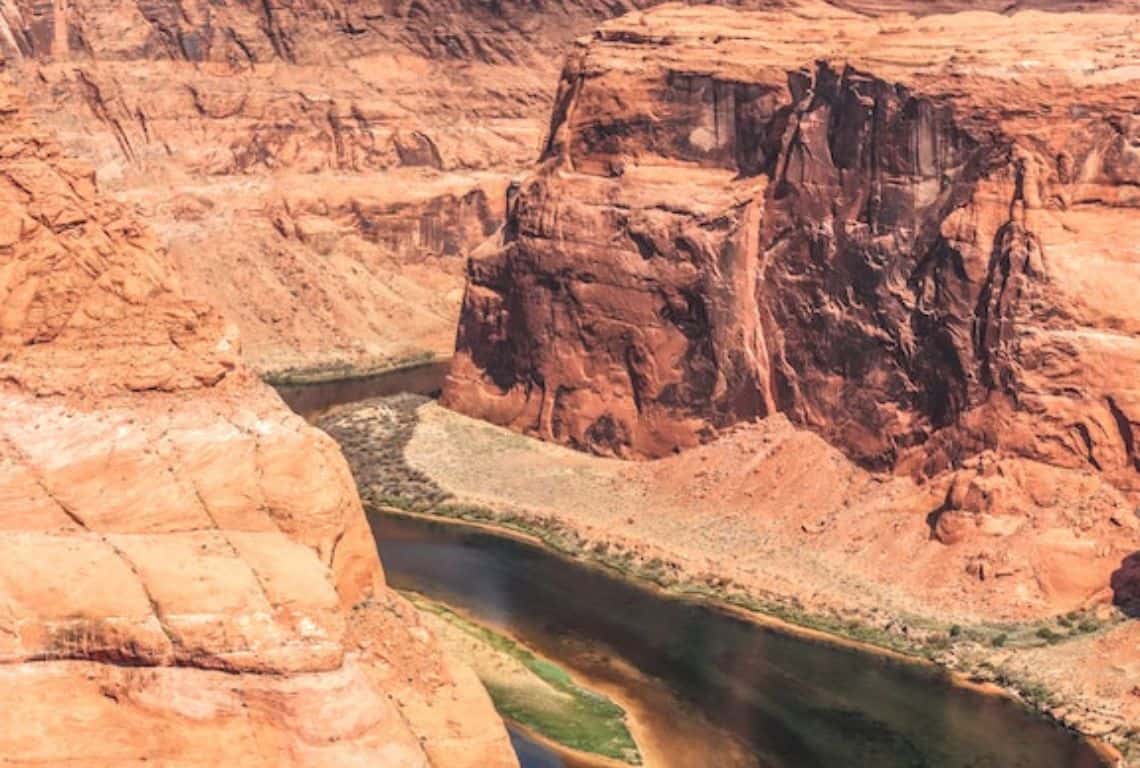
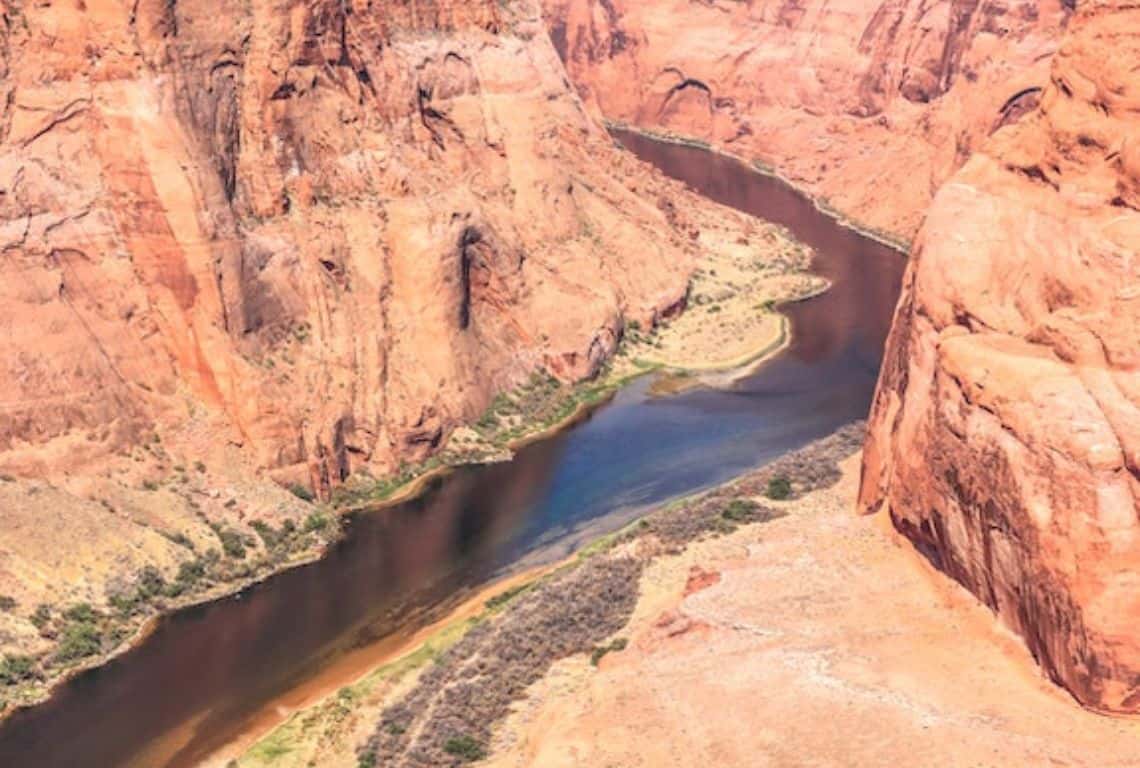
When taking pictures of Horseshoe Bend, do not forget to include the foreground. It adds more dimension to your image and makes it more interesting. It could be a tree or a rock, or a person sitting and looking in the distance. Including people in your shot will add a dramatic effect to your pictures and tell the viewer how enormous this place is.
Also, do not be afraid to zoom in and catch different angles of the bend.
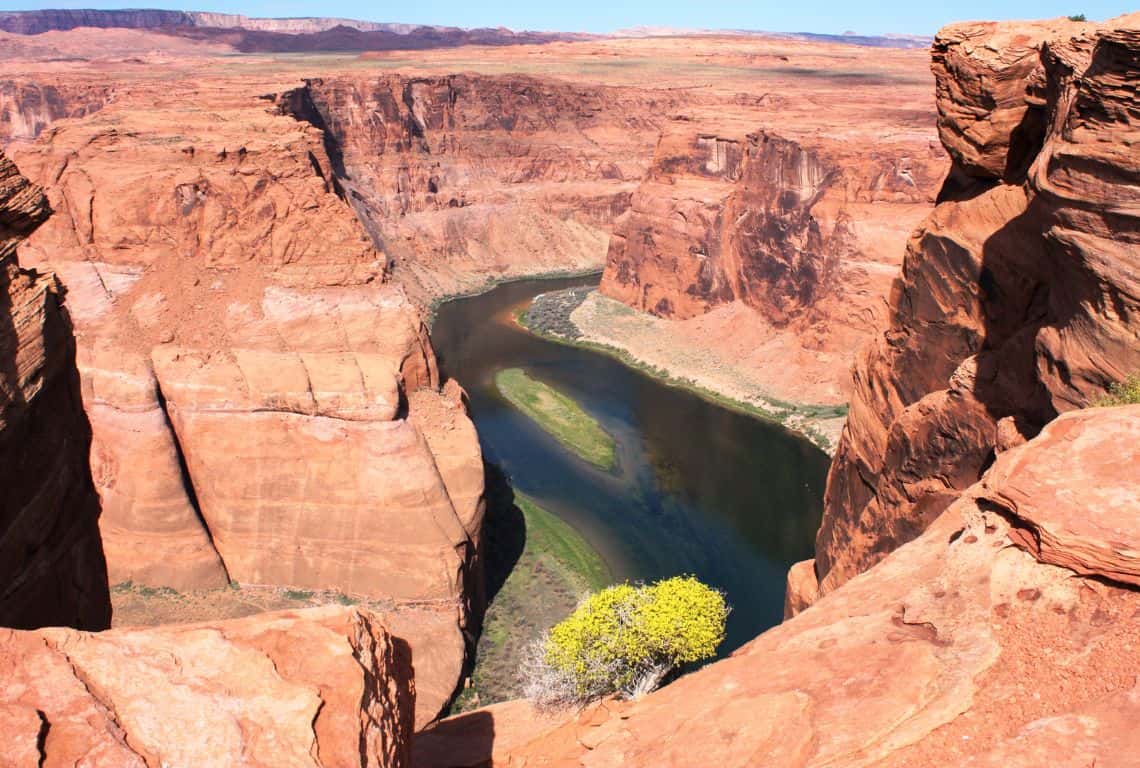
Do not be afraid to zoom in on Horseshoe Bend / Horseshoe Bend Tips
Intrepid Scout's Horseshoe Bend Tips
- Arrive before sunrise, or stay after sunset to catch some great pictures of Horseshoe Bend.
The light is softer and warmer during the famous golden hour, which is the time before sunrise and after sunset.
If you stay after sunset, you will catch some dramatic photos of Horseshoe Bend. It is known as the blue hour. The sun is below the horizon during the blue hour and the colors acquire a bluish tint.
- If you get to Horseshoe Bend before sunrise or stay after sunset, you might be lucky enough to get some peace and find some solitude. The crowds are rarely there for sunrises and disperse right after sunsets.
- Parking is really very challenging, so allow some extra time to get a parking spot.
- Make sure to combine Horseshoe Bend with a visit to Lower or Upper Antelope Canyon.
More Helpful Posts About Arizona:
20 Practical ANTELOPE CANYON TIPS for First Visit (IMPORTANT: Read Before Going)
12 Useful Tips for Visiting Horseshoe Bend in Arizona
9 Best PHOTOGRAPHY LOCATIONS in GRAND CANYON (+Useful Photo Tips)
Amazing ONE DAY in GRAND CANYON (4 Things You Can’t Miss)
Grand Canyon Shuttle Bus Guide (Maps+Routes+Schedules)
Amazing ONE DAY in GRAND CANYON Itinerary (4 Cool Things You Can’t Miss)
Did You Find Horseshoe Bend Tips Useful?
Why Not Save It to Your Pinterest Board!
Now, It Is Your Turn, I Would Like to Hear Back from You!
Are you planning your trip to Horseshoe Bend? Are you going to visit Antelope Canyon as well?
Please let me know! Drop me a quick comment right below!
Click on any of the images below to get inspired and to help you with the planning process with your trip to American Southwest!
