This site uses affiliate links, meaning that if you make a purchase through our links, we may earn an affiliate commission.
Welcome to Zion National Park, a breathtaking oasis nestled in the heart of Utah’s red rock country. Known for its towering sandstone cliffs, emerald canyons, and panoramic vistas, this iconic national park offers a paradise for hikers and nature enthusiasts alike.
In this guide, we will take you on a virtual journey through the 12 unforgettable scenic hikes in Zion National Park. Lace up your boots, grab your camera and get ready to embark on an unforgettable adventure where every step reveals nature’s masterpiece.
GOOD TO KNOW: Zion National Park can easily be combined with a visit to Bryce Canyon National Park: Zion to Bryce Canyon in 3 Days – Perfect Rod Trip Itinerary.
Looking for a longer road trip? How about this Epic 7-Day Road Trip Through Utah National Parks?
- 1. Zion National Park At-A-Glance
- 2. What to Pack for Hiking in Zion National Park
- 3. 12 Most Scenic Hikes in Zion National Park
-
- 3.1. Emerald Pools Trail (Lower, Middle, and Upper Emerald Pool Trails)
- 3.2. Pa'rus Trail
- 3.3. Angels Landing Trail
- 3.4. Weeping Rock Trail
- 3.5. Riverside Walk Trail
- 3.6. Canyon Overlook Trail
- 3.7. Observation Point Trail
- 3.8. The Narrows Trail
- 3.9. Hidden Canyon Trail
- 3.10. The Subway (Bottom-Up)
- 3.11. The West Rim Trail
- 3.12. The Watchman Trail
- 4. Pick Your Perfect Hike in Zion National Park
- 5. Intrepid Scout's Tips for Most Scenic Hikes in Zion National Park
Zion National Park At-A-Glance
Before diving in, here are a few Zion National Park highlights to help you plan your trip:
- Best Time to Visit Zion National Park
Zion National Park is a great destination to visit at any time of the year. And, it is open 24 hours a day, every day of the year. I have visited Zion so many times at different times of the year and I have to honestly say that it is an awesome place to see no matter what month you visit!
Needless to say, April and May and then September and October, are my favorite months to visit Zion National Park. The temperatures are mild with daytime temps in the 60s and 70s F. You will see fewer crowds as well and have some serene experiences on trails and at viewpoints.
Summer is the high season. Expect a lot of companionship on the trails and everywhere throughout the park. The temperatures skyrocket as well ranging from the high 80s to 100s F.
Winter is a good time to visit Zion National Park. Above all, you will be able to find some solitude. Snow seldom reaches the canyon floor and that being the case, the scenic drive and some hiking can be enjoyed during that time. Temperatures can range from low 50s to sometimes low 70s F. However, make sure to check the weather and local snow conditions. Make sure that the trails you are planning to hike are clear and safe.
- Where to Stay When Visiting Zion National Park
Hands down, nothing beats staying inside the park! However, accommodations inside the park are very limited and you will need to make reservations at least a year in advance. Zion Lodge is the only hotel inside the park. It is open year-round and has several different types of accommodations like cabins, hotel rooms, and suites.
Zion National Park has three campgrounds. South and Watchman Campgrounds are inside the Zion Canyon, Lava Point Campground is about 1-hour drive from Zion Canyon on the Kolob Terrace Road. Reservations are required at South and Watchman Campgrounds.
Springdale, UT is conveniently right at the entrance to Zion and it is the perfect getaway to Zion National Park. I stayed in Springdale several times and my two top choices are Hampton Inn & Suites Springdale/Zion National Park, and SpringHill Suites by Marriott Springdale Zion National Park. Both places are clean and comfortable, and the location is perfect.
- How to Get to Zion National Park
The closest International Airports to Zion National Park that you can fly into are located in Las Vegas (LAS), Nevada, and Salt Lake City (SLC), Utah. There are smaller Regional Airports in St. George (SGU), Utah, and Cedar City (CDC), Utah. I use Skyscanner to browse flights and find the best price.
- How to Get Around in Zion National Park
If you are visiting Zion National Park between the months of March through November, then you will have to use the shuttle. No private vehicles are allowed inside the park. The cost of the shuttle is included in your recreational use pass. You can hop on and hop off at any of the shuttle stops.
There are two shuttle routes: Zion Canyon Shuttle, which runs along the Zion Scenic Drive and makes 9 stops at viewpoints and trailheads, and Springdale Shuttle which stops at 9 locations in the town of Springdale and picks up and drops off visitors at the park’s pedestrian/bike entrance.
- How Much Does It Cost to Vist Zion National Park
In order to visit Zion National Park, you need to purchase a recreational day-use pass, which costs $35 per vehicle and is good for 7 consecutive days. You can purchase the pass right at the entrance to the park. If you are visiting several national parks then make sure to get America the Beautiful National Park Pass. This $80 pass is valid for 12 months and gets you into all 400+ national park sites!
- Intrepid Scout’s Tip:
If you are planning on hiking the Angels Landing Trail, which is one of the most popular hikes in Zion National Park, then you need to reserve a timed-entry ticket at recreation.gov.
What to Pack for Hiking in Zion National Park
When preparing for a hiking adventure in Zion National Park, it is crucial to pack the right gear and essentials to ensure your safety, comfort, and enjoyment.
Here is a basic list of items you should consider bringing:
- Hiking Shoes: Invest in sturdy, comfortable hiking shoes with good traction to navigate Zion’s varied terrains.
GOOD TO KNOW: Trail shoes are great; hiking boots are even better since they offer more support. Do not forget to break in your shoes before bringing them to Zion National Park. Also, do not forget merino wool socks. They will keep your feet dry, and protect you from blisters.
- Daypack: Carry a lightweight, waterproof daypack to store your essentials and keep your hands free during hikes.I have Osprey Daylite Daypack and it is perfect for day hiking.
- Water: Stay hydrated by bringing an adequate amount of water. A reusable water bottle or hydration bladder is recommended.
GOOD TO KNOW: Without enough water, your body’s muscles and organs simply cannot perform as well. Consuming too little water will not only make you thirsty but susceptible to hypothermia and altitude sickness. I have been using Yeti Rumbler 26 oz insulated, stainless steel bottle, and I am highly recommending it.
- Snacks/Energy Food: Pack lightweight, high-energy snacks such as trail mix, energy bars, or fresh fruits to keep you fueled during the hikes.
I like RXBAR. It is a high-protein bar, gluten-free, and it is super yummy!
- Sun Protection: Shield yourself from the desert sun by packing a wide-brimmed hat, sunglasses, and sunscreen with a high SPF.
- Layered Clothing: Dress in layers to adapt to changing temperatures. Opt for moisture-wicking and quick-drying fabrics. Include a lightweight rain jacket or windbreaker in case of weather changes.
I have had my North Face Women’s Osito Triclimate Jacket for years, and I love it. Also, I am highly recommending these Patagonia moisture-wicking hiking shirts and Patagonia warm fleece pullovers.
- Navigation Tools: Carry a detailed map or a GPS device to navigate the trails confidently. It’s also helpful to have a compass or a navigation app on your phone.
- First Aid Kit: Pack a compact first aid kit containing bandages, antiseptic ointment, pain relievers, and any necessary personal medications.
- Trekking Poles: Consider using trekking poles to provide stability and reduce strain on your joints, especially on steep or rocky terrain.
- Insect Repellent: Protect yourself from pesky bugs by applying insect repellent before heading out.
- Headlamp/Flashlight: Carry a headlamp or flashlight with extra batteries in case you hike during low-light conditions or plan for longer hikes.
- Camera/Phone: Capture stunning vistas and memories with a camera or your smartphone. Ensure you have enough storage space and consider an additional portable charger.
I have a Nikon COOLPIX P1000 Super Telephoto Camera that I bought a couple of years ago and I really like it.
- Personal Items: Don’t forget essentials such as a fully charged cell phone, ID, cash, a whistle, and a multi-tool.
PRO TIP: Remember to check the weather forecast and trail conditions before your trip. It is always advisable to inform someone about your hiking plans and expected return time. Respect the park regulations and Leave No Trace principles by packing out all your trash and minimizing your impact on the environment.
12 Most Scenic Hikes in Zion National Park
Emerald Pools Trail (Lower, Middle, and Upper Emerald Pool Trails)
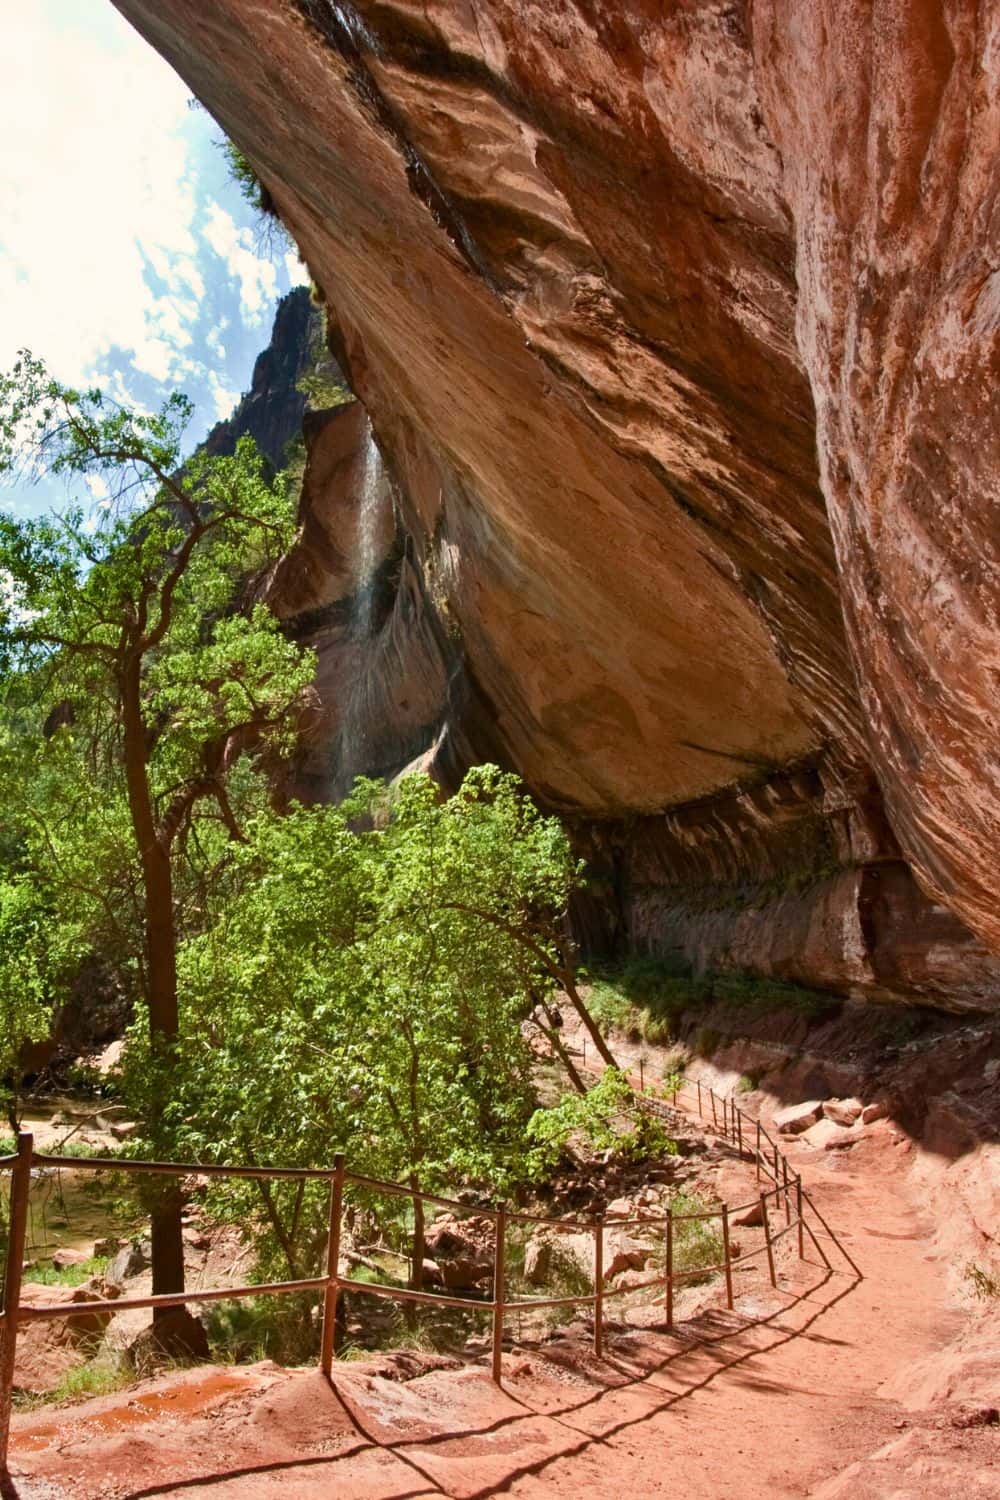
Welcome to the enchanting realm of the Emerald Pools Trail, one of the most scenic hikes in Zion National Park. Nestled amidst the towering cliffs and vibrant canyons, this captivating hike offers a serene and mystical experience that will leave you in awe.
As you embark on this journey, prepare to be enchanted by the emerald-colored waters, cascading waterfalls, and the ethereal beauty of the surrounding landscape.
Lace-up your boots and join us as we uncover the wonders of the Emerald Pools Trail, a hidden gem awaiting your exploration.
Emerald Pools Trail / Most Scenic Hikes in Zion
GOOD TO KNOW: Emerald Pools Trail consists of 3 sections. You can hike just to Lower Emerald Pool (the first section) which is a short and easy hike, or continue to the Middle and Upper Pools which is more challenging.
- Distance: Lower Pool – 1.2 miles round trip, Middle Pool – 2 miles round trip, and Upper Pool – 2.2 miles round trip
- Time: 2-4 hours (depending on how far you hike)
- Difficulty: Easy to moderate (Lower Pools – Easy; Middle and Upper – moderate)
- Trailhead: Shuttle Stop # 5 Zion Lodge. Across the road from the shuttle stop.
Emerald Pools Trail / Most Scenic Hikes in Zion
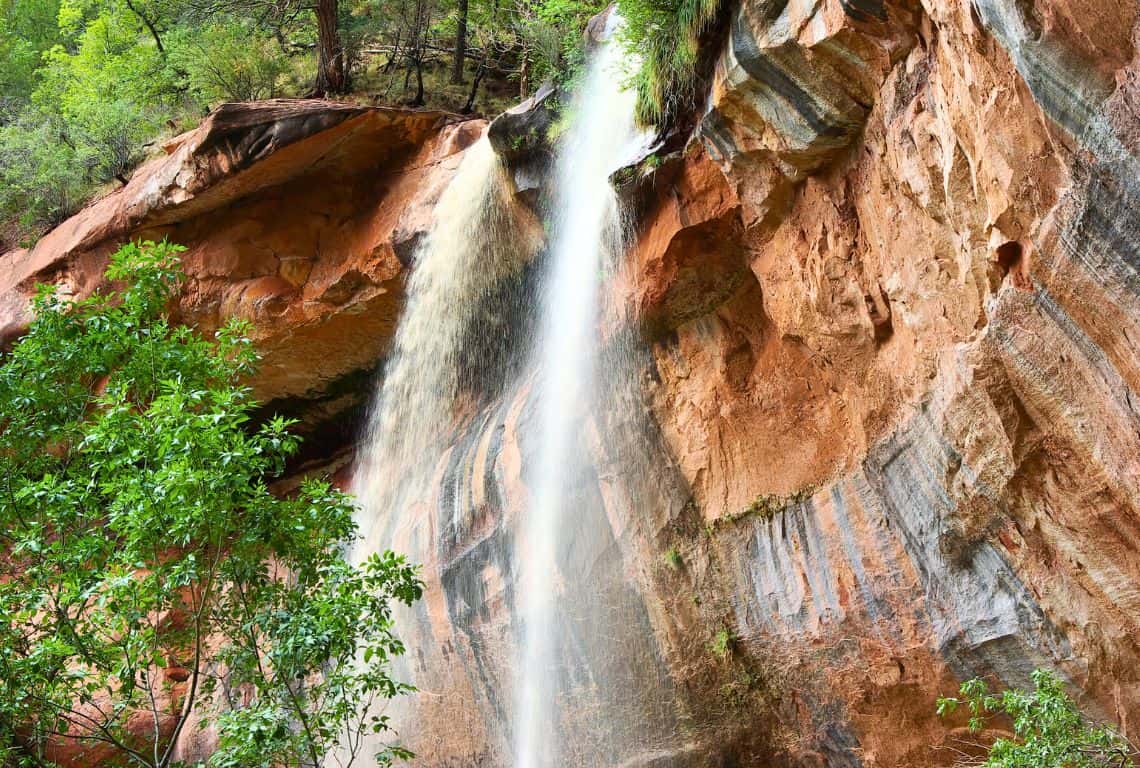
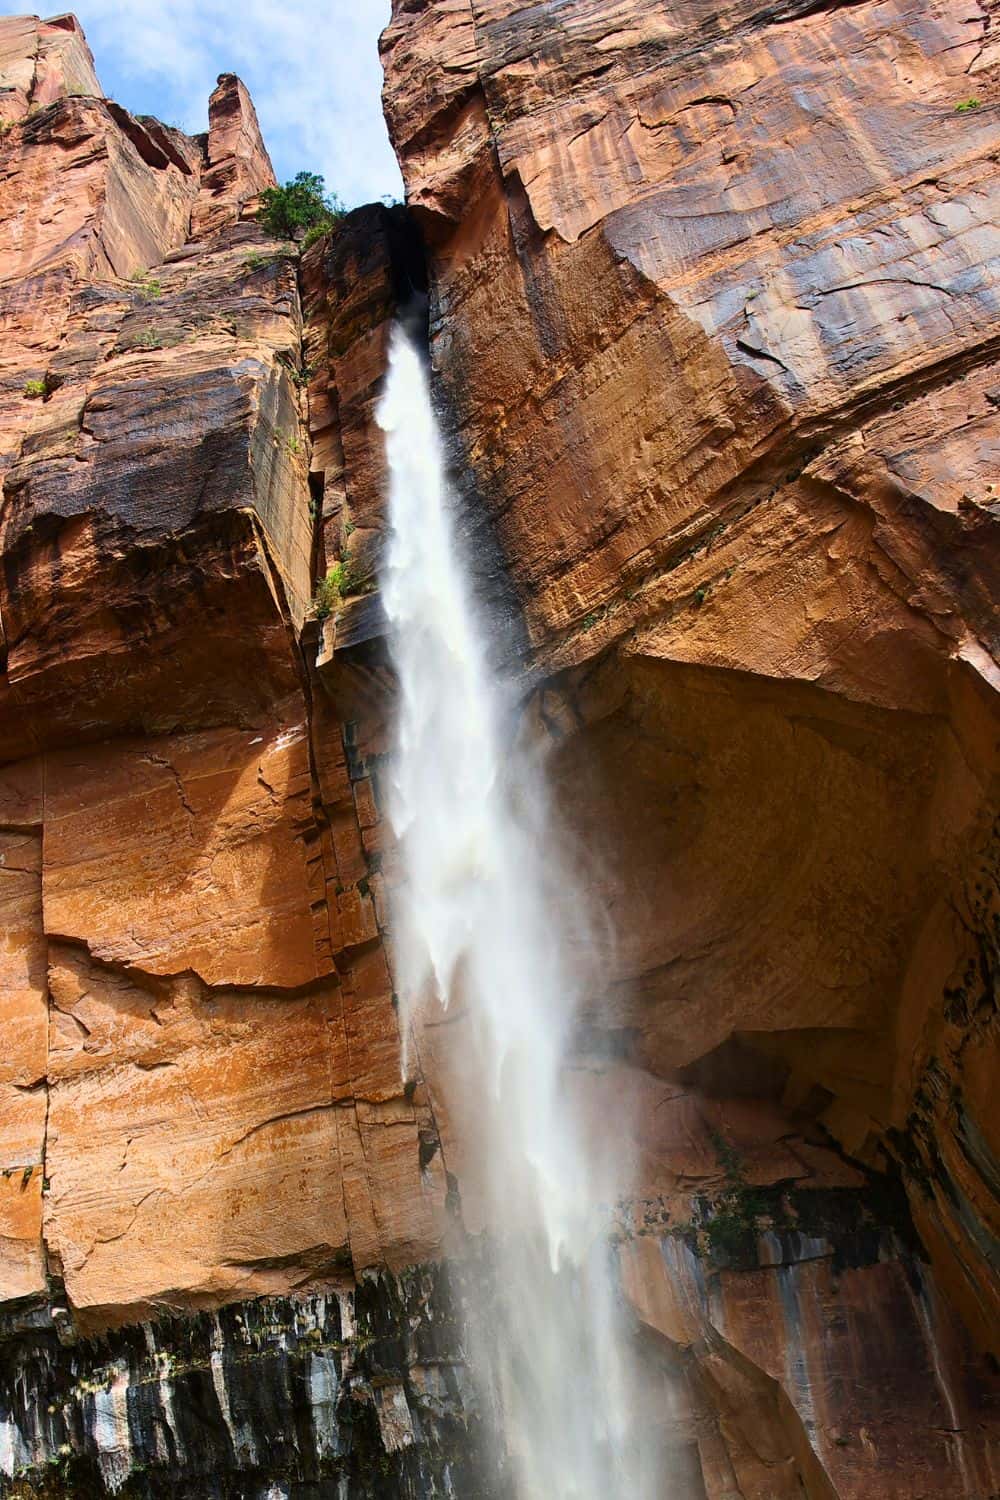
Emerald Pools Trail is an absolute delight to hike this trail which meanders along a small stream that eventually takes you into an alcove with a couple of waterfalls cascading over an alcove and forming several pools.
The first section of the trail will take you to Lower Emerald Pools. This section is short and easy and is perfect for every fitness level with little elevation change.
Emerald Pools Trail / Most Scenic Hikes in Zion
Once you pass the alcove, the trail goes up at an incline and takes you to the top of the alcove that you have just walked under. It is called Middle Emerald Pools. There are no pools here, but rather you will find a stream that later on becomes the waterfall.
The final stretch leading to the Upper Emerald Pool is the most strenuous, but it is short.
To get back, you can simply retrace your steps. And, as you are leaving, take the last look back. You will be rewarded with the most stunning view! If you would like to see some different scenery on the way back, then you can take Kayenta Trail. Kayenta Trail is slightly longer. It will end at the Grotto Shuttle Stop #6.
Pa'rus Trail
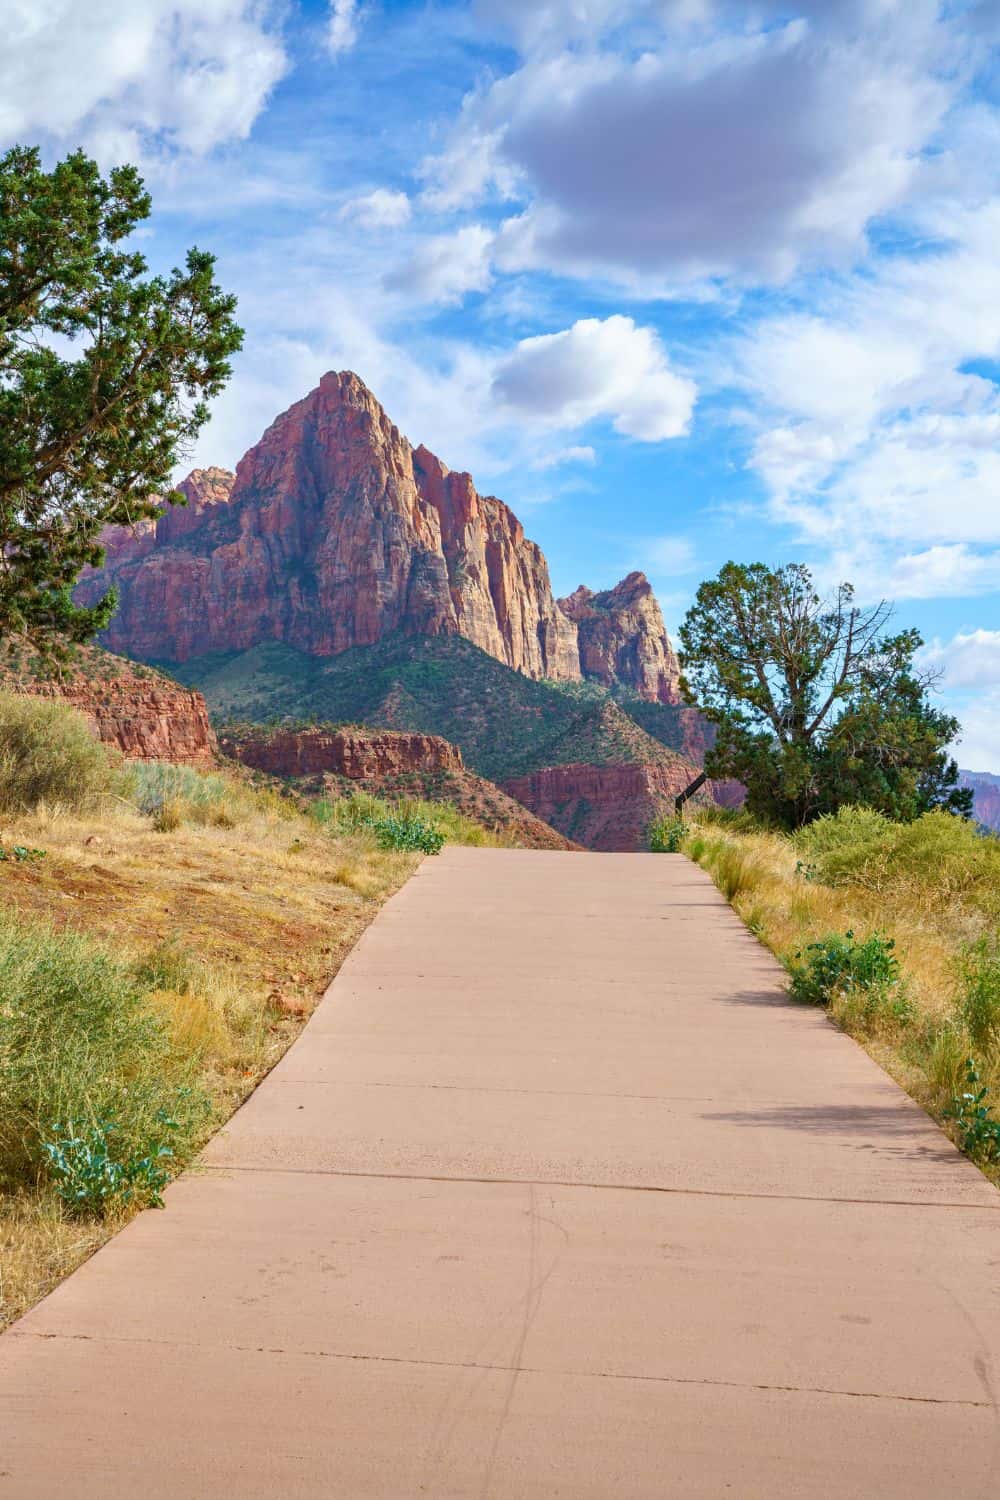
The Pa’rus Trail is a scenic and accessible pathway that winds along the Virgin River, offering stunning views of the surrounding canyon walls and the park’s diverse flora and fauna. This family-friendly trail provides a peaceful and enjoyable experience for visitors of all ages and abilities.
The Pa’rus Trail starts at the South Campground near the Zion Canyon Visitor Center. You can easily access the trail by walking from the visitor center or taking the shuttle to the South Campground Shuttle Stop.
The Pa’rus Trail is approximately 3.5 miles (5.6 kilometers) round trip, but you can choose to hike a shorter portion of the trail if desired. The path is mostly flat and paved, making it suitable for strollers, wheelchairs, and cyclists. However, keep in mind that the trail is shared with cyclists, so be mindful of others and follow trail etiquette.
- Distance: 3.5 miles round trip
- Time: 2 hours
- Difficulty: Easy
- Trailhead: Shuttle Stop #1 Zion Canyon Visitor Center (trail ends at Shuttle Stop #3 Canyon Junction)
As you stroll along the Pa’rus Trail, be prepared to be captivated by the picturesque vistas of the surrounding canyon and the meandering Virgin River. The trail offers numerous viewpoints and photo opportunities, allowing you to immerse yourself in the natural beauty of Zion National Park.
GOOD TO KNOW: The Pa’rus Trail is one of the few trails in Zion National Park where dogs are allowed. If you’re traveling with your furry friend, ensure they are on a leash no longer than six feet (1.8 meters) and clean up after them. Be respectful of other trail users and follow park regulations regarding pets.
Pa’rus Trail / Most Scenic Hikes in Zion
GOOD TO KNOW: The Pa’rus Trail provides multiple access points to the Virgin River. Take advantage of these opportunities to dip your toes in the cool water or sit by the riverbank and soak in the peaceful atmosphere. Be cautious of the river’s current and follow any posted safety guidelines.
PRO TIP: I have to confess that the views from the trail are especially captivating at sunset. If you happen to be on the trail at sunset time, you will capture great photos of the stunning red rock, the Watchman, which glows with all the colors of sandstone: pinks and reds, orange, yellow, and all shades of white. It is a photographer’s dream to be able to catch all these colors.
Angels Landing Trail
Prepare for an exhilarating adventure on the iconic Angel’s Landing Trail in Zion National Park. This renowned hike promises a thrilling experience as you navigate its narrow ridges and witness breathtaking views that will leave you in awe.
Angel’s Landing Trail is not for the faint of heart but for those seeking an unforgettable adventure and an unparalleled sense of accomplishment.
The trail takes you high above the canyon floor, offering panoramic vistas of the surrounding red rock cliffs and the winding Virgin River below.
With each step, the trail presents a thrilling challenge, including a series of switchbacks known as Walter’s Wiggles and the final ascent along a narrow ridge with chains for support. But the reward is beyond measure, as you reach the summit and are greeted by a heavenly panorama of Zion’s majestic beauty.
You will feel a sense of triumph and awe as you stand atop Angel’s Landing. The sweeping views of the canyon and its towering cliffs are nothing short of extraordinary, serving as a testament to the grandeur of nature.
PRO TIP: Please note that the Angel’s Landing Trail requires physical fitness, caution, and a head for heights. Following safety guidelines and using proper hiking gear throughout the journey are essential.
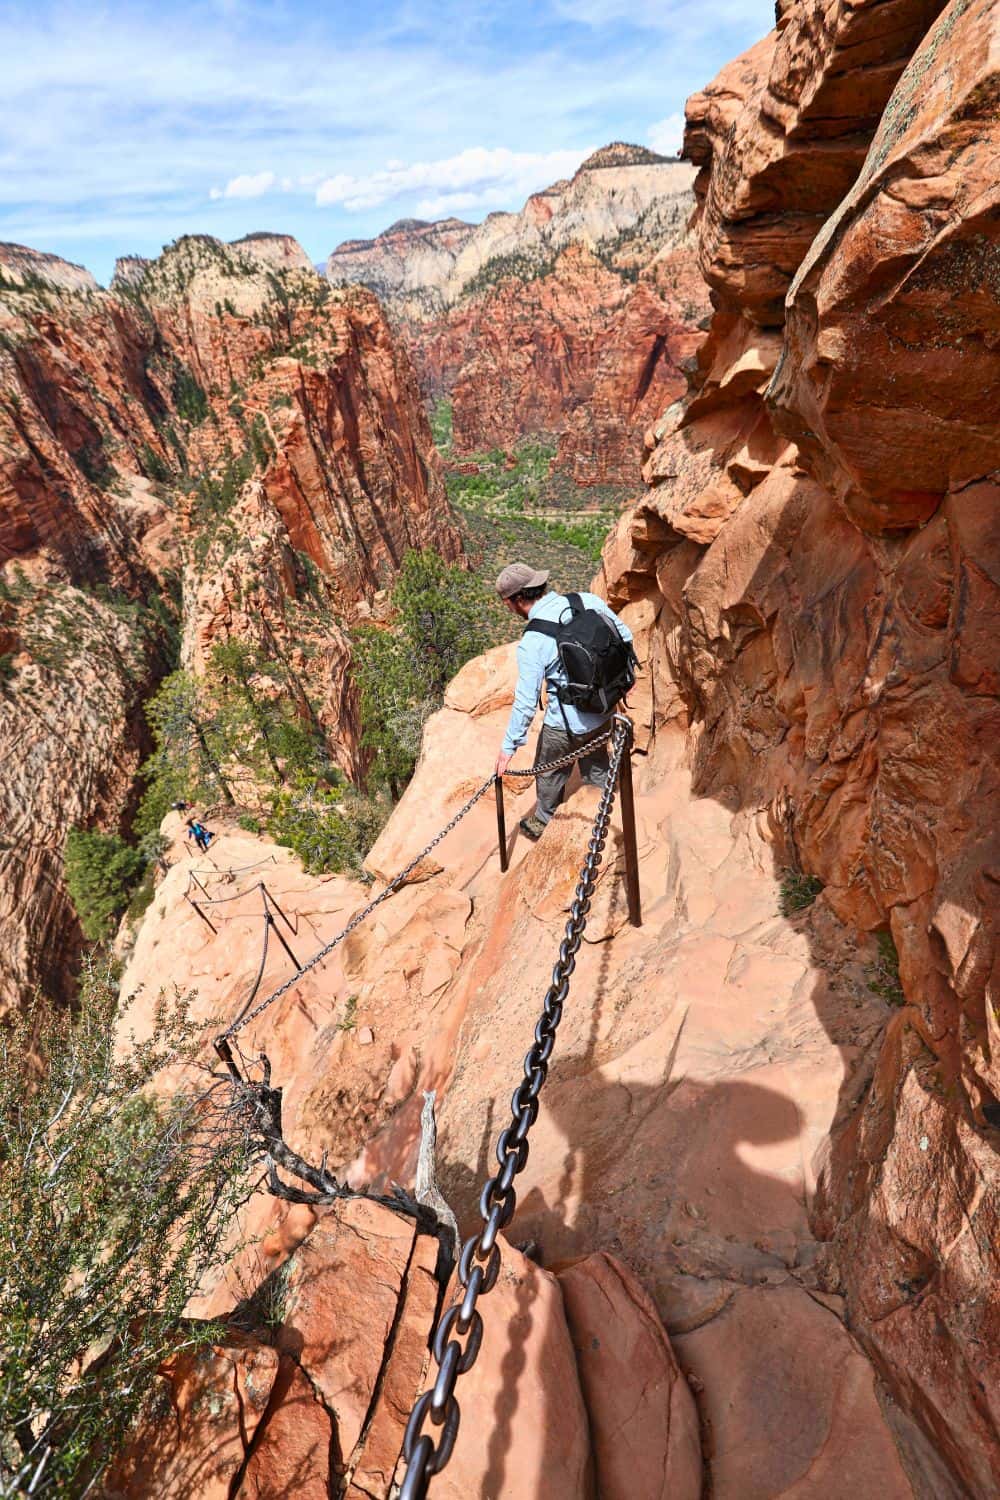
Angel’s Landing Trail / Most Scenic Hikes in Zion
GOOD TO KNOW: Starting April 1, 2022, a Timed Entry Permit is required to hike on Angels Landing. You will need to register for a lottery. Make your reservations at recreation.gov.
- Distance: 5.4 miles round trip
- Time: 4 hours
- Difficulty: Strenuous
- Trailhead: Shuttle Stop #6 The Grotto
Weeping Rock Trail
The Weeping Rock Trail offers a unique and fascinating experience as it leads you to a natural spring that appears to “weep” water from the rock overhead. This short but rewarding trail allows you to witness a remarkable display of nature’s artistry.
The Weeping Rock Trailhead is located at the Weeping Rock Shuttle Stop along the Zion Canyon Scenic Drive. You can reach the trailhead by taking the Zion Canyon Shuttle.
The Weeping Rock Trail is a relatively short hike, measuring approximately 0.4 miles (0.6 kilometers) round trip. The trail is paved and relatively easy, making it accessible to most visitors. However, please note that there is a slight elevation gain, so be prepared for a short uphill climb.
- Distance: 0.4 round trip
- Time: 30 minutes
- Difficulty: Easy
- Trailhead: Shuttle Stop # 7 Weeping Rock
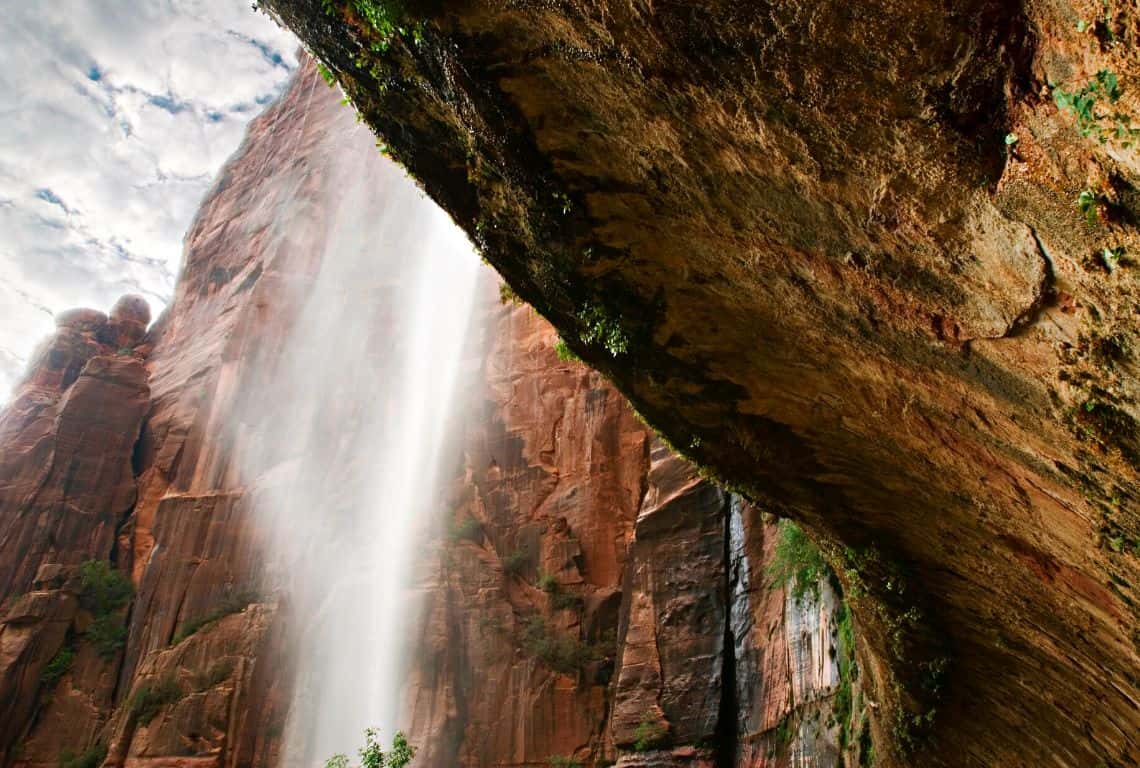
Weeping Rock Trail / Most Scenic Hikes in Zion
Along the trail, you will find interpretive signs that provide valuable information about the unique geology, flora, and fauna of the area. Take the time to read these signs and learn more about the fascinating natural features surrounding the Weeping Rock.
The Weeping Rock Trail can get crowded during peak hours, especially in the summer months. To enjoy a more peaceful experience, consider visiting early in the morning or later in the afternoon when the trail is less busy.
As the name suggests, the Weeping Rock features water dripping from the rock formation overhead. Although the water is safe to touch, be prepared to potentially get wet. It is also a good idea to bring a rain jacket or wear clothing that can withstand a few water droplets.
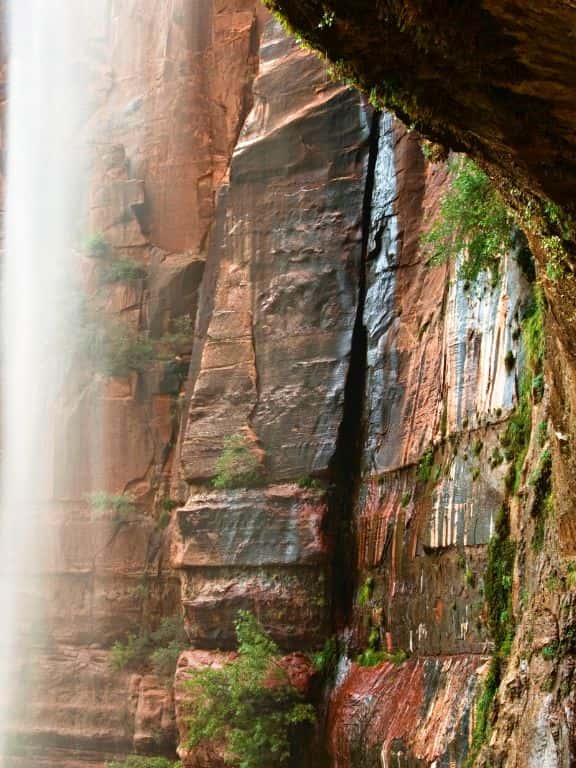
Weeping Rock Trail / Most Scenic Hikes in Zion
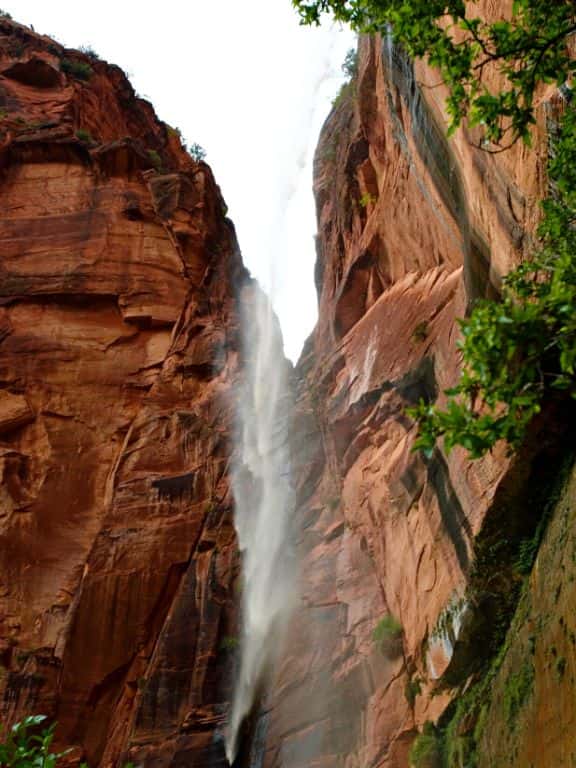
Weeping Rock Trail / Most Scenic Hikes in Zion
The Weeping Rock offers excellent opportunities for unique and memorable photographs. Capture the ethereal beauty of the water droplets against the contrasting red rock backdrop. Experiment with different angles and perspectives to capture the best shots.
PRO TIP: By the way, if you happen to be visiting in the summertime, be on the lookout for the Hanging Columbine. Interestingly enough, the Hanging Columbine is endemic to Zion. Actually, there are two species of Columbine in the park – the golden one, which has yellow flowers, and the western one, which has red and yellow flowers.
GOOD TO KNOW: Weeping Rock Trail has a nice shade and stays cool even during the hottest summer days. The water flowing down from the Weeping Rocks provides invigorating refreshment in the dry heat. Likewise, use caution when walking since the path might be slightly slippery. If you are visiting the park in the wintertime, be prepared for the trail closure due to icy conditions.
Riverside Walk Trail
The Riverside Walk Trail serves as the gateway to the Zion Narrows and offers a delightful and accessible hike along the Virgin River. This scenic trail showcases the stunning beauty of the canyon, providing a serene and family-friendly experience for visitors of all ages and abilities.
- Distance: 2.2 miles round trip
- Time: 1.5 hours
- Difficulty: Easy
- Trailhead: Shuttle Stop #9 Temple of Sinawava
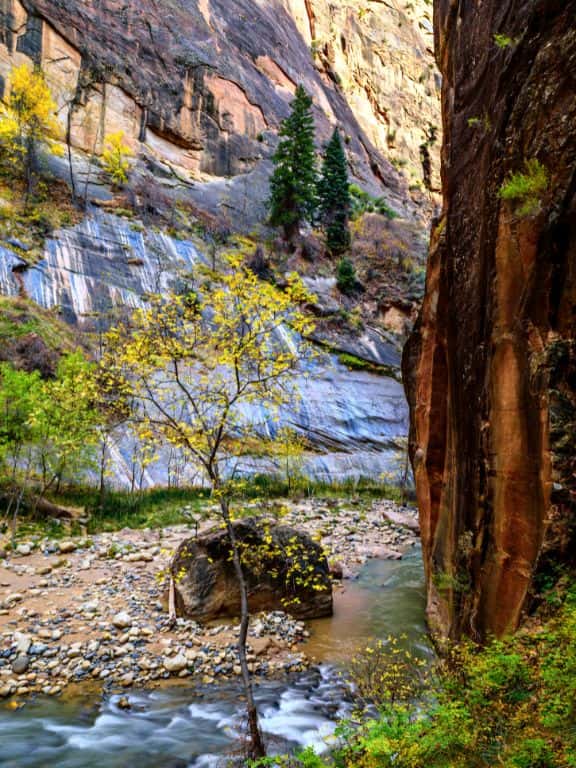
Riverside Walk Trail / Most Scenic Hikes in Zion
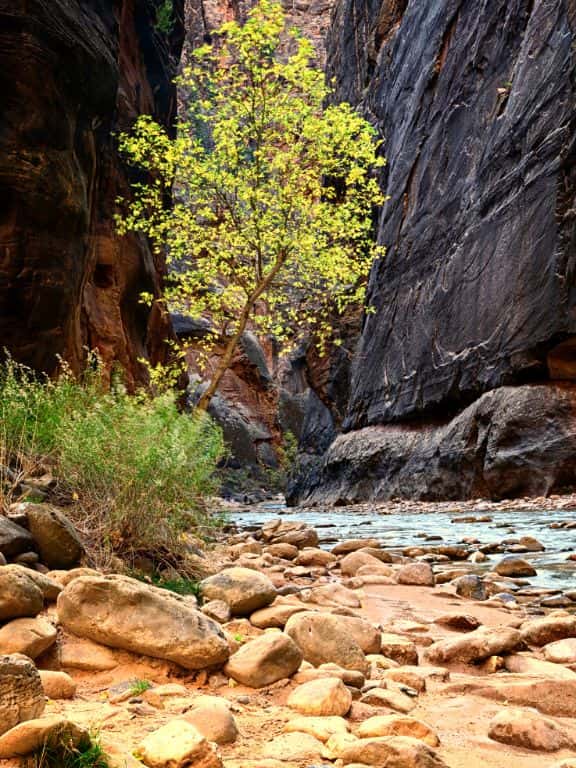
Riverside Walk Trail / Most Scenic Hikes in Zion
The Riverside Walk Trail is a relatively easy and enjoyable hike. The well-maintained pathway is mostly flat and paved, making it accessible for strollers, wheelchairs, and individuals with mobility challenges.
As you follow the Riverside Walk Trail, be prepared to be immersed in the captivating beauty of the Virgin River and the towering canyon walls. The trail meanders alongside the river, offering opportunities to witness colorful rock formations, lush vegetation, and occasional glimpses of wildlife.
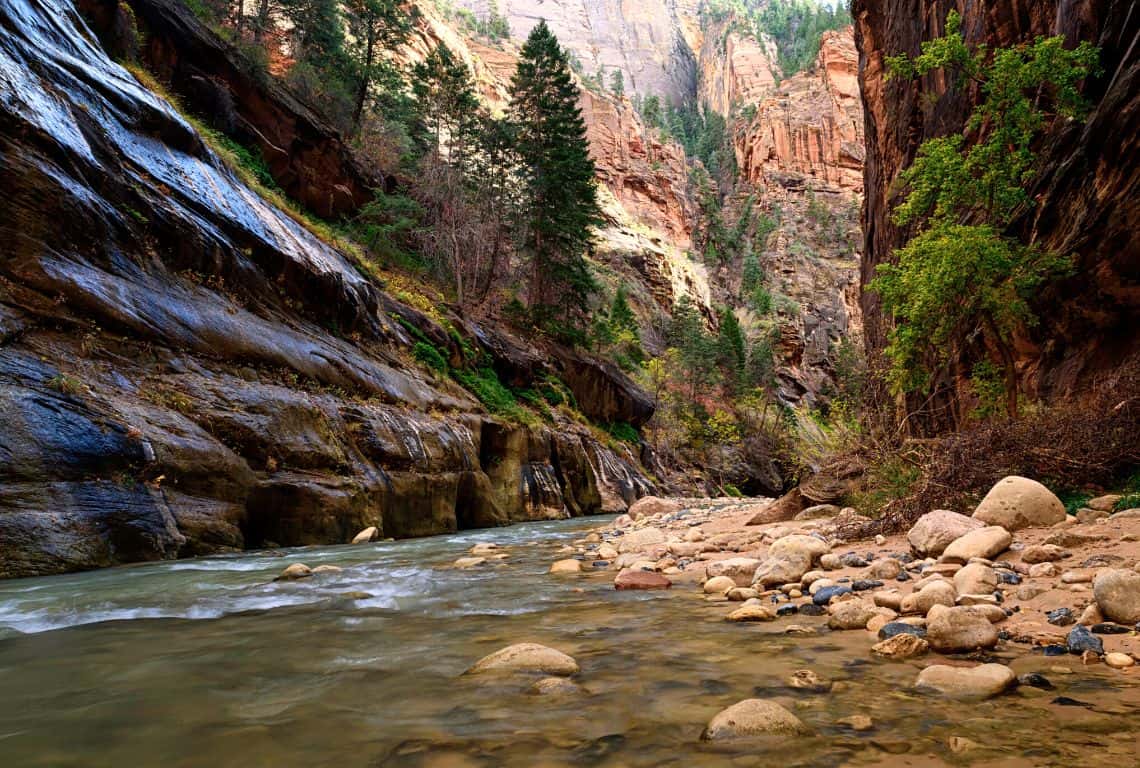
Riverside Walk Trail / Scenic Hikes in Zion
Canyon Overlook Trail
The Canyon Overlook Trail is a hidden gem that offers breathtaking panoramic views of Zion National Park. This moderate hike takes you to a stunning overlook where you can marvel at the sheer beauty and grandeur of the canyon below.
The trailhead for the Canyon Overlook Trail is located on the east side of the Zion-Mount Carmel Tunnel along the Zion Canyon Scenic Drive. If you’re driving, park at the designated parking area near the tunnel entrance. Note that parking is limited, so plan to arrive early to secure a spot.
The Canyon Overlook Trail is approximately 1 mile (1.6 kilometers) round trip. While the distance is relatively short, the trail involves some steep sections, uneven terrain, and narrow pathways. Exercise caution and wear sturdy footwear, as the trail can be rocky and slippery in certain areas.
- Distance: 1-mile round trip
- Time: 30-40 minutes
- Difficulty: Moderate
- Trailhead: Zion-Mt. Carmel Drive
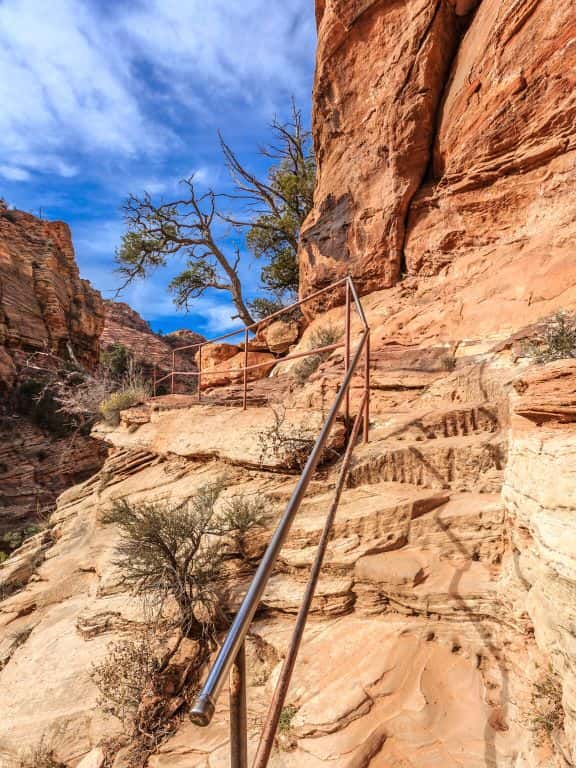
Canyon Overlook Trail / Scenic Hikes in Zion
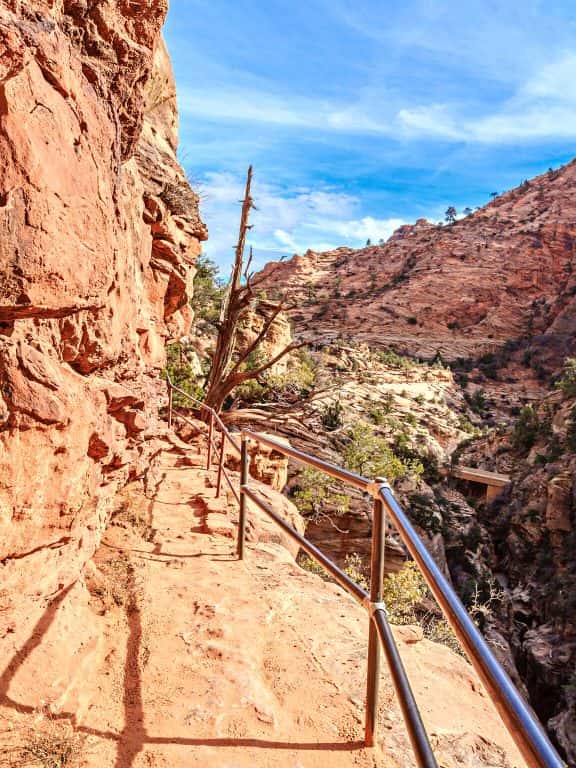
Canyon Overlook Trail / Scenic Hikes in Zion
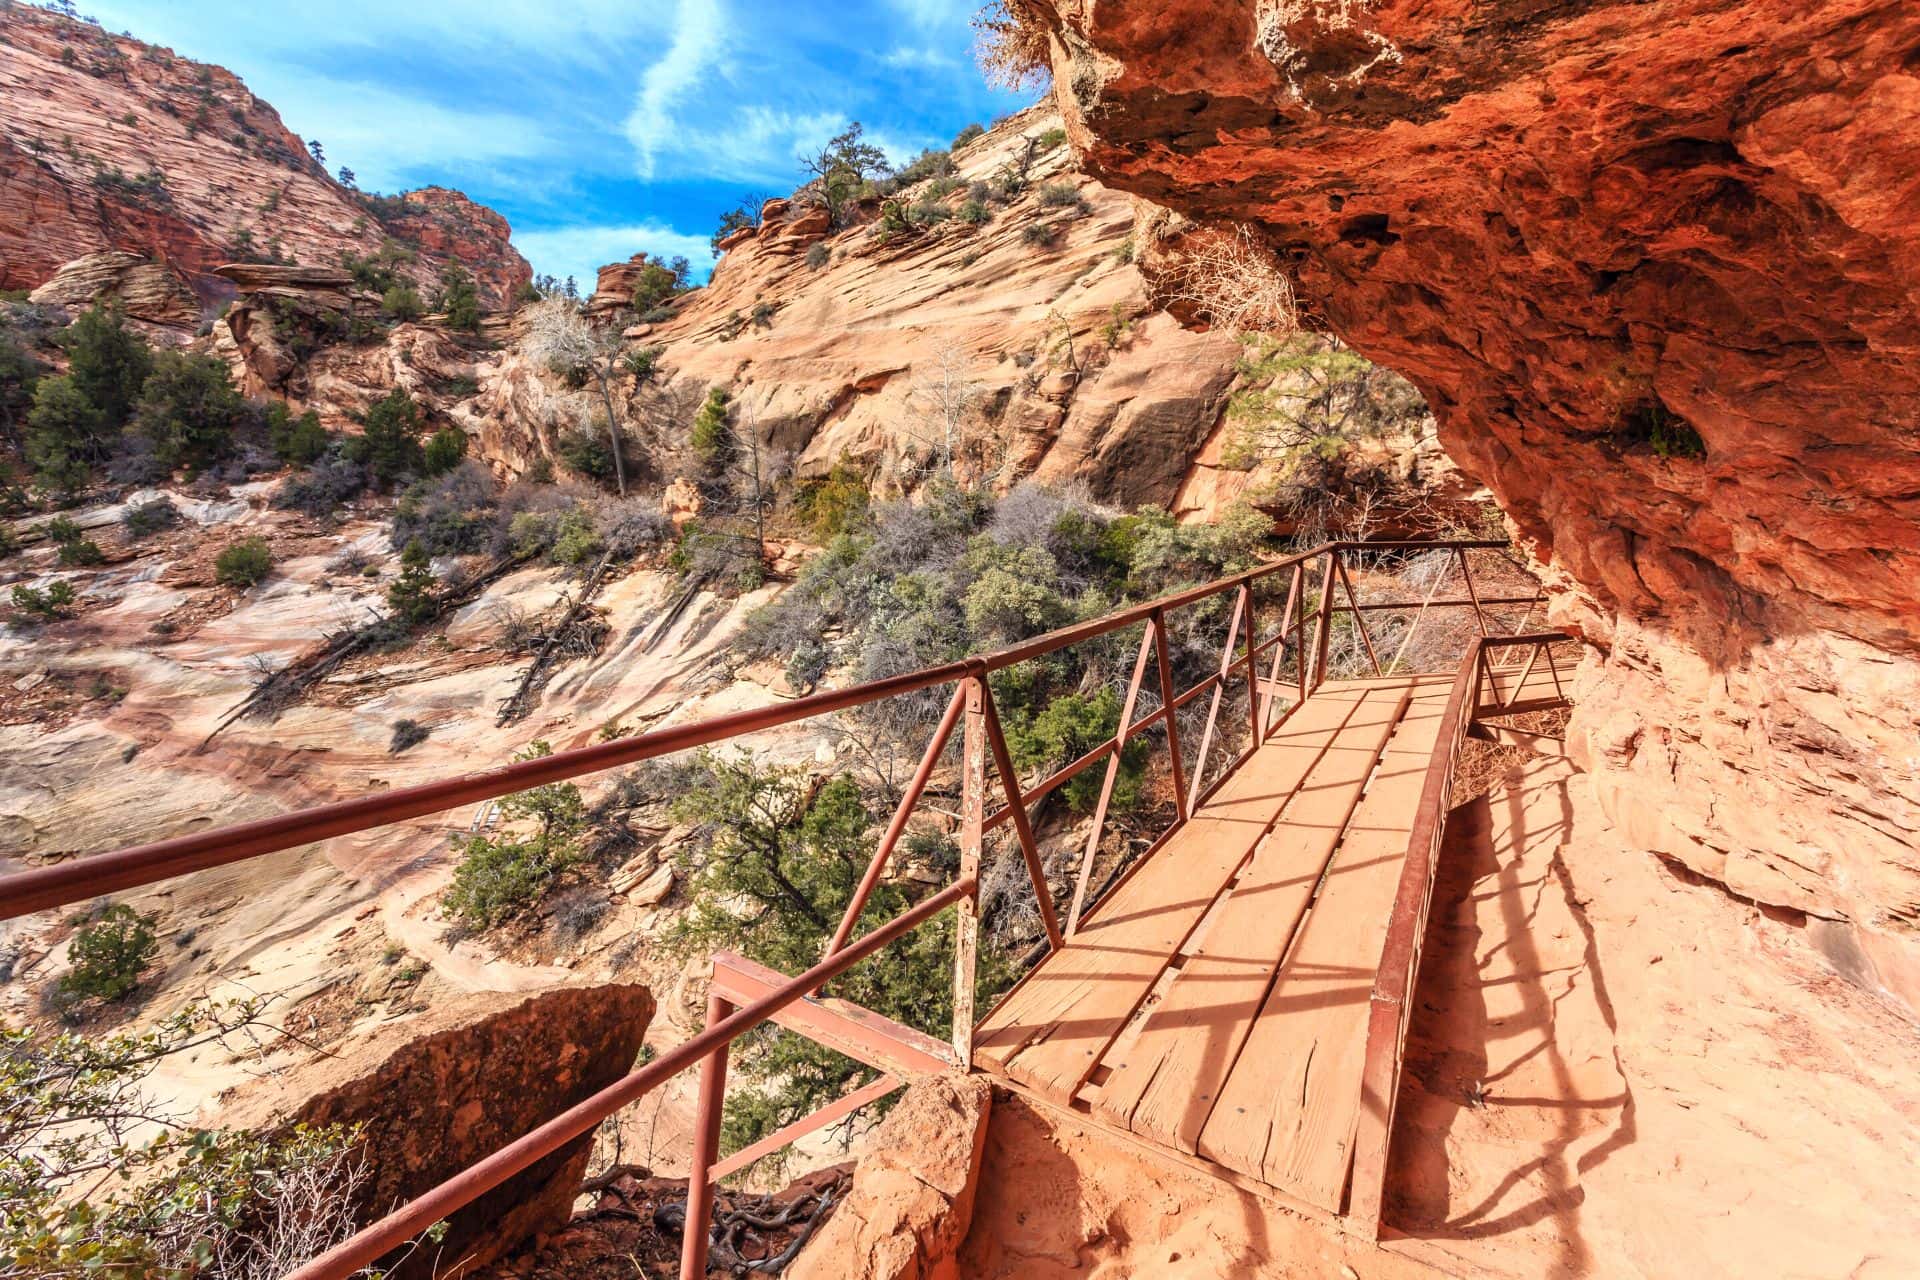
Canyon Overlook Trail / Great Hikes in Zion
As you hike the Canyon Overlook Trail, you’ll encounter awe-inspiring views of Zion’s towering sandstone cliffs, deep canyons, and the winding Virgin River below. The overlook provides a remarkable vantage point to appreciate the vastness and beauty of the park’s dramatic landscape.
GOOD TO KNOW: The view of the Zion Canyon with the switchbacks below the west end of the Mount Carmel Tunnel, West Temple, the Towers of the Virgins, the Streaked Wall, and the Beehives is off the charts!
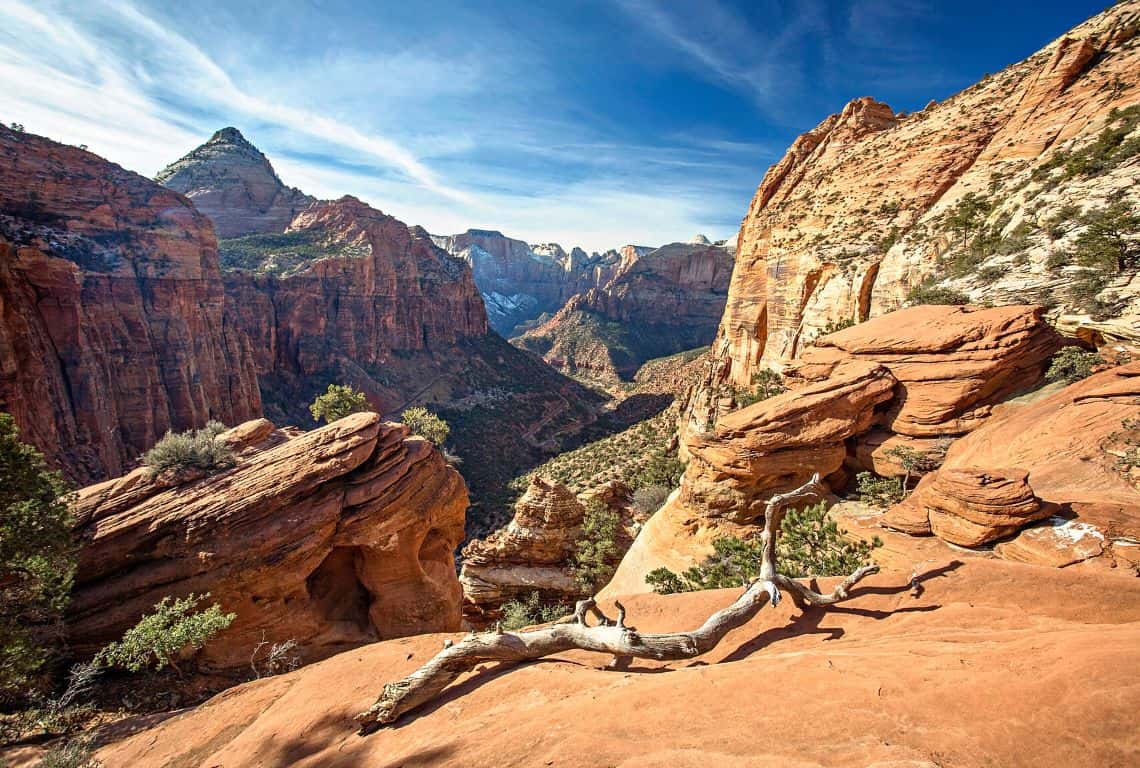
Canyon Overlook Trail / Scenic Hikes in Zion
Observation Point Trail
The Observation Point Trail is an epic adventure that rewards hikers with one of the most breathtaking views in Zion National Park. This challenging but highly rewarding hike takes you to an elevated vantage point where you can marvel at the vastness of the canyon and the surrounding majestic landscape.
The trailhead for the Observation Point Trail is located at the Weeping Rock shuttle stop along the Zion Canyon Scenic Drive. Take the shuttle to the Weeping Rock stop and follow the signs to the trailhead.
PRO TIP: Please note that the trailhead can get crowded, so plan to arrive early to secure parking.
The Observation Point Trail is approximately 8 miles (12.9 kilometers) round trip, making it a strenuous and demanding hike. The trail involves a significant elevation gain of about 2,100 feet (640 meters) and can be challenging, particularly for those who are not accustomed to long and steep hikes. Come prepared with proper hiking gear and a good level of physical fitness.
- Distance: 8 miles round trip
- Time: 4-6 hours
- Difficulty: Strenuous
- Trailhead: Shuttle Stop #7 Weeping Rock
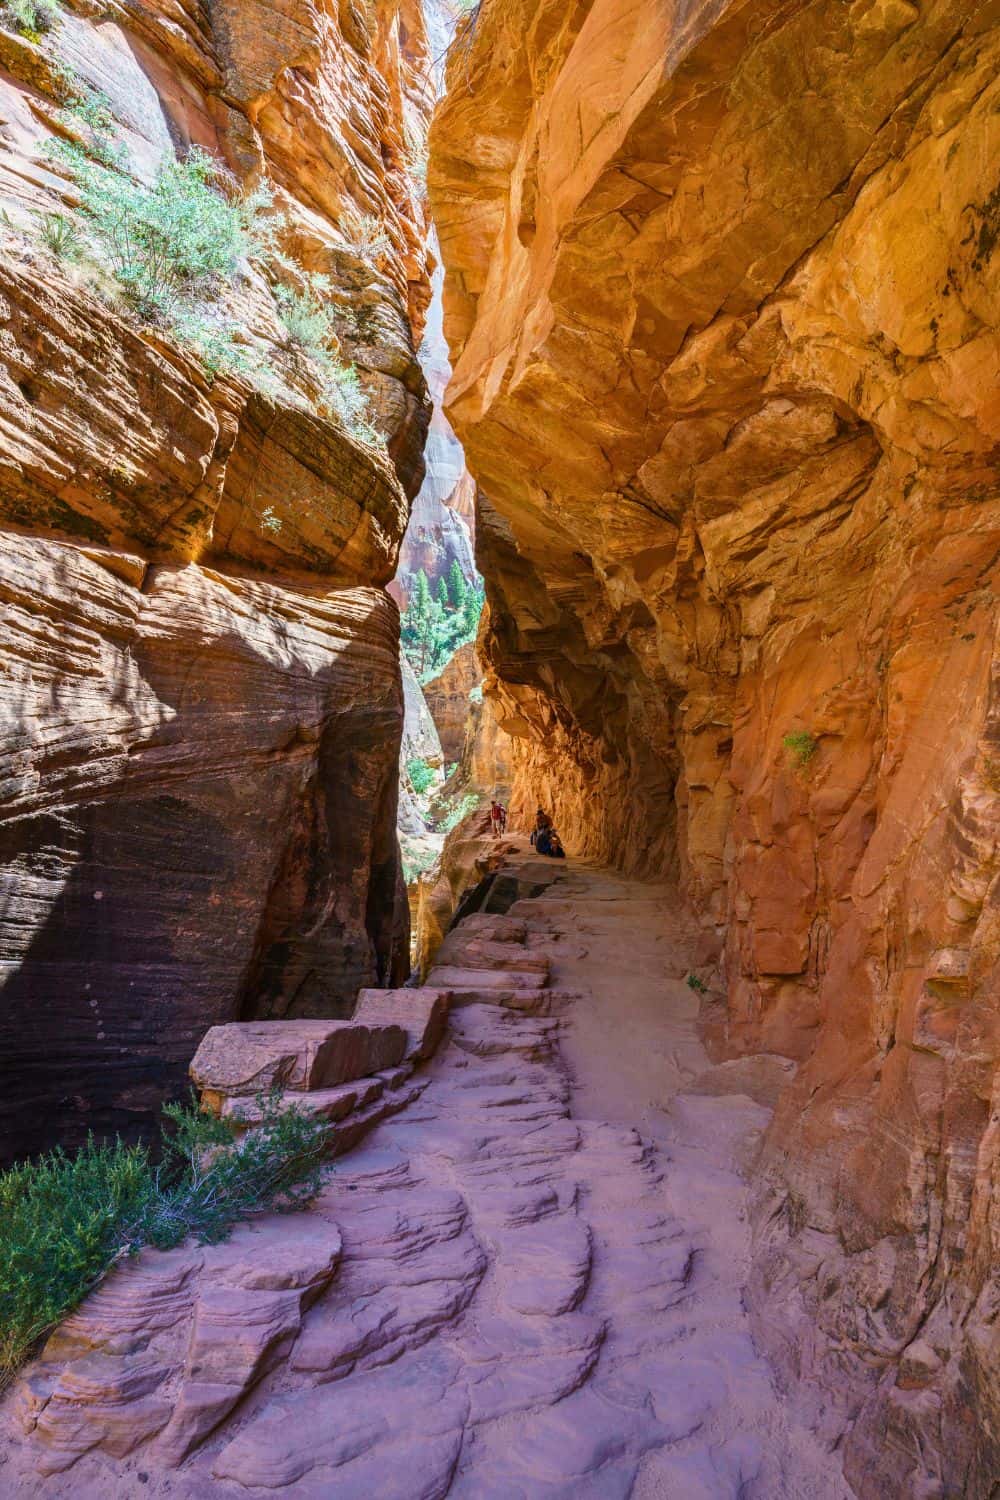
Observation Point Trail / Most Scenic Hikes in Zion
Due to the length and difficulty of the Observation Point Trail, it is advisable to start early in the morning to allow ample time to complete the hike and return before sunset. This will also help you beat the midday heat during the summer months.
As you ascend the Observation Point Trail, you will be treated to ever-expanding vistas of Zion Canyon and its dramatic rock formations. The final viewpoint offers an awe-inspiring panoramic view of the entire canyon, including Angel’s Landing and the Virgin River winding through the valley. Be prepared to be amazed by the majestic beauty that unfolds before you.
PRO TIP: Bring plenty of water to stay hydrated throughout the hike. It is recommended to carry at least 2-3 liters of water per person, especially during warmer months. Pack energizing snacks or a light lunch to replenish your energy during the hike. Consider bringing electrolyte-rich drinks or snacks to help replenish lost minerals.

Observation Point Trail / Most Scenic Hikes in Zion
PRO TIP: Due to a large rockfall in 2019, the route to Observation Point from Weeping Rock Trailhead (located inside the park) is closed until further notice.
Observation Point can still be reached from the East Mesa Trailhead.
- To get to the East Mesa Trailhead, follow Highway 9, also called the scenic Zion Mt. Carmel Highway, past Checkerboard Mesa, and turn left on North Fork County Road. On the way, you will pass Zion Ponderosa Ranch Resort as you follow back roads to the trailhead.
- The road to the East Mesa Trailhead is rough and unpaved. It is most suited for 4WD vehicles, however, I have seen many 2WD vehicles on this road as well.
- If you do not feel comfortable driving on this road, then take a shuttle from Zion Ponderosa Ranch Resort to the trailhead.
The Narrows Trail
The Narrows is a world-renowned hike in Zion National Park that takes you through the iconic Virgin River within a stunning narrow slot canyon. This unique and exhilarating experience offers a thrilling adventure for hikers of all skill levels.
The Narrows hike is a water hike, which means you will be walking through the river for a significant portion of the trail. Prepare accordingly by wearing appropriate gear such as sturdy, non-slip hiking shoes or water shoes with good traction. Consider renting or purchasing a walking stick to help with stability and balance on the uneven riverbed.
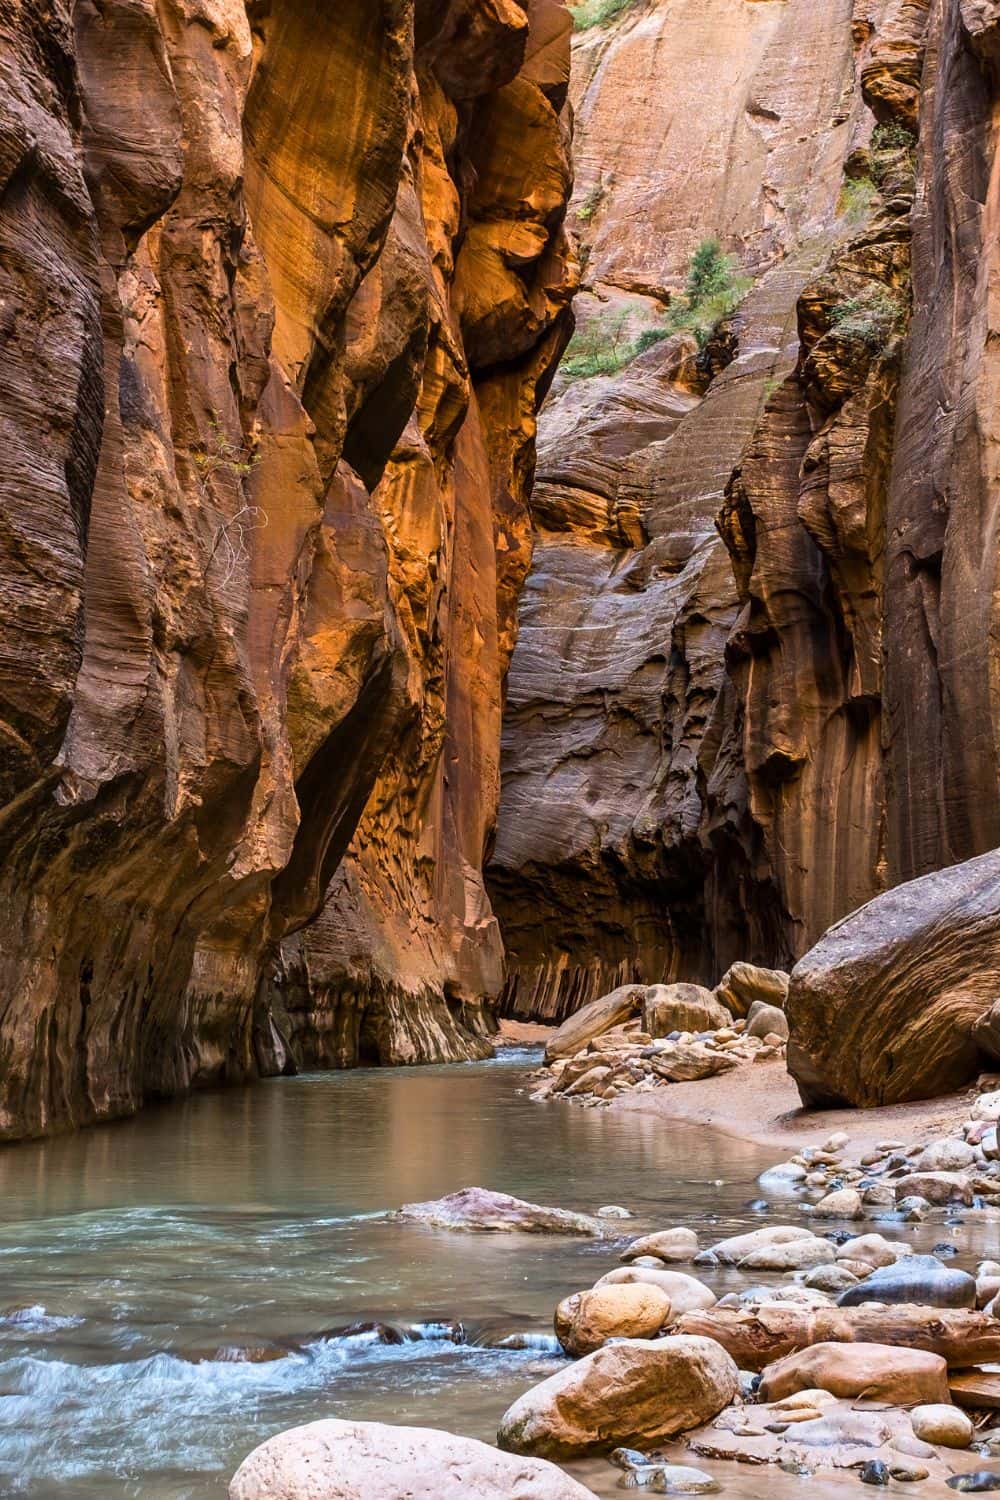
The Narrows / Most Scenic Hikes in Zion
The Narrows hike is subject to flash floods, which can be extremely dangerous. Check the weather forecast and flash flood potential before embarking on the hike. If there is a risk of flash floods, it is best to postpone your hike for another day. Stay informed and heed any park ranger warnings or closures.
PRO TIP: Renting or purchasing proper gear can greatly enhance your experience and safety while hiking the Narrows. Consider renting neoprene socks, canyoneering shoes, dry bags, and a waterproof backpack. These items can help keep you comfortable, protect your belongings, and provide better traction in the river.
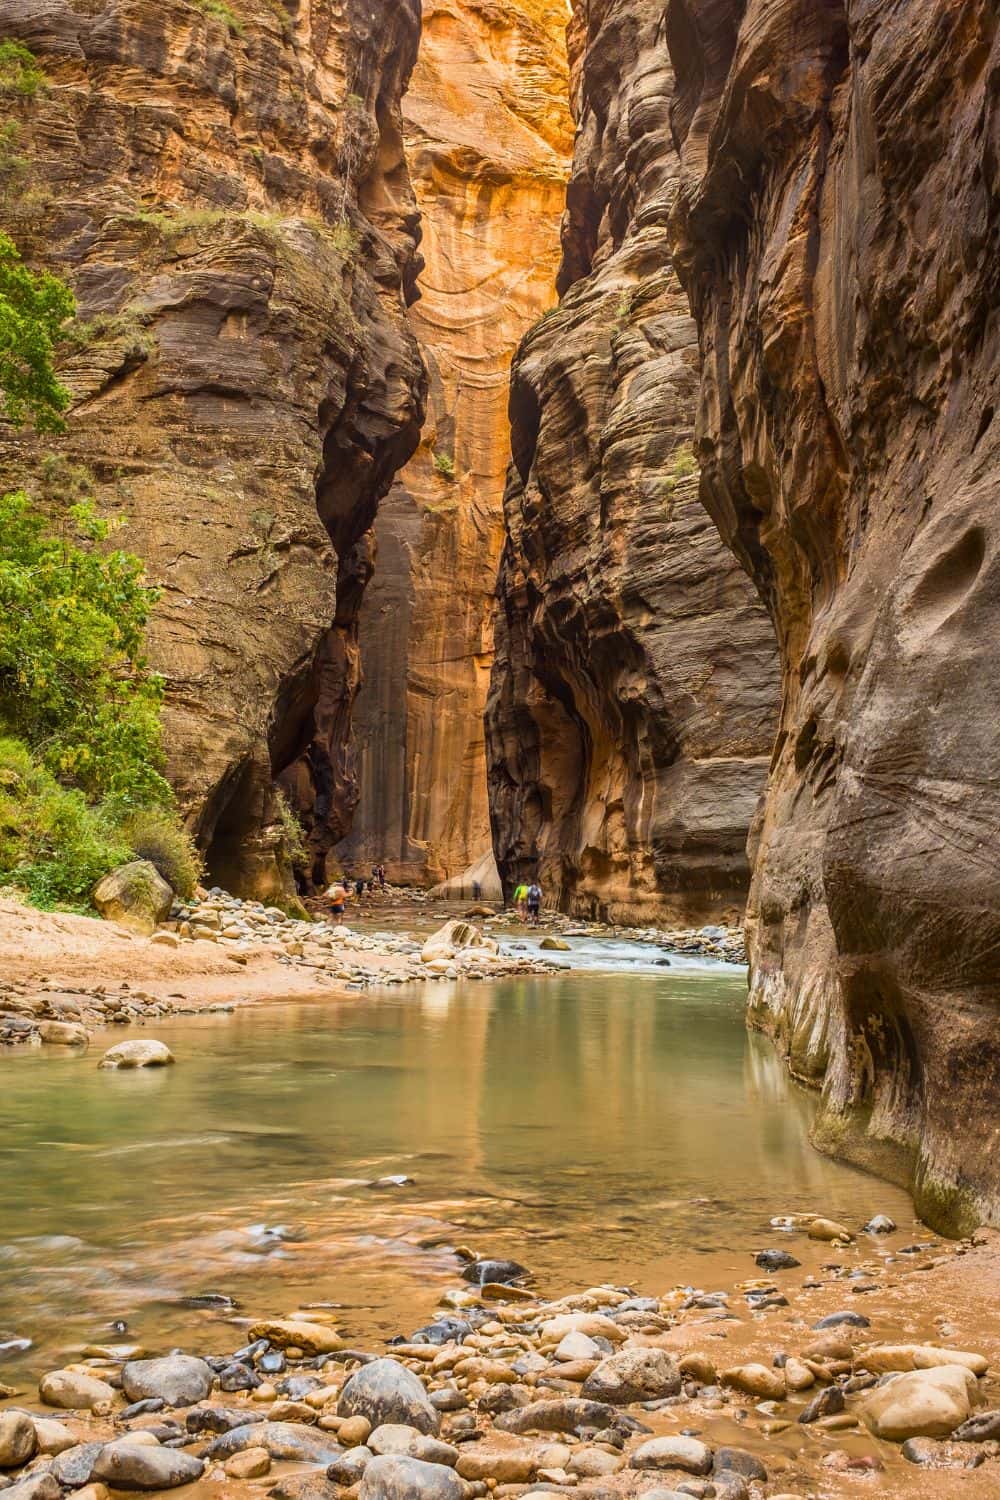
The Narrows / Most Scenic Hikes in Zion
GOOD TO KNOW: Even on hot days, the Narrows can be cooler due to the shade and water. Dress in layers to adapt to changing temperatures. Wear quick-drying, moisture-wicking clothing that provides protection from the sun. Avoid cotton, as it retains water and can make you feel cold and uncomfortable.
Pack a small daypack with essential items such as plenty of water, snacks, sunscreen, a hat, sunglasses, a waterproof camera or phone case, and a first aid kit. Consider using a dry bag to keep your belongings safe and dry. It’s also advisable to bring a change of clothes and a towel for after the hike.
To avoid crowds and maximize your time in the Narrows, start your hike early in the morning. This will give you a chance to enjoy the serene beauty of the canyon before it becomes busy with other hikers. Additionally, starting early allows you to have more time to hike deeper into the Narrows if desired.
PRO TIP: The riverbed of the Narrows can be rocky and uneven, making it important to watch your footing. Take each step carefully and use your walking stick for added stability. Take breaks as needed to rest and enjoy the surroundings, but be cautious not to block the flow of other hikers.
GOOD TO KNOW:
- Distance: Up to 10 miles round trip
- Time: Up to 5-6 hours
- Difficulty: Strenuous
- Trailhead: Shuttle Stop #9 Temple of Sinawava
Hidden Canyon Trail
The Hidden Canyon Trail in Zion National Park is a thrilling adventure that combines stunning views, narrow cliffs, and a sense of exploration. This moderately strenuous hike leads you through a hidden canyon, showcasing the park’s natural beauty and offering a unique experience for hikers.
The trailhead for the Hidden Canyon Trail is located at the Weeping Rock shuttle stop along the Zion Canyon Scenic Drive. Take the shuttle to the Weeping Rock stop and follow the signs to the trailhead. Please note that parking can be limited, so arriving early is recommended.
The Hidden Canyon Trail is approximately 2.5 miles (4 kilometers) round trip, but don’t let the distance fool you—it involves some challenging sections and steep drop-offs. The trail features switchbacks, narrow ledges, and exposed areas. It’s important to assess your fitness level and comfort with heights before attempting this hike.
- Distance: 2.5 miles round trip
- Time: 2-3 hours
- Difficulty: Strenuous
- Trailhead: Shuttle Stop #7 Weeping Rock (access the East Rim Trail from across the footbridge adjacent to the parking lot. The Hidden Canyon Trail turns right from the East Rim Trail at the sign)
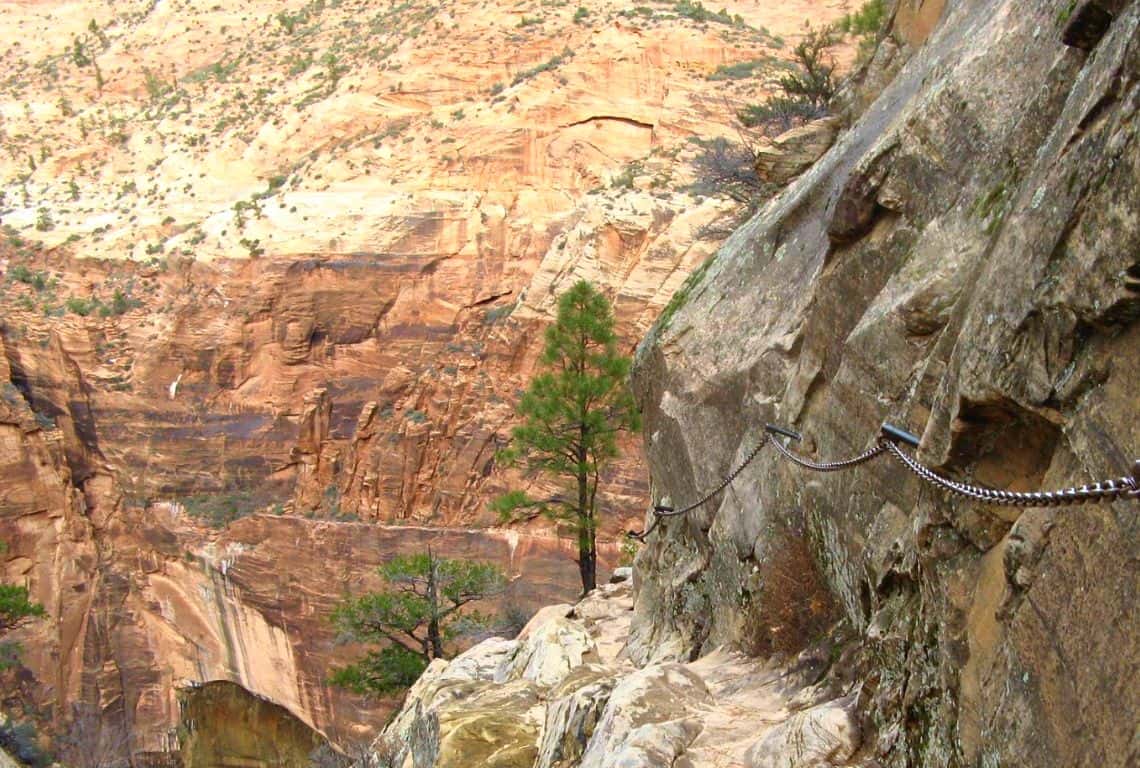
Hidden Canyon Trail / Most Scenic Hikes in Zion
Due to the nature of the trail, it is crucial to prioritize safety. Pay attention to your footing and use caution on the narrow sections. Hold onto chains and handrails when provided. If you have a fear of heights or are uncomfortable with exposed areas, it is okay to turn back at any point and explore other trails within the park.
Zion National Park’s weather can be unpredictable, so it is essential to be prepared. Check the weather forecast before your hike and dress in layers to accommodate temperature changes. Wear sturdy hiking shoes with good traction and consider bringing a light rain jacket in case of unexpected showers.
Consider using hiking poles for added stability, especially during steep sections or when navigating slippery surfaces.
PRO TIP: Gloves can also provide extra grip and protection while holding onto chains or rocks.
Carry plenty of water to stay hydrated throughout the hike. The Hidden Canyon Trail can be strenuous, and it is important to replenish fluids. Pack energizing snacks to refuel and keep your energy levels up. Nuts, granola bars, and trail mix are great options to bring along.
GOOD TO KNOW: There are limited facilities along the Hidden Canyon Trail. Use restroom facilities before starting your hike, as there are no facilities available on the trail itself.
The Subway (Bottom-Up)
The Subway is a world-renowned and visually stunning slot canyon in Zion National Park. This challenging and permit-only hike takes you through a series of beautiful pools, waterfalls, and natural rock formations, offering a unique and unforgettable adventure for experienced hikers.
PRO TIP: Obtaining a permit is essential for hiking The Subway (Bottom-Up) due to its popularity and to help preserve the delicate ecosystem. Permits are limited and can be obtained through the park’s lottery system. Plan ahead and familiarize yourself with the permit application process.
Hiking The Subway requires a good level of physical fitness and basic technical skills. The trail involves navigating over slickrock, through narrow slots, and swimming in cold water. Be prepared for challenging obstacles, including boulder scrambling and potentially slippery surfaces. Prior experience with canyoneering and swimming is beneficial.
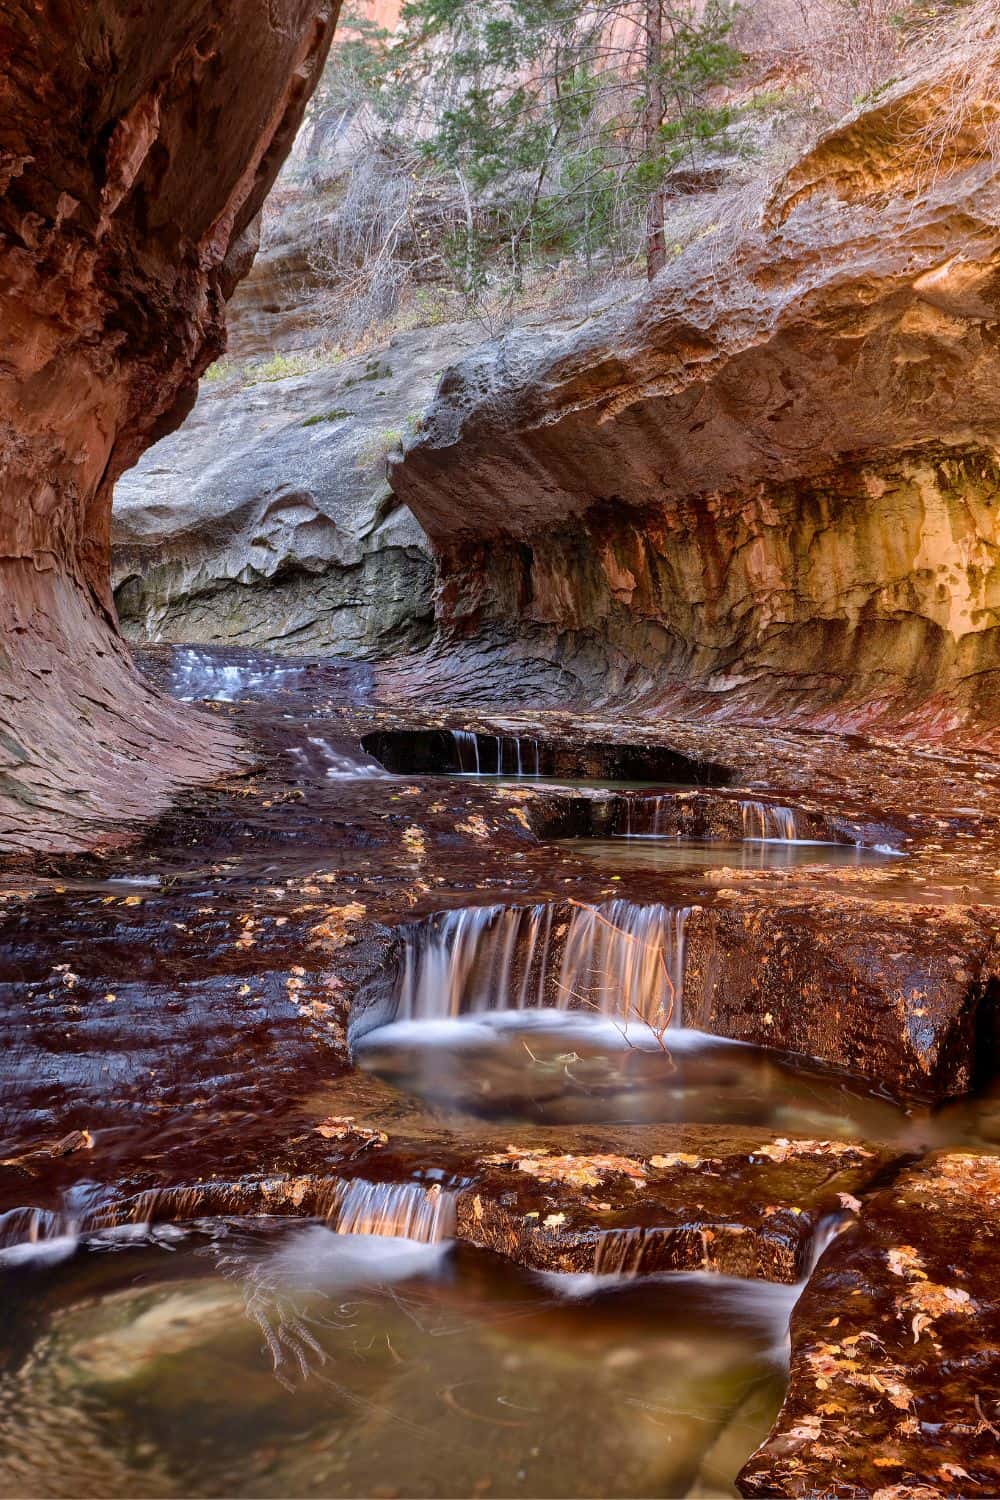
The Subway / Most Scenic Hikes in Zion
PRO TIP: The Subway hike should not be taken lightly, as it presents several hazards. Flash floods can occur, especially during and after rainstorms, so check the weather forecast and flash flood potential before attempting the hike. Never enter the canyon if there is a risk of flooding. Familiarize yourself with proper canyoneering techniques and safety measures before undertaking this adventure.
GOOD TO KNOW: Due to the technical nature of The Subway hike, specialized gear and equipment are necessary. Carry a wetsuit or drysuit to protect yourself from cold water temperatures. Neoprene socks, canyoneering shoes with good traction, a helmet, and a harness are also recommended. Ensure you have proper rope-handling skills and carry essential canyoneering equipment such as webbing, carabiners, and rappel devices.
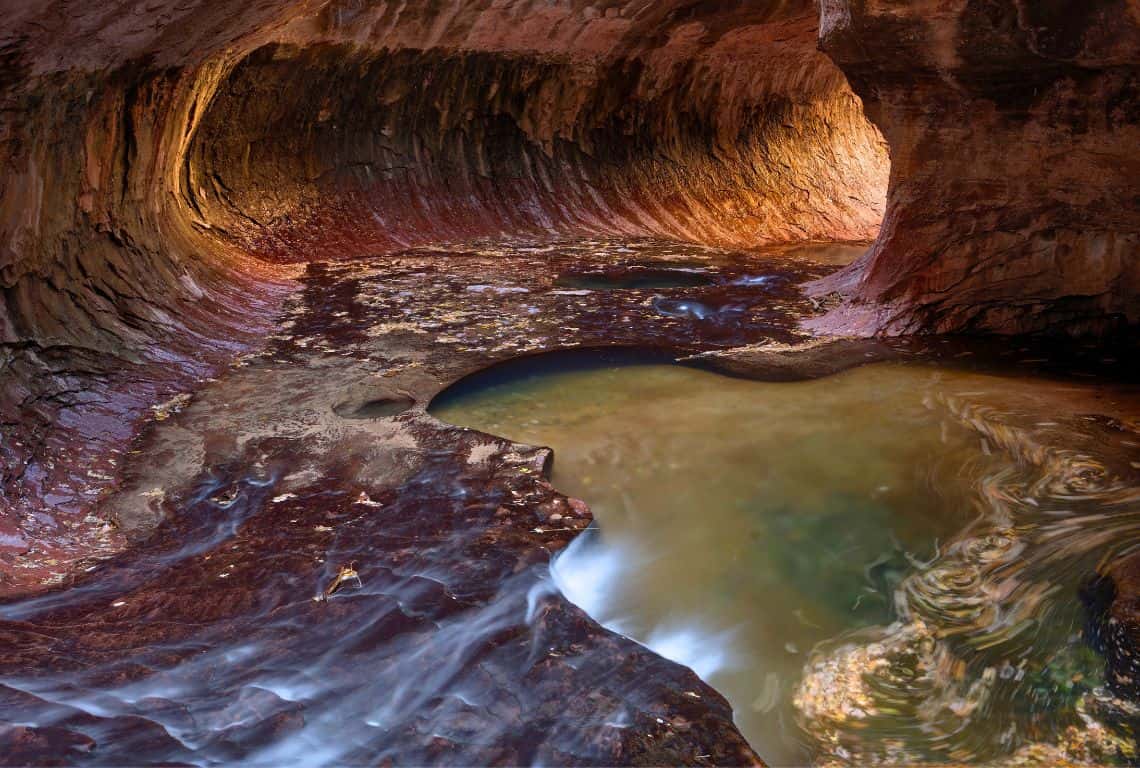
The Subway / Most Scenic Hikes in Zion
Navigating The Subway can be challenging, and it is essential to have good route-finding skills. Obtain detailed maps, guidebooks, or GPS devices to help navigate the trail. Consider joining a guided tour or hiking with experienced individuals who are familiar with the route. Be aware that the route may change due to natural erosion and flash flood events.
PRO TIP: Consider hiking The Subway during the drier months, typically from late spring to early fall, when the water levels are lower and the weather is more predictable. Start your hike early in the day to allow ample time for exploration and photography. Be prepared for changing weather conditions and sudden temperature drops within the canyon.
GOOD TO KNOW:
- Distance: 9 miles round trip
- Time: 6-10 hours
- Difficulty: Strenuous
- Trailhead: Left Fork Trailhead, located about one hour from the Zion Canyon Visitor Center
PRO TIP: Wilderness Permits are required for this area year-round. Left Fork (Subway) Permit Information.
An online Advance Lottery is held for all trips, April through October, into the Left Fork of North Creek (Subway) to obtain a reservation for a Wilderness permit. Online applications must be submitted two months prior to your planned trip, with up to three prioritized dates selected. Applications are limited to one request per individual, per canyon, and per month.
The West Rim Trail
The West Rim Trail is a breathtaking and challenging multi-day hike that spans approximately 16 miles (26 kilometers) through the stunning backcountry of Zion National Park. This trail offers spectacular views of towering cliffs, deep canyons, and the expansive wilderness of the park.
PRO TIP: A backcountry permit is required for camping along the West Rim Trail. These permits are limited, so it is essential to secure your permit in advance. Visit the official Zion National Park website or contact the park’s visitor center for information on permit availability and reservation procedures.
The West Rim Trail is a strenuous hike, covering around 16 miles from the Lava Point Trailhead to the Grotto in Zion Canyon. It typically takes 1-3 days to complete, depending on your pace and camping arrangements. Be prepared for significant elevation changes, rocky terrain, and exposed sections along the trail.
GOOD TO KNOW:
- Distance: 16.2 miles
- Time: 9-12 hours
- Difficulty: Strenuous
- Trailhead: West Rim Trailhead from near Lava Point
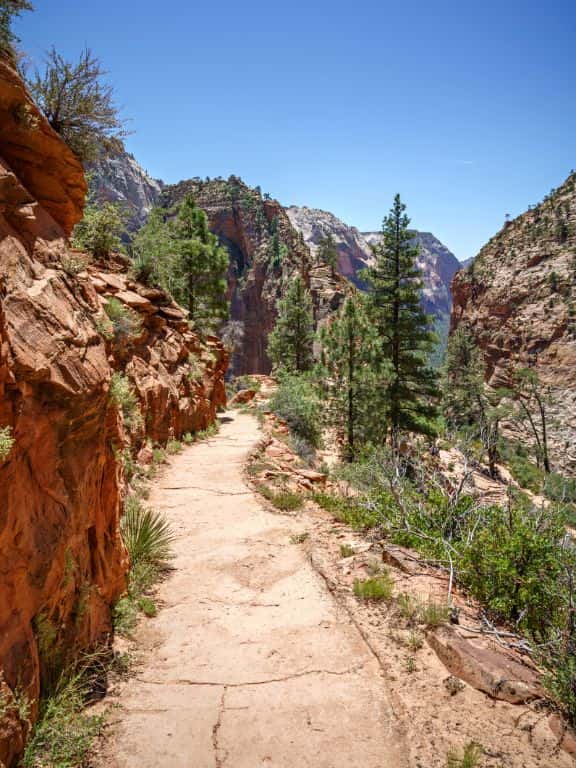
The West Rim Trail | Most Scenic Hikes in Zion
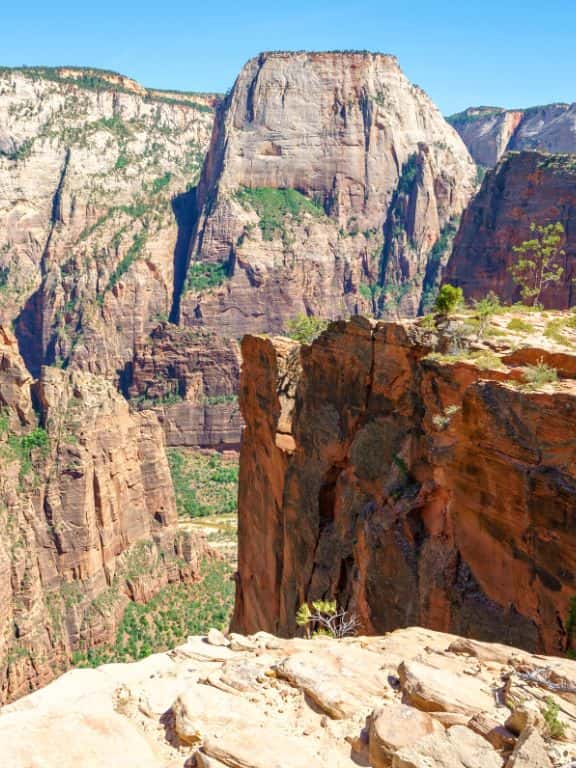
The West Rim Trail | Most Scenic Hikes in Zion
GOOD TO KNOW: Water sources along the West Rim Trail are limited, so plan accordingly. Carry a sufficient amount of water for each day’s hike and be aware of potential water sources along the trail. Utilize water filtration systems or purification tablets to treat water from natural sources, ensuring it is safe for drinking.
PRO TIP: Reservations are required for camping along the West Rim Trail. Familiarize yourself with the designated campsites and their locations. Plan your itinerary in advance and make reservations for each night of your hike. Be aware of any restrictions or guidelines related to camping in the backcountry.
The West Rim Trail is well-marked, but it’s still important to stay vigilant and follow trail markers and signs. Carry a detailed map or guidebook and familiarize yourself with the trail route before starting your hike. Be aware that weather conditions or trail maintenance may affect trail markers, so use your navigational tools as needed.
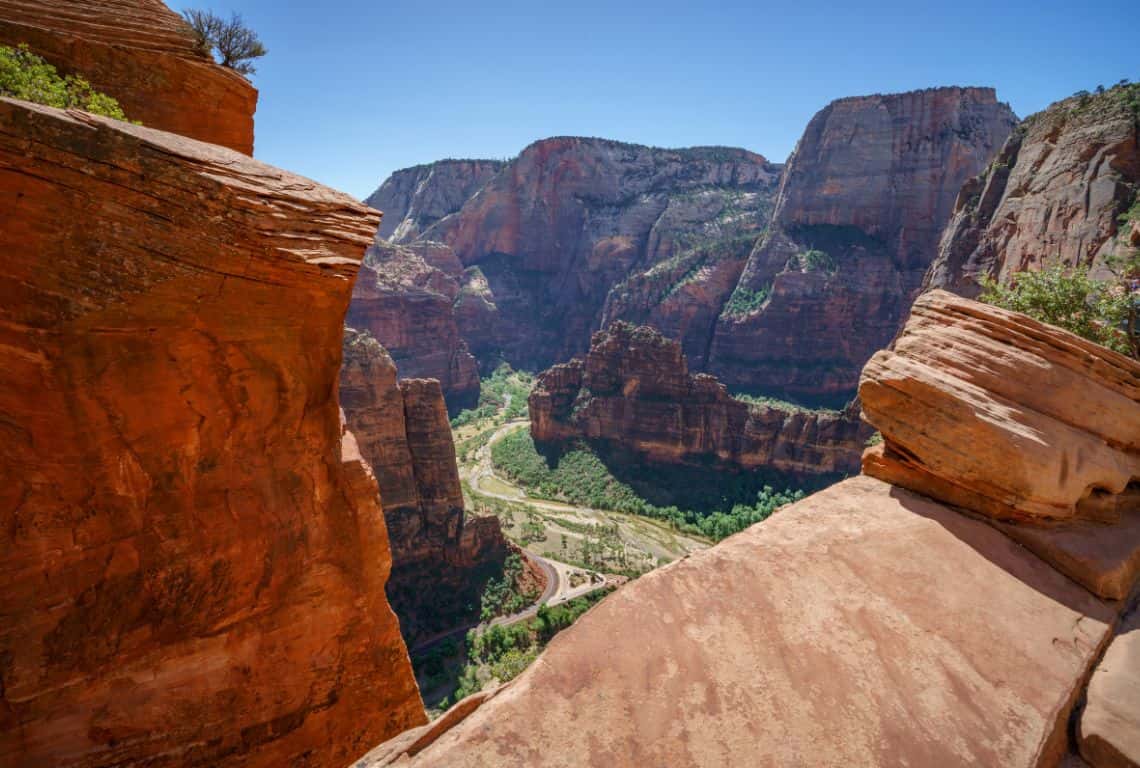
The West Rim Trail / Most Scenic Hikes in Zion
PRO TIP: The southernmost section of this trail is the most spectacular. It climbs via Refrigerator Canyon to Scout Lookout near Angels Landing and then ascends further alongside Telephone Canyon to the wooded Horse Pasture Plateau.
The Watchman Trail
The Watchman Trail takes its name from the prominent rock formation known as “The Watchman,” standing tall and majestic against the backdrop of the park.
As you follow the trail, you will be treated to sweeping views of the Virgin River, towering cliffs, and the ever-changing colors of the surrounding landscape.
This moderate hike offers a perfect balance of adventure and tranquility, making it suitable for hikers of various skill levels. Whether you’re a seasoned explorer or a nature enthusiast seeking a memorable experience, the Watchman Trail provides an opportunity to connect with the captivating wonders of Zion.
- Distance: 3.3 miles round trip
- Time: 2 hours
- Difficulty: Moderate
- Trailhead: Shuttle Stop #1 Zion Canyon Visitor Center
GOOD TO KNOW: The Watchman Trail initially follows the Virgin River and then takes you through the foothills beneath massive Bridge Mountain. Eventually, it ends at the base of the Watchman spire.
Many Zion National Park landmarks are visible along this hike including Beehives, Towers of the Virgin, West Temple, and the Altar of Sacrifice.
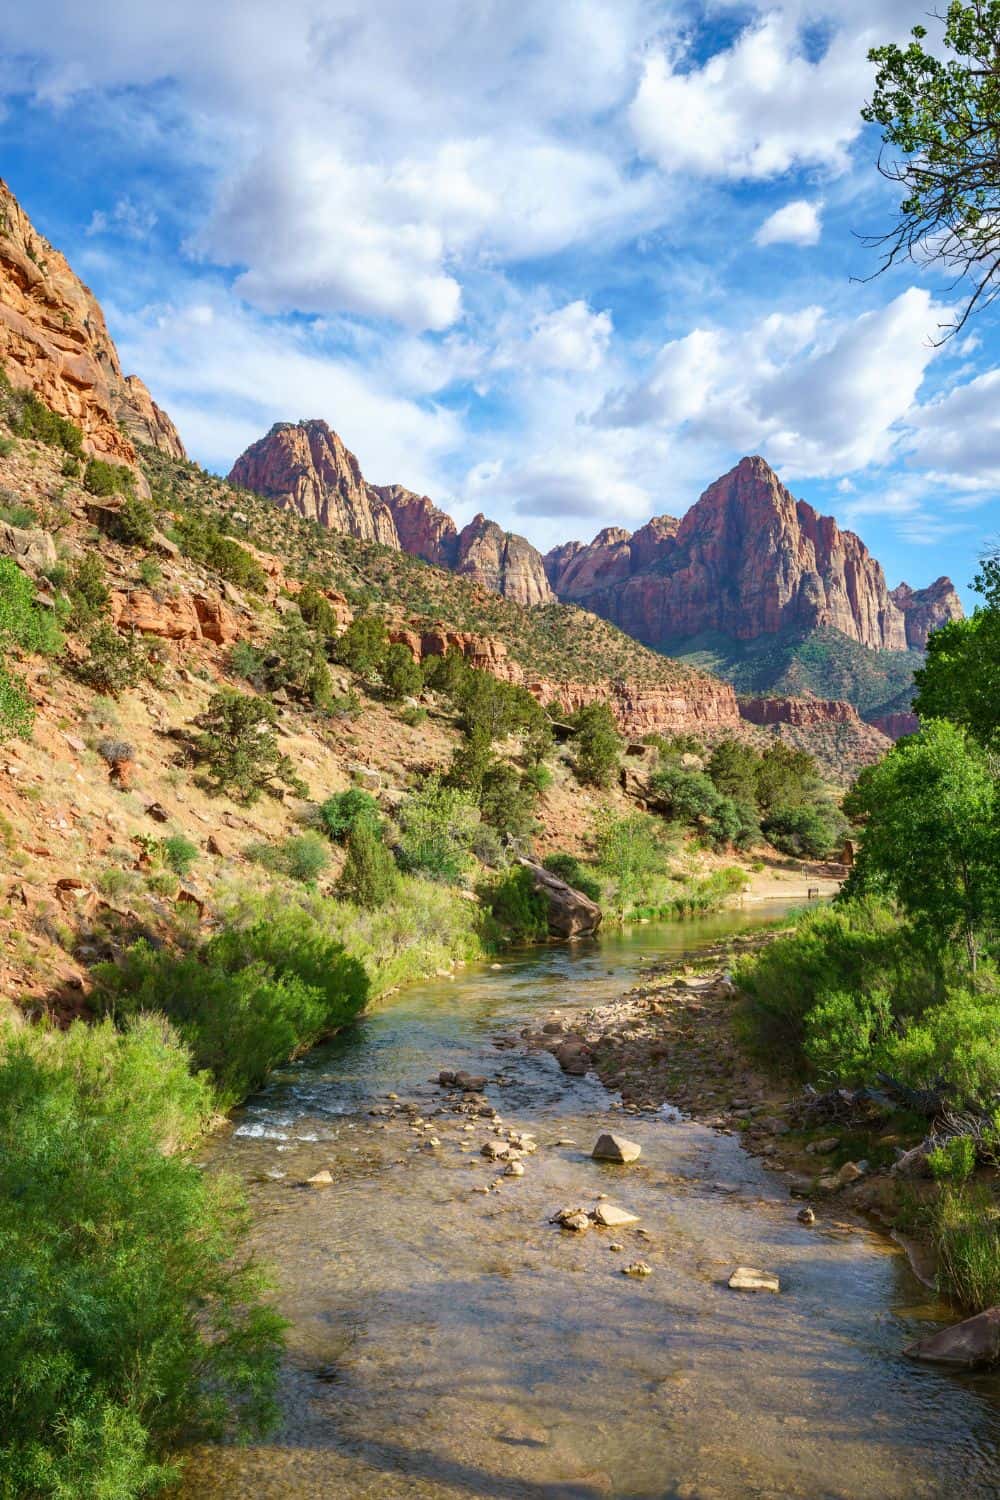
The Watchman Trail / Most Scenic Hikes in Zion
Pick Your Perfect Hike in Zion National Park
Best Hikes in Zion for Families
- Lower Emerald Pool Trail – 1.2 miles round trip and 69 feet elevation change. One of the best short and easy trails in Zion National Park that leads to waterfalls and pools.
- Pa’rus Trail – 3.5 miles and 50 feet elevation change. One of the best family-friendly hikes in Zion. The trail is paved which is perfect for strollers and wheelchairs, plus bikes are allowed on this trail. The views of the red rock, the Watchman, are absolutely stunning along the way.
- The Grotto Trail – this trail is one of the best easy hikes in Zion! It is definitely a family-friendly trail. The views along the trail are spectacular. So, my recommendation is to just take your time and enjoy the scenery.
- Weeping Rock Trail – it is a short hike, however, it climbs at a sharp incline. It can be managed by everyone in your group. The trail will take you to a large bowl-shaped alcove with water flowing over its recess.
- Riverside Walk – this is an easy, paved trail with little elevation change. It is perfect for the entire family. The trail follows the Virgin River as it rumbles along the bottom of a narrow canyon and the views along the way are awesome.
Hikes with the Best Views in Zion National Park
- Angels Landing Trail – this is a strenuous trail with an elevation change of 1,488 feet. In addition, this trail is not recommended for people with a fear of heights. The last section of Angels Landing Trail traverses over a narrow spine of the mountain. You will need to use chains to help you up. The views on this trail are spectacular!
- Observation Point Trail – this trail is long and strenuous, however, the views at the Observation Point are off the charts!
- Zion Narrows – Zion Narrows should be on everyone’s list! It is a legendary hike where the Virgin River is your trail. The views of the canyon walls just 20 feet apart are awesome.
Most Adventurous Hikes in Zion National Park
- Angels Landing Trail – Angels Landing Trail definitely is an adventurous hike and not for people with a fear of heights. The last section of Angels Landing Trail traverses over a narrow spine of the mountain. You will need to use chains to help you up.
- Zion Narrows – Zion Narrows is another trail that is challenging for those who crave some adventure.
- The Subway – The Subway is a strenuous hike through the Left Fork of North Creek to the Subway slot canyon. This hike involves scrambling over large boulders and hiking in ankle to knee-deep water. The route takes most hikers 6 to 10 hours to complete.
Intrepid Scout's Tips for Most Scenic Hikes in Zion National Park
- If you decide to hike Angel’s Landing Trail in Zion then you need to reserve Timed Entry Ticket. Visit recreation.gov to make reservations.
- Stock up on snacks and water, and fill up the gas tank. Get all your groceries (water, snacks, lunch) and fill up the gas tank before entering the park. You will save some money by packing your own lunch. There is a restaurant and a small store at Zion Lodge, however, be prepared to pay extra for food and water.
- Be prepared for crowds. Zion National Park is the most visited national park in the United States. 4.5 million people visited Zion National Park in 2019. With that being the case, be prepared for crowds everywhere.
- Park your vehicle in Springdale, UT, and then take the shuttle. Parking is very limited inside Zion National Park and private vehicles are not allowed past the Canyon Junction if the shuttle is operating. Park your vehicle in Springdale and then take the shuttle. There are nine shuttle stops in Springdale.
- Arrive early. The shuttle starts operating at 6 am. Be the first one in the line to board the shuttle. You will be able to experience some solitude on the trails and not wait in line to take a picture.
GOOD TO KNOW: A trip to Zion is perfect when paired with a side trip to Bryce Canyon National Park. Check out my post: Zion to Bryce Canyon: 3-Day Adventure (with Maps and Photos)
Get inspired with this Epic 7-Day Road Trip Through Utah National Parks.
More Information About Zion National Park
Learn More About Zion National Park:
Complete Guide to Zion National Park – 13 Tips for First Visit
13 Best Stops on Scenic Drive in Zion National Park (Maps+Tips)
One Day in Zion National Park (Itinerary+Maps+Tips)
7 Easy Hikes in Zion National Park with Stunning Views (Perfect for Beginners)
Travel Planning and Road Trip Ideas:
Zion to Bryce Canyon in 3 Days (Itinerary Ideas+Useful Tips)
Epic 7-Day Road Trip Through Utah National Parks
Did You Find This Useful?
Why Not Save 13 Unforgettable Scenic Hikes in Zion National Park to Your Pinterest Board!
Now, It Is Your Turn, I Would Like to Hear Back from You!
Are you planning a trip to Zion National Park?
Please let me know! Drop me a quick comment right below!
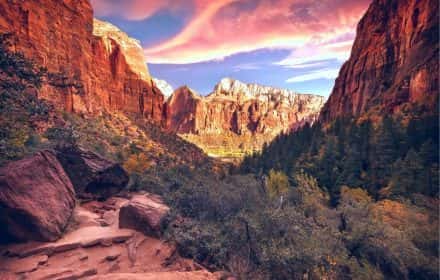
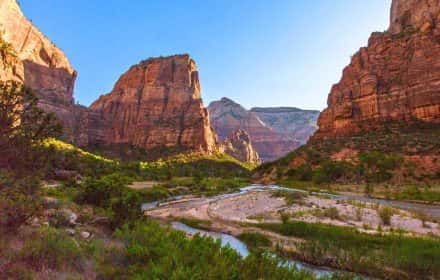
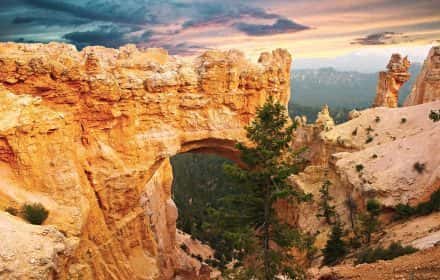
Click on any of the images below to get inspired and to help you with the planning process for your trip to Zion!
Comments:
26 thoughts on “12 Most Scenic Hikes in Zion (+Top Expert Tips)”
This is such a beautiful place, and even though I am not a hiker, I would love to visit. Maybe I could find a quiet place to have a picnic and enjoy the scenery 🙂
Oh most definitely you could find a nice, secluded place and have a lovely picnic, while you are admiring the views.
I just love those red rock faces. I used to live in Arizona and we visited Sedona in the fall and the barrage of colour at that time of the year was amazing. A couple of years ago we took the train from NY to LA, and stopped off at the Grand Canyon, and the scenery was mesmerizing, because it gradually changed based on the sun moving across the sky. Up until then I’d thought it would be a place to visit for a short trip to just check it off the list, but it was stunning. And it looks like Zion has the same warm, rich landscape that just embraces you and tugs at your heart strings.
Thank you for your most wonderful comment, Jay! I return often to Zion and to Grand Canyon. So much to explore and the vistas are spectacular.
Never heard of Zion National Park, but it looks like a great one with so many hiking options. Stunning pictures as well! I especially like the first one with the autumn colours.
Thank you for commenting!
I have visited Zion multiple times and have done several of these trails. i won’t do Bright Angel as it is too crowded and I think it is dangerous when it gets crowded as people are careless. Feel like Canyon Overlook is getting that way too, my last time doing it there were reckless people and I didn’t like it. BUT many of these other trails are absolutely wonderful and I love Zion!
Hi Andi,
I totally understand! I do not even go in the summer. The only time that I venture out in these areas are late fall, or early winter.
Great list of hikes! I cannot wait to go back to Zion soon. My husband and I hiked the Narrows a few years ago. It is still our favorite hike thus far. It was beautiful, unique, and the perfect way to escape the high heat in the park during the hot month of June. We hope to go back with our toddler next year, and we will seek out some other hikes from your list!
The Zion Narrows is an ultimate hike. I am so glad you got to experience it.
Zion is stunning! I went once but had only a morning to hike. I would love to go back. I was worried about the Narrows (flooding), so I’m especially interested to learn more about that. Great photos!
Thank you, Sharon. You should plan another visit to Zion.
The photos! I could imagine myself right there. Thanks for the detailed information. It’ll be helpful when we plan our trip there. We’ll be able to choose suitable trails.
I am glad you found it useful!
This is a really fantastic & comprehensive guide. Photos are amazing. I have not been to Zion but it is on my list to explore. I will definitely be checking your guide beforehand!
Thank you, Sue! Most definitely, check out Zion. You will love it.
I will have to get myself across to Zion, the trails and hikes look amazing.
I am highly recommending. It is one of the most scenic places in the US.
As an avid hiker I found this article so helpful. I just love all the detail you’ve provided. My husband and I are hoping to visit Zion in 2020, so I’ve pinned this post so I can refer back to it later.
Zion is a great destination. The hikes are awesome and varied, so there is something for everyone.
What a great guide. I’m planning to visit Zion National Park next year, só keeping this post. Think I’ll skip the Angels Landing Trail, sounds a bit too scary for me 🙂
Yup! Angels Landing is pretty challenging.
We really need to get back and spend a week here just hiking all these trails. We only had time for a short visit on our first trip and definitely want to get back.
I go back all the time. Different seasons give Zion completely different look.
Love this post! We visited Zion last year with out 2 year old and we did all of these hikes except Angels Landing. I love your quick tips on each hike and also your maps. And your pictures of the Narrows are STUNNING. We didn’t get that far up the river (2 year old on the back), but we’ll definitely be back. I also love your photos at the bottom of Bryce Canyon- very pretty.
Thank you so much!