This site uses affiliate links, meaning that if you make a purchase through our links, we may earn an affiliate commission.
Embarking on your first hike in the Grand Canyon? Look no further than the Bright Angel Trail in Gand Canyon —a trail that promises both accessibility and a captivating introduction to this natural wonder. Whether you are a seasoned hiker or taking your very first steps into the world of canyon exploration, the Bright Angel Trail is an ideal starting point.
This well-maintained trail boasts not only its convenience but also a comforting sense of security. With regular drinking water sources and strategically placed covered rest-houses, you will find respite from the sun’s heat as you journey deeper into the canyon. Additionally, ranger stations await your arrival at key points, offering guidance and ensuring your safety.
However, what truly sets the Bright Angel Trail apart is the jaw-dropping scenery that unfolds before your eyes.
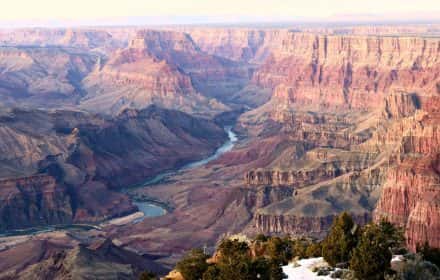
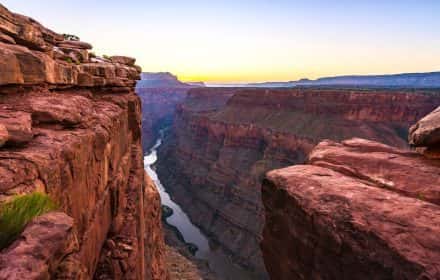
As you descend below the rim, prepare to be entranced by the grandeur of the Grand Canyon. Sweeping vistas of iconic landscapes will accompany you every step of the way, creating a visual masterpiece that will etch itself into your memory.
So, let’s lace up our hiking boots and embark on an unforgettable adventure through the lens of the Bright Angel Trail.
- 1. Overview of Bright Angel Trail in Grand Canyon
- 2. Bright Angel Trail Details
- 3. Bright Angel Trail Details - 8 Valuable Tips for Unforgettable Experience
-
- 3.1. Exploring the Starting Point: Where to Find Bright Angel Trail
- 3.2. Navigating Your Way to the Bright Angel Trailhead
- 3.3. Map of the Bright Angel Trail (Print or Download)
- 3.4. Length and Stopping Points on Bright Angel Trail
- 3.5. Estimating Your Bright Angel Trail Hike Duration
- 3.6. Understanding Elevation Changes on Bright Angel Trail
- 3.7. Bright Angel Trail: A Step-by-Step Hiking Guide
- 3.8. Essential Hiking Gear for Bright Angel Trail
- 4. Intrepid Scout's Tips for Bright Angel Trail in Grand Canyon
Overview of Bright Angel Trail in Grand Canyon
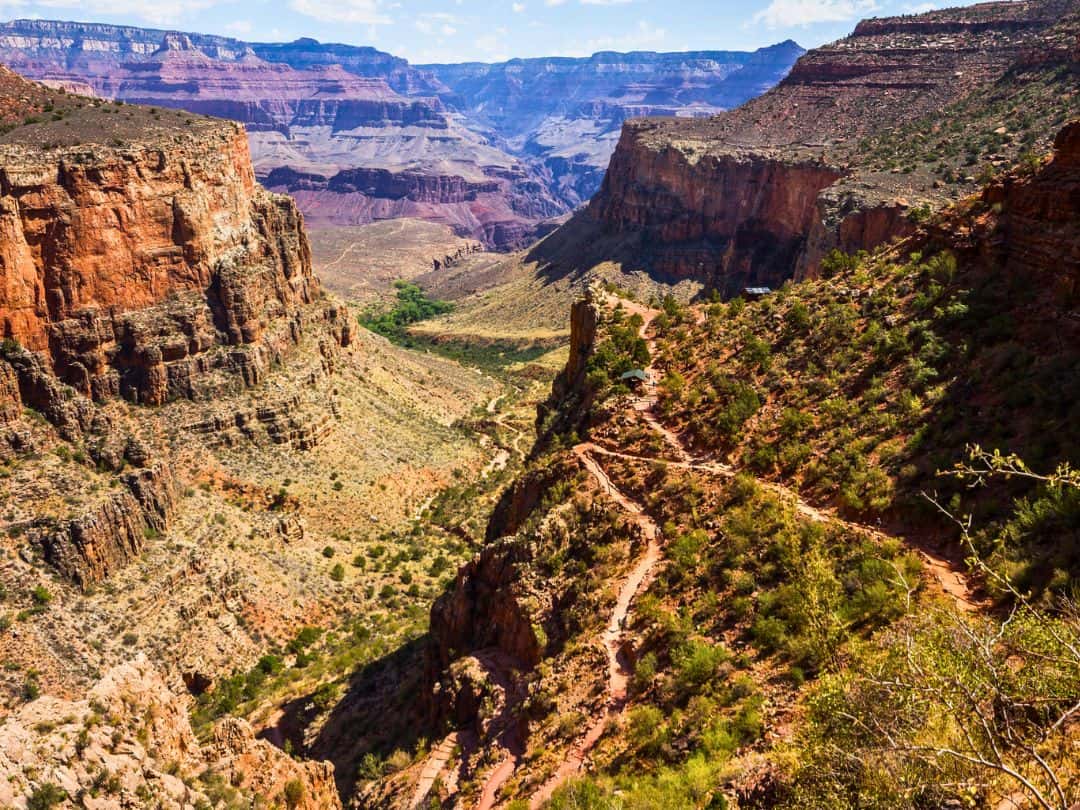
The Bright Angel Trail, nestled within Grand Canyon National Park, spans about 9.5 miles from the South Rim to the Colorado River. Its accessibility and moderate difficulty make it an ideal choice for both novice and experienced hikers.
This well-maintained trail descends approximately 4,380 feet, providing hikers with diverse landscapes and ecosystems to explore.
Its historical significance dates back to use by Native American tribes and its later improvement by pioneers, the Santa Fe Railroad, and the National Park Service.
Bright Angel Trail in Grand Canyon
Notable features along the trail include resthouses offering shelter and water, while ranger stations at Indian Garden and Bright Angel Campground provide assistance. The trail’s accessibility makes it an inviting starting point for those exploring the Grand Canyon for the first time.
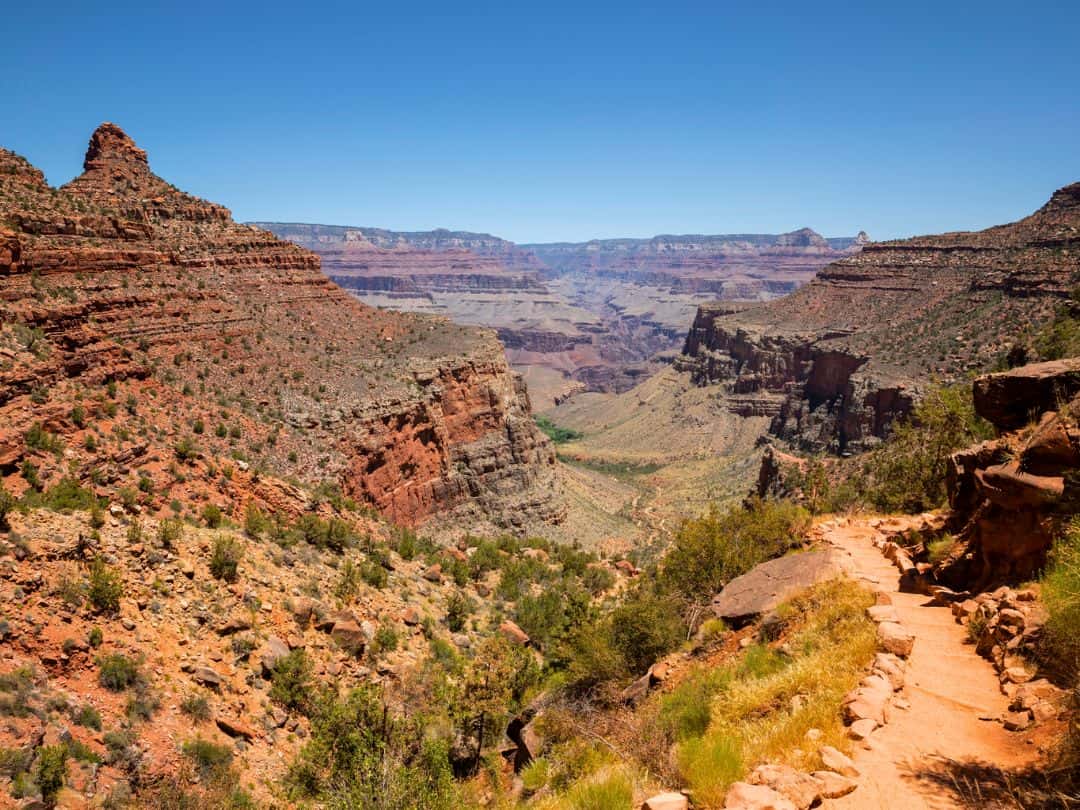
However, the true highlight of the Bright Angel Trail lies in the awe-inspiring vistas it offers. As you descend below the rim, prepare to be captivated by the sweeping views of the Grand Canyon, each turn revealing a new perspective on this geological wonder.
Bright Angel Trail Details
Now that we have introduced you to the allure of the Bright Angel Trail and its overall characteristics, it is time to delve into the specifics.
In this section, we will take a closer look at the essential details that define this remarkable trail within the Grand Canyon National Park. From the trailhead’s location and length to the nuances of its unique features, this exploration aims to equip you with the practical knowledge you will need to embark on your own Bright Angel Trail adventure.
Bright Angel Trail Details - 8 Valuable Tips for Unforgettable Experience
Exploring the Starting Point: Where to Find Bright Angel Trail
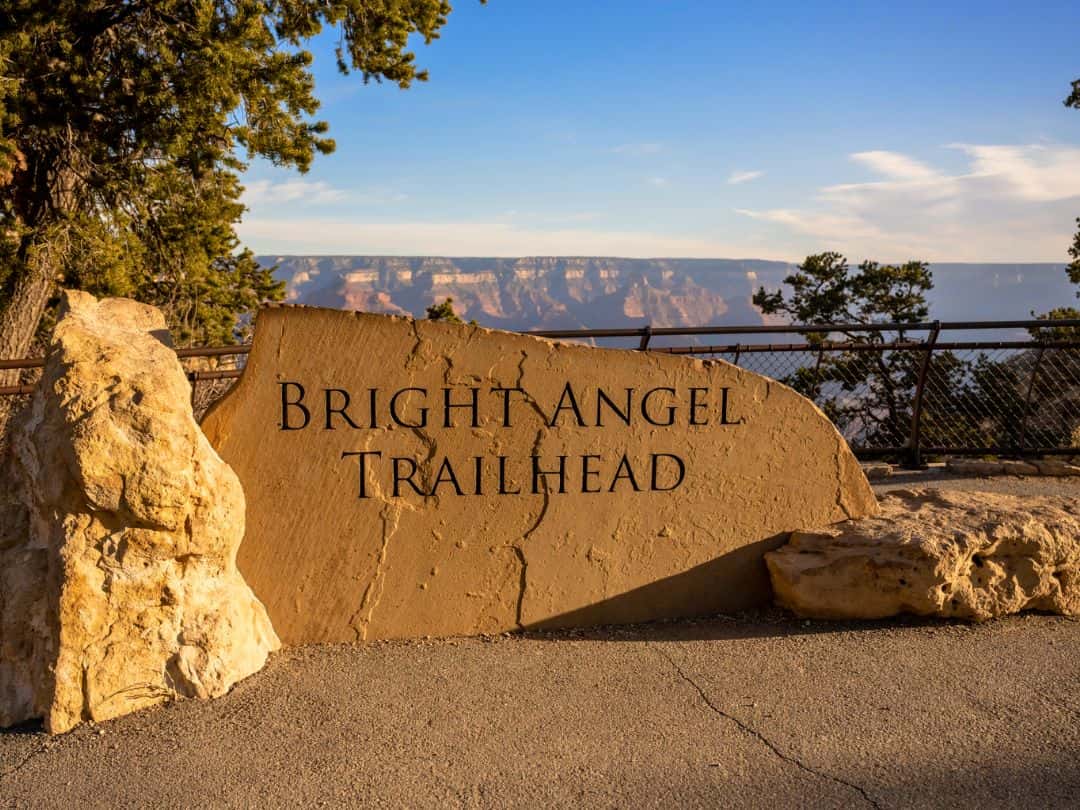
The Bright Angel Trail, your gateway to the wonders of the Grand Canyon, is conveniently located on the South Rim, offering easy access to one of the most iconic hiking experiences in the world.
To embark on your journey, make your way to Bright Angel Lodge, situated just west of the trailhead.
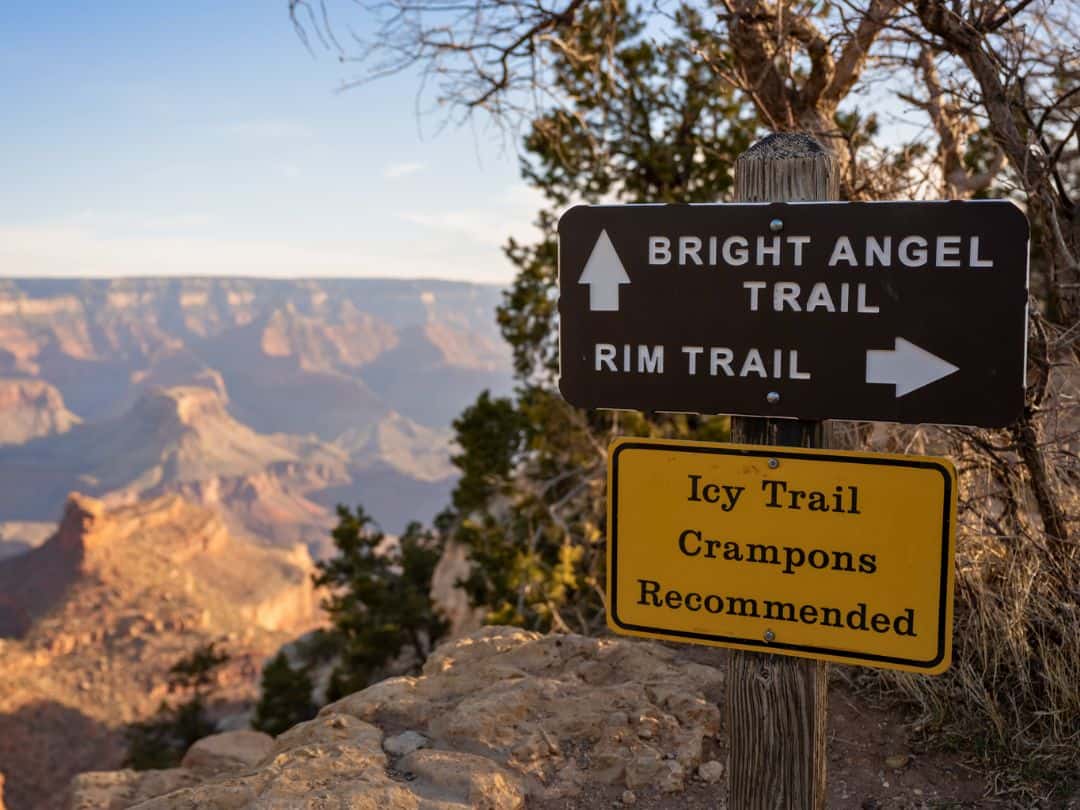
The starting point is easy to find; simply follow the well-marked path along the rim of the Grand Canyon until you arrive at the mule corral, which serves as the trail’s beginning.
Bright Angel Trail in Grand Canyon
Navigating Your Way to the Bright Angel Trailhead
Before you set foot on the renowned Bright Angel Trail, you will need to know how to reach its trailhead. Fortunately, getting there is a straightforward process, and we are here to guide you through it.
In this section, we will detail two convenient options for reaching the Bright Angel Trailhead:
- Park at the Backcountry Information Center (Lot D) and take a short walk 5-minute walk to the trailhead.
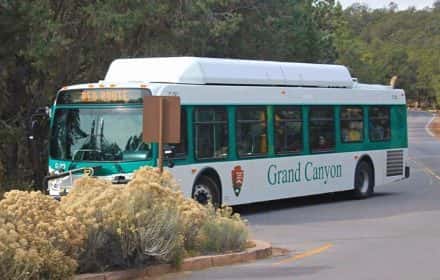
- Park at the Grand Canyon Visitor Center and catch the free shuttle to the trailhead. It will be no more than a 15-20-minute shuttle ride.
Map of the Bright Angel Trail (Print or Download)
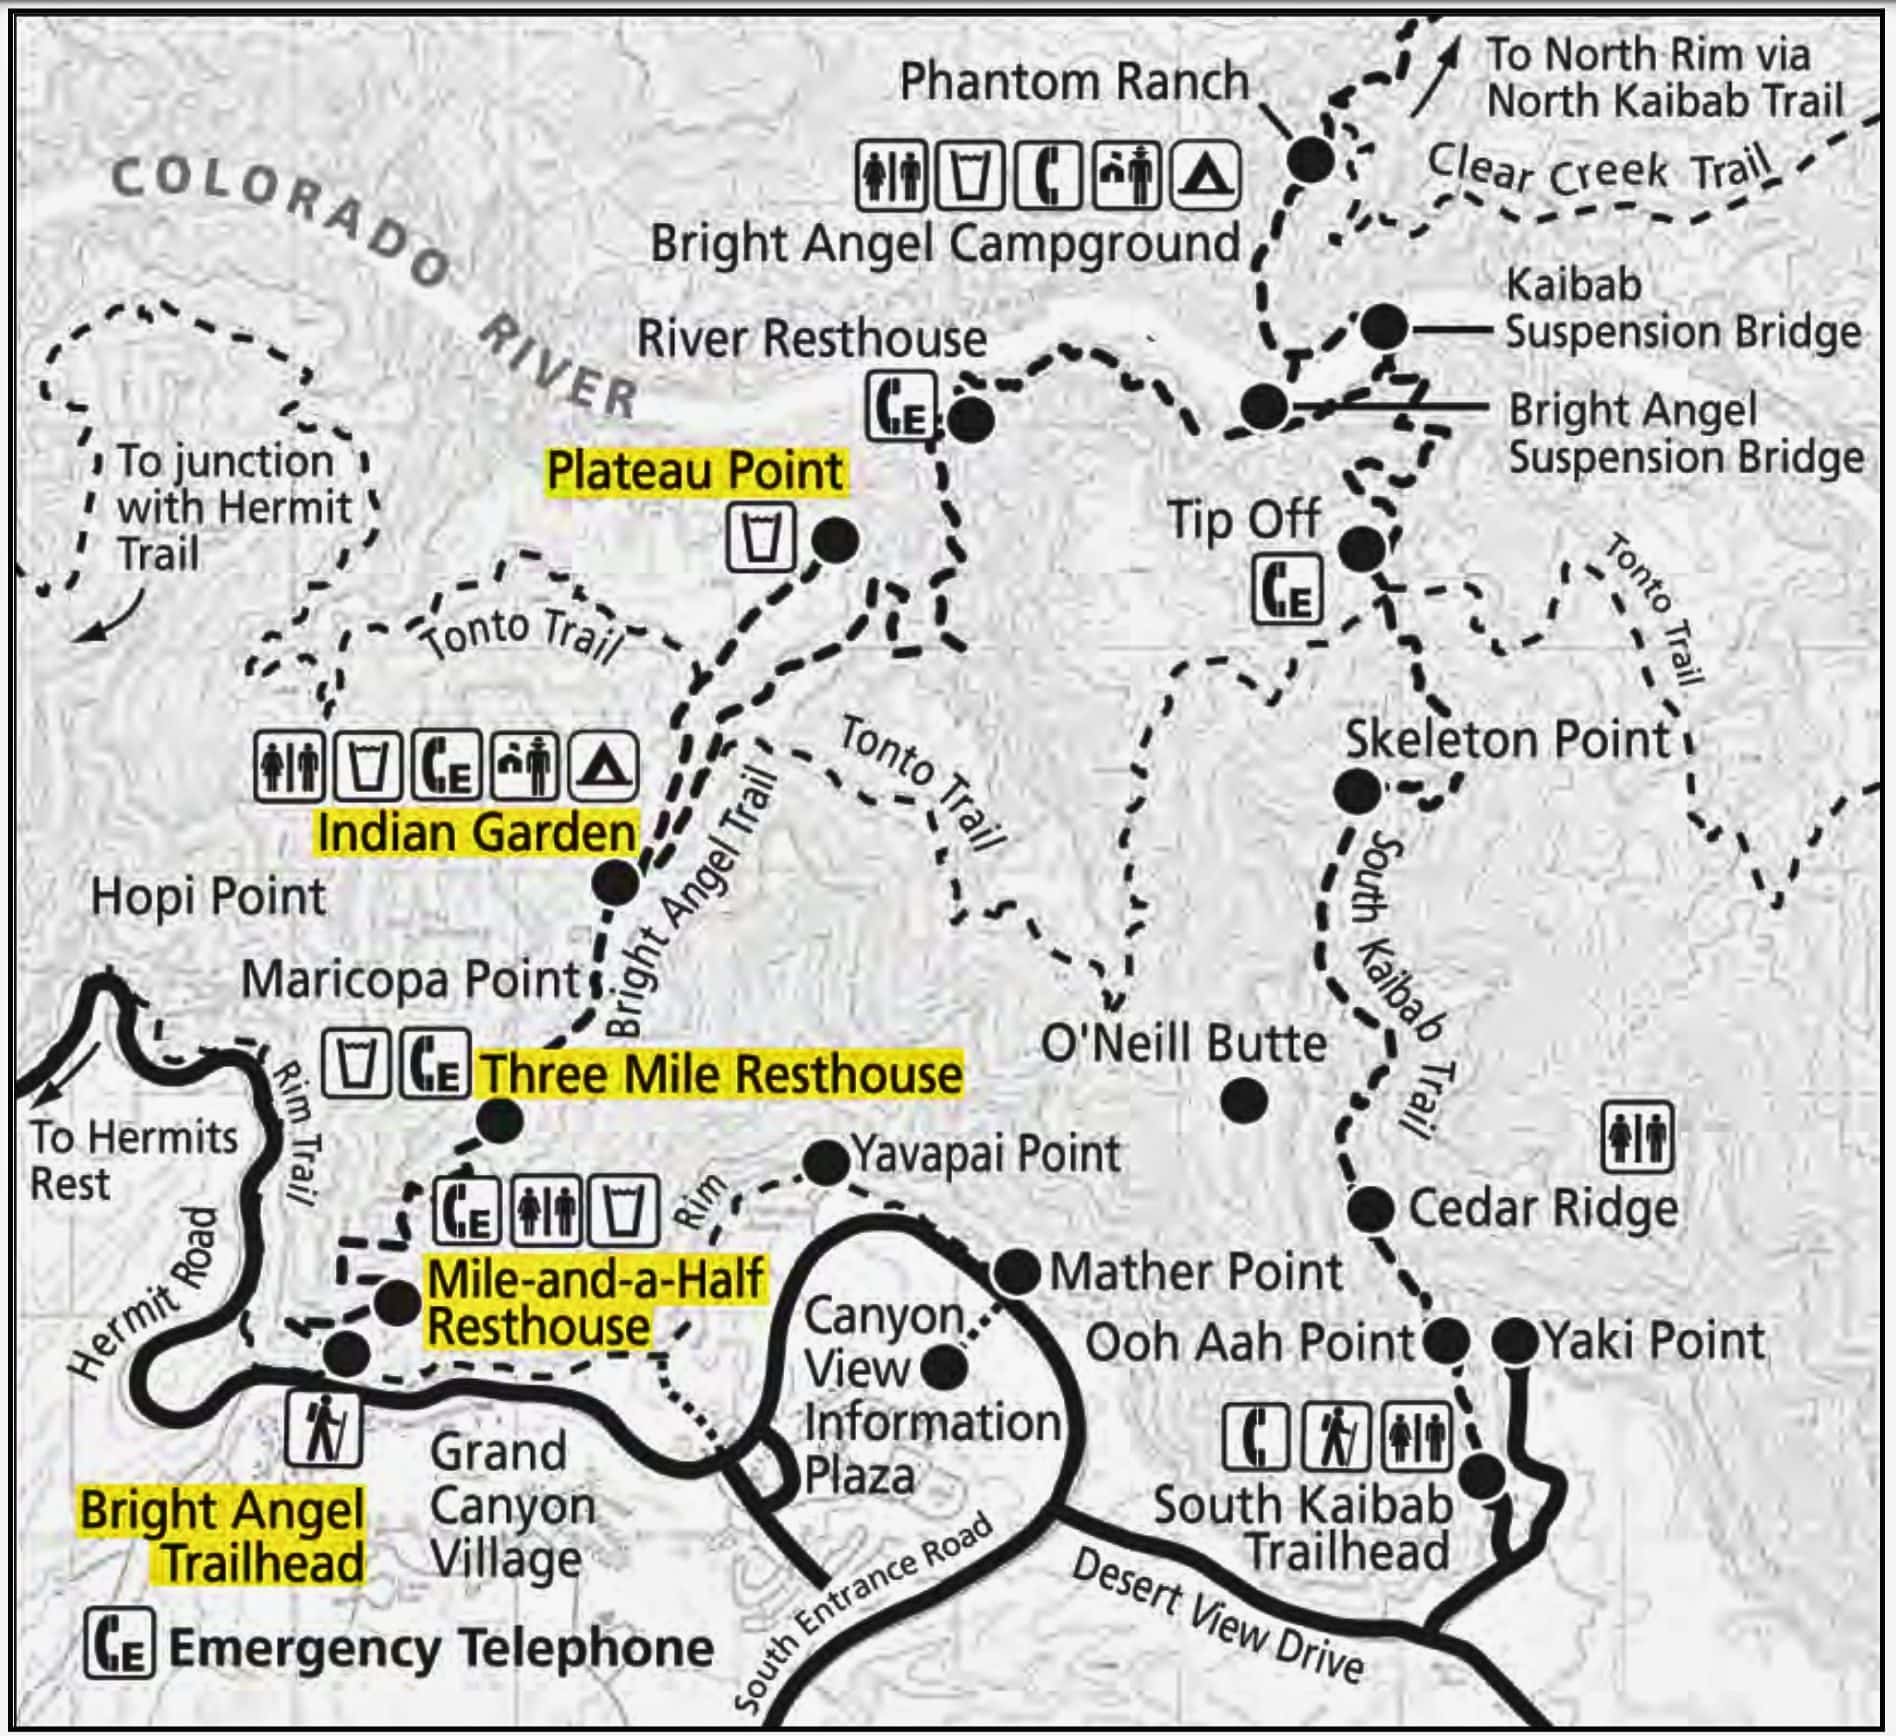
Map of Bright Angel Trail / Image Credit: NPS
Length and Stopping Points on Bright Angel Trail
One of the first pieces of advice from Grand Canyon Park Rangers is a vital one: attempting to hike from the rim to the river and back in a single day is strongly discouraged.
This cautionary guidance is for your safety and well-being, and it is a recommendation that the majority of hikers heed. Most hikers choose to trek to either Mile-and-a-Half Resthouse or Three-Mile Resthouse before making their return journey.
For those seeking a more extended adventure, the Bright Angel Trail provides options. You can decide how far you want to hike, depending on the time at your disposal and your physical fitness level.
Keep in mind that the Bright Angel Trail is approximately 6.1 miles one-way, starting at the trailhead and culminating at Plateau Point.
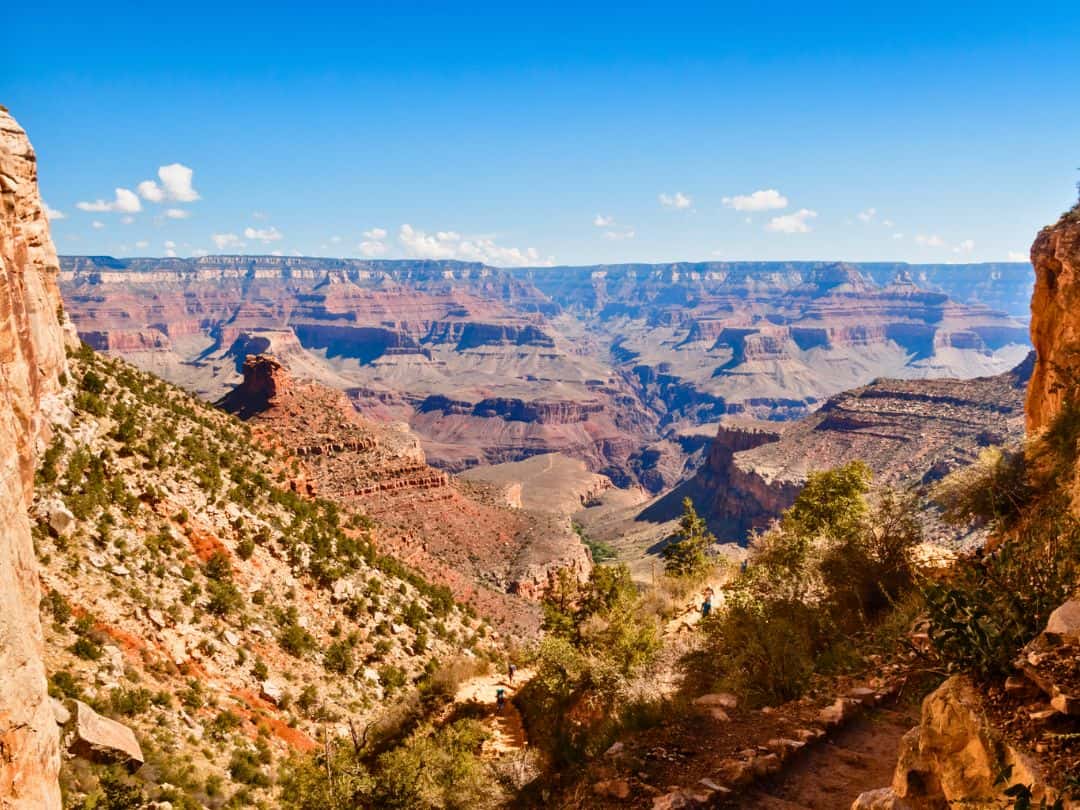
Bright Angel Trail in Grand Canyon
Here are the distances between each significant stopping point along the trail:
- Bright Angel Trailhead to Lower Tunnel: This initial segment covers approximately 0.9 miles one-way.
- Lower Tunnel to Mile-and-a-Half Resthouse: Following Lower Tunnel, the hike extends about 0.6 miles one-way.
- Mile-and-a-Half Resthouse to Three-Mile Resthouse: The next leg of the journey encompasses approximately 1.5 miles one-way.
- Three Mile-Resthouse to Indian Garden Campground: If you decide to proceed further, this section of the trail stretches out for an additional 1.5 miles one way.
- Indian Garden Campground to Plateau Point: For those seeking an extended adventure, the final stretch to Plateau Point measures approximately 1.6 miles one way.
These designated resting and turnaround points allow hikers to tailor their Grand Canyon experience to their fitness level, time constraints, and personal preferences. Whether you opt for a shorter hike to a resthouse or venture farther into the canyon, the Bright Angel Trail offers an array of options to suit your exploration style.
Estimating Your Bright Angel Trail Hike Duration
Hiking the Bright Angel Trail is a memorable experience, but knowing how long it may take is crucial for planning a safe and enjoyable journey.
The time it takes to complete the trail can vary significantly based on your chosen destination and individual hiking pace.
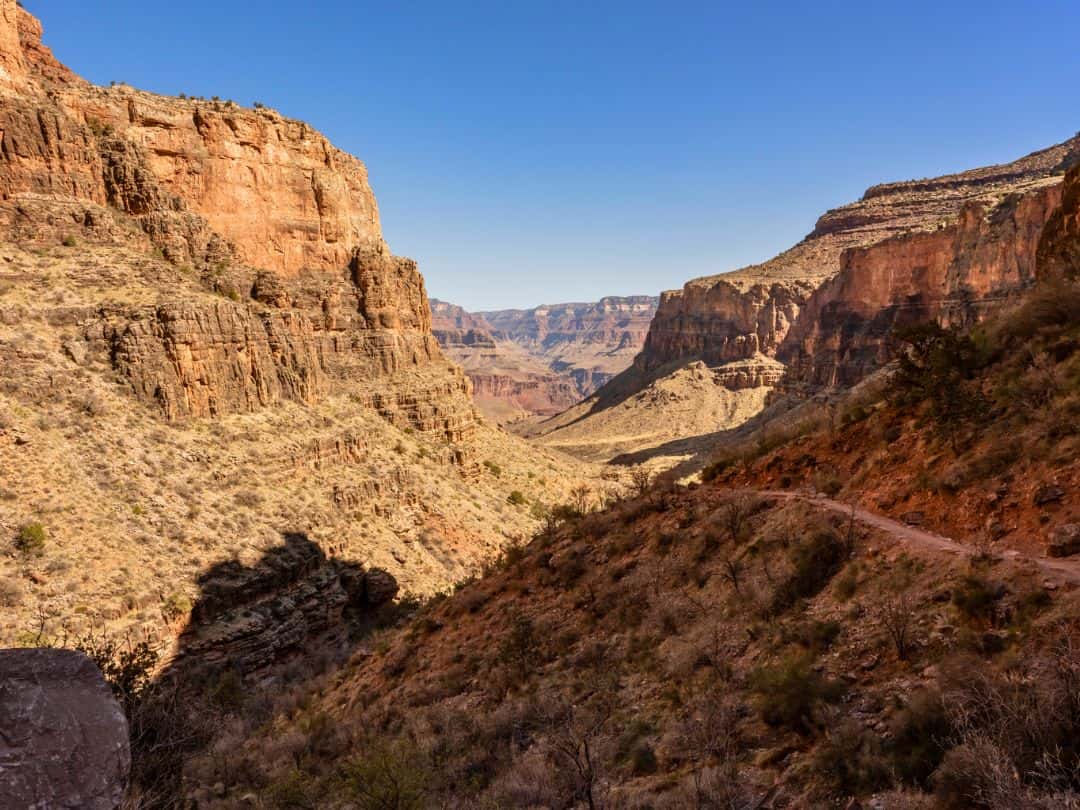
Bright Angel Trail in Grand Canyon
First and foremost, it is essential to emphasize that hiking into and out of the Grand Canyon is not a race; it is an opportunity to immerse yourself in the breathtaking scenery and natural wonders. Take your time and savor the experience.
- Plateau Point and Return
If you’re considering a hike from Bright Angel Trailhead to Plateau Point and back, the round trip typically spans between 9 to 12 hours.
However, it is important to note that you do not need to trek all the way to Plateau Point to enjoy spectacular views. At any point along the trail, you can choose to turn around and head back to the rim.
- Variable Terrain and Return Difficulty
One key aspect to keep in mind is that hiking into the canyon often deceives hikers. It may take just 1 hour to descend to the Lower Tunnel, but ascending the same stretch on your return journey might require twice as long.
The hike out of the canyon is notably more challenging, so plan your adventure according to your physical capabilities.
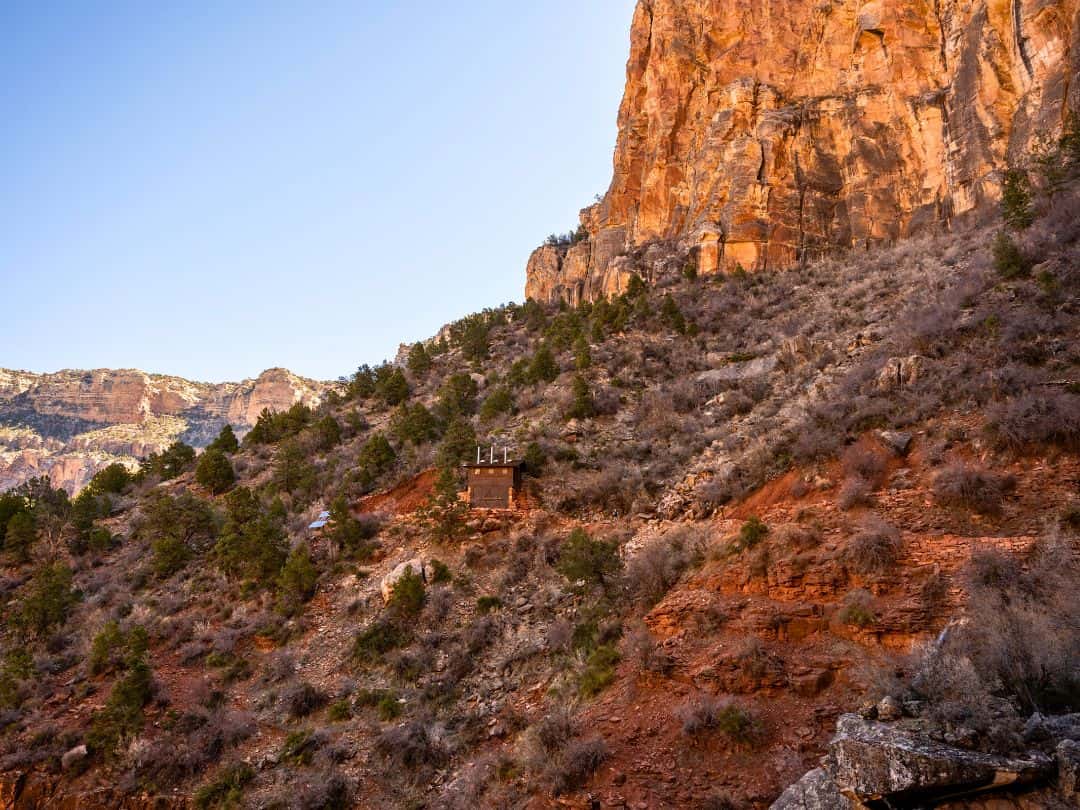
Bright Angel Trail in Grand Canyon
- Flexible Timelines for Different Destinations
To provide you with a better sense of timing, here are estimated durations for specific points along the trail, considering a round-trip hike:
1. Bright Angel Trailhead to Lower Tunnel and back: Plan for approximately 1-2 hours.
2. Continuing to Mile-and-a-Half Resthouse and back: Expect a round-trip duration of about 2-4 hours.
3. Hiking to Three-Mile Resthouse and back: Allocate around 4-6 hours round-trip.
4. Continuing to Indian Garden Campground and back: Be prepared for a journey lasting approximately 6-9 hours round-trip.
5. Reaching Plateau Point and returning: This extended adventure may encompass around 9-12 hours round-trip.
These estimations should help you gauge how much time you will need for your Bright Angel Trail hike, allowing you to tailor your journey to your preferences and abilities.
Remember, it is not about how quickly you finish the trail; it is about savoring every moment of this remarkable natural wonder.
Understanding Elevation Changes on Bright Angel Trail
Hiking the Bright Angel Trail presents a unique experience compared to the typical ascending hikes that many are accustomed to.
This trail challenges your expectations by commencing with a descent into the Grand Canyon and concluding with an ascent back to the rim. This shift in perspective can sometimes be misleading, leading hikers to underestimate the time required to return to the rim.
As a general rule of thumb, if it takes you approximately 1 hour to hike down into the canyon, it’s wise to allocate about 2 hours for the return journey to the rim.
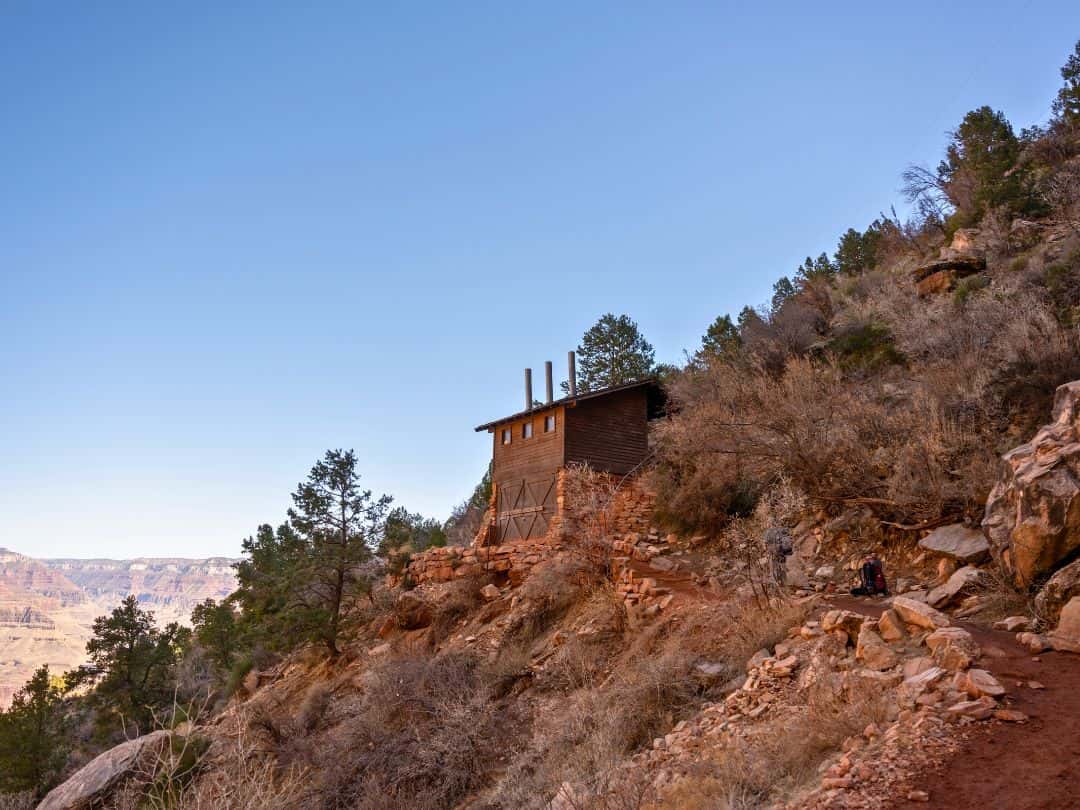
Bright Angel Trail in Grand Canyon
Here are the key elevation changes along the Bright Angel Trail:
- Bright Angel Trailhead Elevation: The journey begins at the Bright Angel Trailhead, situated at an elevation of 6,840 feet above sea level. From here, you’ll descend approximately 590 feet to reach the Lower Tunnel.
- Lower Tunnel Elevation: At Lower Tunnel, you’ll find yourself at an elevation of 6,250 feet with a descent of 530 feet from this point to reach Mile-and-a-Half Resthouse.
- Mile-and-a-Half Resthouse Elevation: Mile-and-a-Half Resthouse awaits you at an elevation of 5,720 feet. The descent from Mile-and-a-Half Resthouse to Three-Mile Resthouse involves a change in elevation of 1,000 feet.
- Three-Mile Resthouse Elevation: At Three-Mile Resthouse, the elevation drops to 4,720 feet, marking the descent from here to Indian Garden Campground at 920 feet.
- Indian Garden Campground Elevation: Indian Garden Campground sits at an elevation of 3,800 feet, and the descent from here to Plateau Point is a mere 40 feet, with Plateau Point itself resting at an elevation of 3,760 feet.
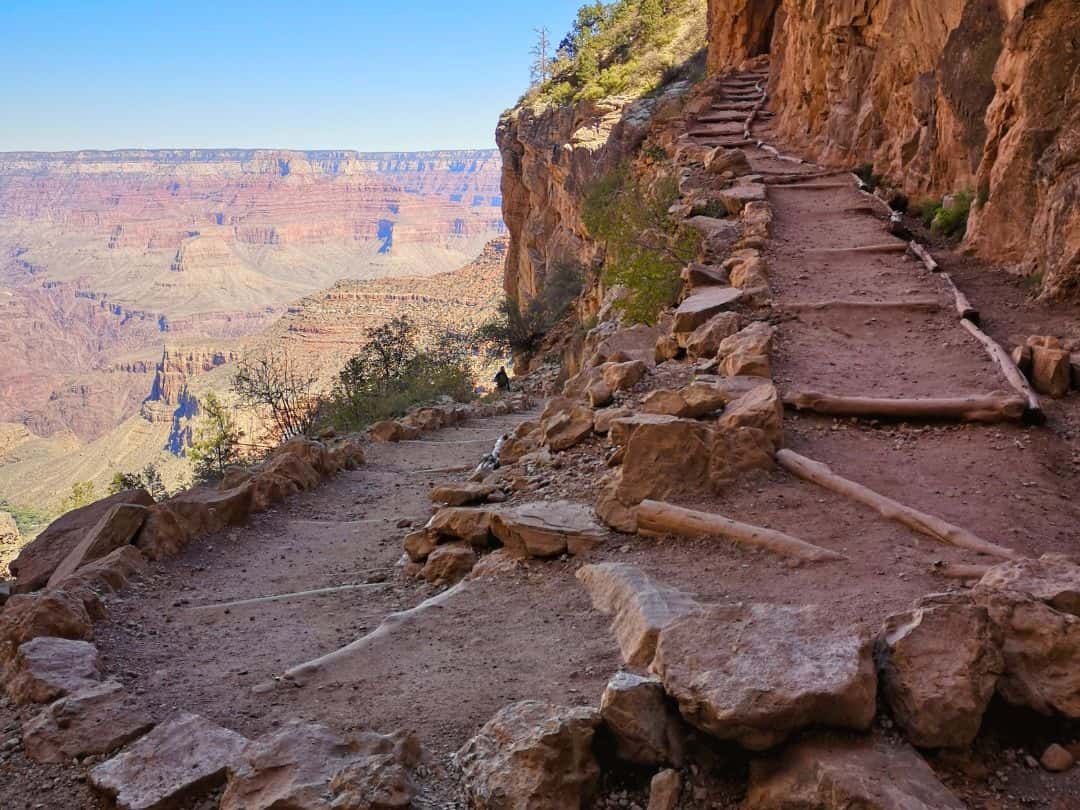
Bright Angel Trail in Grand Canyon
While descending into the canyon, it is essential to consider your physical capabilities and plan your journey accordingly.
The change in elevation and the varying landscapes make each segment of the trail a unique adventure, so taking your time and staying mindful of your energy is key to an enjoyable hike on the Bright Angel Trail.
Bright Angel Trail: A Step-by-Step Hiking Guide
Embarking on the Bright Angel Trail promises a remarkable journey through the Grand Canyon’s stunning landscapes. Let’s break down the trail step by step, highlighting essential points along the way to ensure you have a memorable and safe hiking experience.
- Trailhead to Lower Tunnel
Your adventure begins with a series of wide and gentle switchbacks. These initial switchbacks make for an easy descent into the canyon. However, keep in mind that they can be quite challenging on the return ascent. After hiking for approximately 0.9 miles, you will arrive at Lower Tunnel.
- Lower Tunnel to Mile-and-a-Half Resthouse
Continuing along the trail for about 0.6 miles from Lower Tunnel, you will reach Mile-and-a-Half Resthouse.
As you progress beyond the first resthouse, the switchbacks draw closer together as the canyon narrows. This section of the trail, nestled between the first and second resthouses, offers breathtaking scenery.
Around the two-mile mark, at a spot known as Two Mile Corner, you may spot petroglyphs carved into the rock above you.
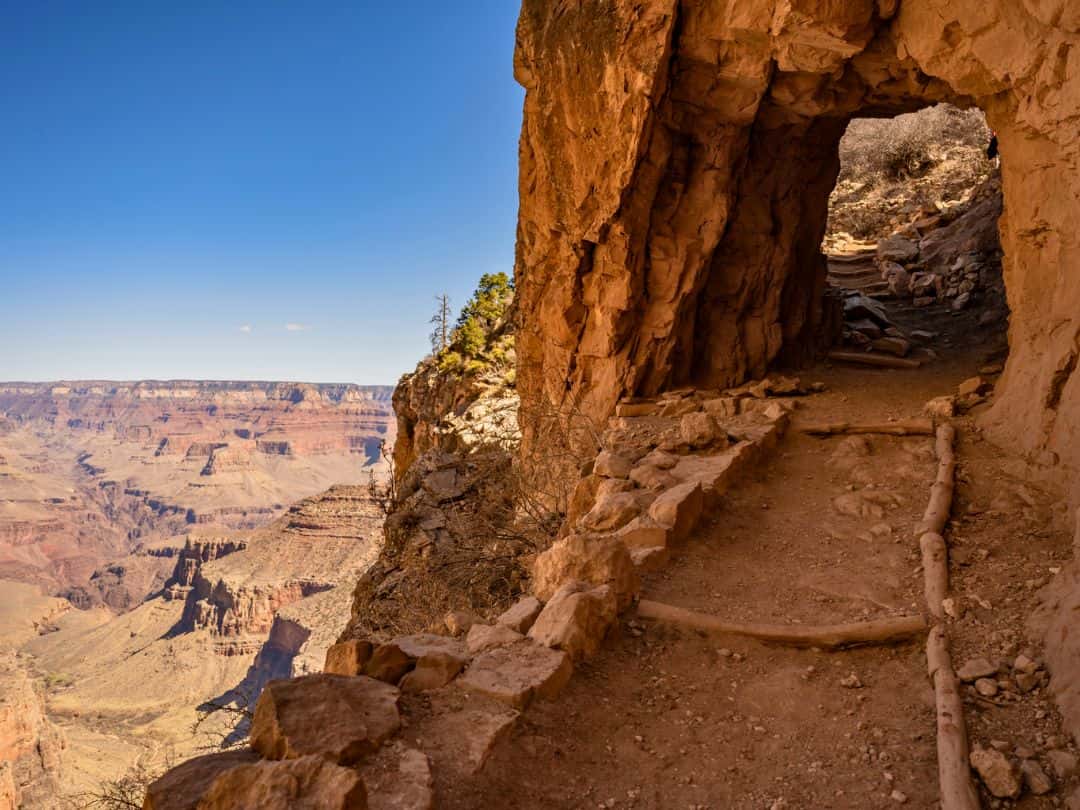
Bright Angel Trail in Grand Canyon
- Mile-and-a-Half Resthouse to Three-Mile Resthouse
After reaching Mile-and-a-Half Resthouse, you will encounter a choice point. Here, it is a good idea to take a break and assess whether you will continue your journey deeper into the canyon or begin your ascent back to the rim.
Take note of the time it took to get to this point, as it is typically an indication that it will require twice as long to return to the rim.
Beyond the Three-Mile Resthouse, the trail becomes a bit steeper, particularly as you approach Jacobs Ladder, where switchbacks seem to stretch endlessly during the climb back out.
- Indian Garden Campground
As you approach Indian Garden, you will be walking across a geological formation known as Bright Angel Shale.
Indian Garden serves as another excellent turnaround point for hikers. However, if you are up for an additional 1.6-mile trek, you can reach Plateau Point.
- Plateau Point
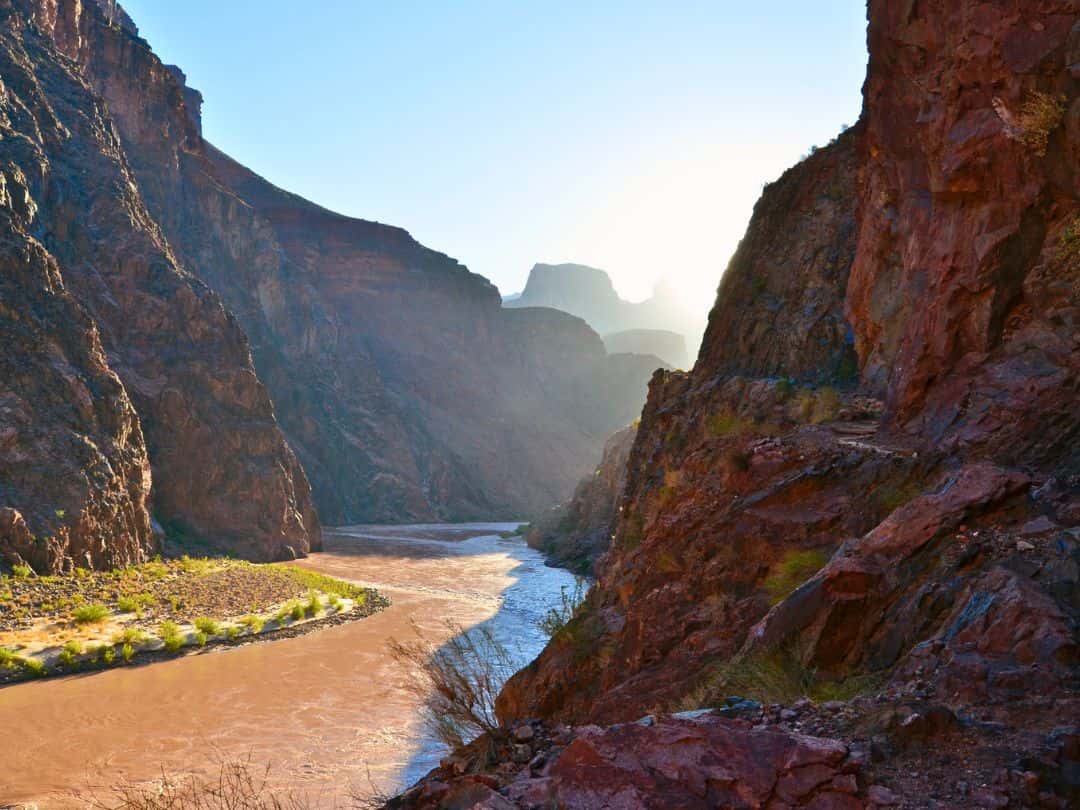
Plateau Point rewards hikers with stunning views of the Inner Gorge and the Colorado River, making it a worthwhile destination for those seeking a remarkable vantage point within the canyon.
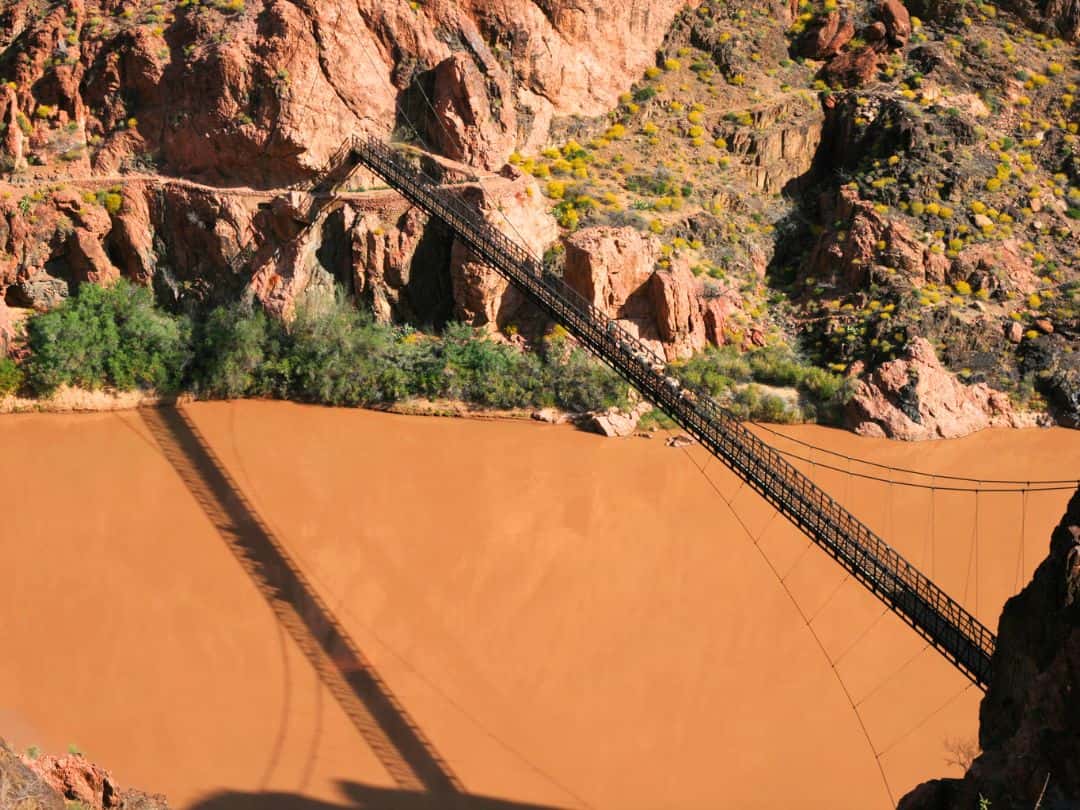
Bright Angel Trail in Grand Canyon
After you have taken in the breathtaking sights and got some rest, it is time to begin your hike back to the rim.
Remember, ascending out of the canyon can be physically demanding. Take your time, indulge in breaks, savor your snacks, and stay well-hydrated throughout your ascent.
Hiking the Bright Angel Trail is not about speed; it is about embracing the beauty of the Grand Canyon at your own pace.
Bright Angel Trail in Grand Canyon
Essential Hiking Gear for Bright Angel Trail
Here is a reminder to make sure to have the basic hiking gear for hiking the Bright Angel Trail:
- Appropriate footwear
Trail shoes are great; hiking boots are even better since they offer more support. You’ll want sturdy, comfortable hiking boots with solid traction. Don’t forget to break in your shoes before bringing them to Grand Teton National Park. Also, do not forget merino wool socks. They will keep your feet dry, and protect you from blisters.
- Plenty of water
Without enough water, your body’s muscles and organs simply cannot perform as well. Consuming too little water will not only make you thirsty but susceptible to hypothermia and altitude sickness. I have been using the Yeti Rumbler 26 oz insulated, stainless steel bottle, and I highly recommend it!
- Food
Food will help keep up energy and morale. I like RXBAR. It is a high-protein bar, gluten-free, and it is super yummy! Make sure to get a variety pack to keep it interesting.
Bright Angel Trail in Grand Canyon
- Rain gear and extra clothing
The weatherman is not always right. Be prepared for unannounced rain or a cold spell. Dress in layers. It will allow you to adjust to changing weather and activity levels. Two rules: avoid cotton (it keeps moisture close to your skin) and always carry a hat. I have had my North Face Women’s Osito Triclimate Jacket for years, and I love it. Also, I highly recommend these Patagonia moisture-wicking hiking shirts and Patagonia warm fleece pullovers.
- First aid kit
Prepackaged first-aid kits for hikers are available at any outfitter.
- Knife
A knife or even better, a multi-purpose tool is always good to have. These enable you to cut strips of cloth into bandages, remove splinters, etc.
- Protect Yourself from the Sun
If you are hiking in the summer, keep in mind that many trails are unshaded, so it’s important to protect yourself from the sun. Sunscreen is essential, however, a lightweight long-sleeve shirt is a must! My favorite are sun shirts by Columbia. Also, it is a good idea to wear lightweight long pants to protect yourself from the sun and bugs!
Wear sunglasses with UV protection. Sunglasses are an important part of your sun-protective wardrobe. When purchasing sunglasses, always look for lenses that offer UV protection.
A wide-brimmed hat is a simple and effective way to cover up your face and neck. When selecting a hat, choose one that has a wide brim, which will protect your ears, as well as your head and neck. Avoid baseball hats or straw hats with holes, as these are not as effective in protecting you outdoors.
- Apply an effective insect repellent
Insect repellent is an important step against mosquitoes and ticks that can spread diseases like West Nile and Lyme. When selecting an effective insect repellent, do not look at the brand names, but rather, look at the concentration of the active ingredients. Concentrations of DEET at 25 to 30% are the best to keep you protected.
Bright Angel Trail in Grand Canyon
- Daypack/backpack
You need something you can carry comfortably and has features designed to keep you hiking smartly. Don’t forget the rain cover; some packs come with one built-in. I have an Osprey Daylite Daypack and it is perfect for day hiking.
- Camera!!!
Grand Canyon National Park is a photographer’s dream! If you are like me, you will be taking hundreds, if not thousands, of photos. The scenery is just breathtaking and constantly changing. I have a Nikon COOLPIX P1000 Super Telephoto Camera that I bought a couple of years ago and I like it.
- A spare battery for the camera
Make sure to have a spare battery for your camera. I think there is nothing more frustrating than knowing that you still have half a day ahead of you, yet your camera’s battery is gone.
- Tripod
If you are taking photos during the golden hour (shortly after sunrise or before sunset) when the light is softer, a tripod is essential for long exposure shots. Also, I like a tripod since it gives me more stability when taking close-ups of wildlife. I have a Manfrotto Befree Live Carbon Fiber Tripod with Fluid Head. It is only 3.0 pounds and it fits nicely in my backpack.
- Binoculars!
If your camera does not have a good zoom, then binoculars are a must. I know that luck will be on your side and you will see some wildlife, and what to treat to see them up close.
- Trash Bag
This will make sure that the trail will stay beautiful for generations to come. A zip-lock bag is a great option as well for keeping the trash you pick up along the trail separate from the rest of your gear.
Intrepid Scout's Tips for Bright Angel Trail in Grand Canyon
- Stay Hydrated: In the arid climate of the Grand Canyon, staying hydrated is paramount. Carry an adequate supply of water, and consider using a hydration system or a reusable water bottle to minimize waste.
- Pack Smart: Be mindful of what you carry in your backpack. Essentials like sunscreen, a wide-brimmed hat, sunglasses, and comfortable, moisture-wicking clothing are invaluable.
- Trail Etiquette: Respect fellow hikers and the natural environment. Yield the trail to uphill hikers, and pack out all trash and litter to keep the canyon pristine.
- Start Early: To avoid the midday heat, begin your hike in the early morning. Not only will you enjoy cooler temperatures, but you’ll also have a better chance of securing parking at the trailhead.
- Know Your Limits: The Grand Canyon’s beauty is awe-inspiring, but its challenges are real. Know your physical limitations and plan your hike accordingly. It’s perfectly okay to turn around if needed; safety should always come first.
- Permits and Reservations: If you plan to camp overnight or hike to certain destinations, check for permit requirements and make reservations well in advance.
- Wildlife Respect: Admire the wildlife from a distance and avoid feeding them. Human food can be harmful to animals and disrupt their natural behaviors.
- Photography: Capture the moments but don’t forget to soak in the experience without the lens. Sometimes the most memorable moments are those you experience fully in the present.
- Leave No Trace: Leave the Grand Canyon as beautiful as you found it. Follow Leave No Trace principles to minimize your impact on this fragile ecosystem.
- Enjoy the Journey: Lastly, remember that hiking the Grand Canyon is not just about reaching your destination; it’s about the journey itself. Take your time, revel in the stunning vistas, and savor every step of your adventure. The memories you create will last a lifetime.
Wishing you all an incredible and safe experience exploring the Bright Angel Trail and the wonders of the Grand Canyon!
More Information About Grand Canyon National Park:
9 Best Photography Locations in Grand Canyon (+Useful Photo Tips)
14 Useful Tips for First Visit to Grand Canyon National Park
Grand Canyon Shuttle Bus Guide (Maps+Routes+Schedules
Amazing ONE DAY in GRAND CANYON Itinerary (4 Cool Things You Can’t Miss)
10 Best VIEWPOINTS in GRAND CANYON National Park
You Might Also Like:
20 Practical ANTELOPE CANYON TIPS for First Visit (IMPORTANT: Read Before Going)
Lower vs Upper Antelope Canyon (Which One Is Voted the Best)
Visit More National Parks:
Now, It Is Your Turn, I Would Like to Hear Back from You!
Are you planning your trip to Grand Canyon National Park?
Please let me know! Drop me a quick comment right below!
Click on any of the images below to get inspired and to help you with the planning process for your trip to Grand Canyon National Park!
